Sliding Miter Saw For Small Shop
Key takeaways
- A criteria-led guide to choosing a sliding miter saw for a small shop, judged on rail design, fence quality, dust capture and the bench depth it actually demands.
What's inside
- Comparison: how the main slider layouts behave in a tight shop
- Cut capacity versus the width you actually crosscut
- Fence, base flatness and detents: the criteria we weight most
- Dust capture is a small-shop safety criterion, not a convenience
- Power source, vibration and mounting in a small shop
- FAQ
- Verdict
- Related Guides
- Comparison: how the main slider layouts behave in a tight shop
- Cut capacity versus the width you actually crosscut
- Fence, base flatness and detents: the criteria we weight most
- Dust capture is a small-shop safety criterion, not a convenience
- Power source, vibration and mounting in a small shop
- FAQ
- Verdict
- Related Guides
As an Amazon Associate I earn from qualifying purchases. This post may contain affiliate links at no extra cost to you.
The problem with buying a sliding miter saw for small shop use is not the saw. It is the wall behind the saw. A conventional 12-inch dual-bevel slider needs the rails to travel rearward, which means the bench has to sit somewhere between 30 and 36 inches off the wall before the head can complete a full crosscut. In a two-car garage shared with a car, or a 10×12 basement shop, that requirement quietly kills half the saws on the shelf regardless of how well they cut.
So we judge these saws on the mechanical criteria that matter in a tight room: how the rail system is packaged, how tall and how flat the fence is, whether the detent plate can be trusted after a year of being bumped, how much dust the port actually captures at the source, and how much vibration the head transmits into a light bench. Cut quality is close to a solved problem in this class. Spatial footprint and dust are not.
As an Amazon Associate we earn from qualifying purchases at no extra cost to you. Product prices and availability are accurate as of the date shown and are subject to change.




Comparison: how the main slider layouts behave in a tight shop
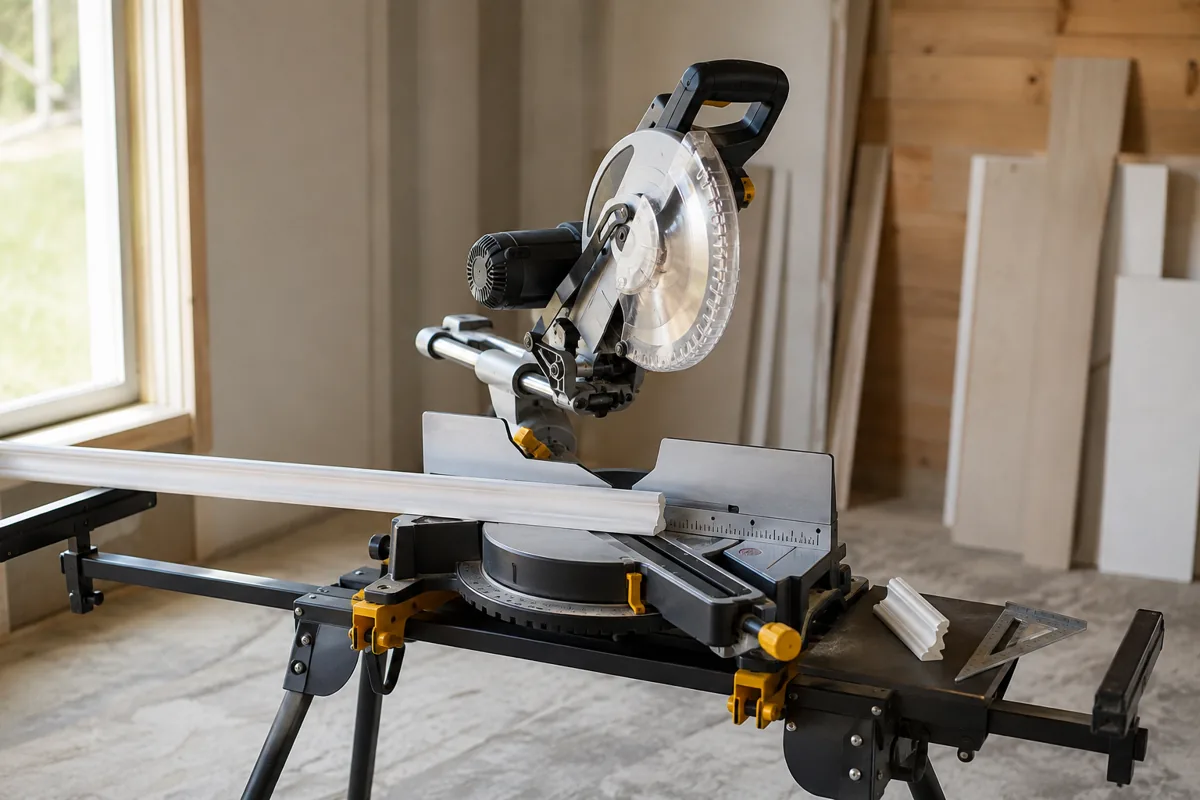
Before naming tool lines, it helps to compare the rail architectures themselves, because that single design decision determines the bench depth you need more than blade diameter does.
| Layout | Typical bench depth needed | Real trade-off |
|---|---|---|
| 10-in single-bevel slider, rear rails | Deep | Cheapest entry, but the head still travels back into the wall |
| 12-in dual-bevel slider, rear rails | Deepest | Maximum capacity, hardest to place in a small shop |
| Glide or articulating-arm slider | Shallow | Flush to the wall, heavier head and higher price |
| Compound (non-sliding) miter saw | Shallow | No slide at all, limited crosscut width |
| Sliding saw on a mobile stand | Deep in use, zero when stored | Setup time on every single cut |
If you take nothing else from this article: the articulating-arm layout exists specifically to solve the wall problem, and in a small shop that geometry is worth more than an extra two inches of crosscut capacity. The saw you can leave set up and squared is the saw you will actually use for careful work.
Cut capacity versus the width you actually crosscut
Small-shop buyers routinely overbuy capacity. It is worth being honest about what you cut. A 10-inch slider generally handles nominal 2×10 or 2×12 flat crosscuts and shelving up to roughly a foot wide, which covers cabinet parts, face frames, trim, and most furniture stock. A 12-inch slider buys you deeper vertical capacity against the fence for tall crown and wide baseboard, plus more room for thick timber.
The cost of the 12-inch class is not only footprint. Larger blades deflect more, cost more to replace, and demand more of the motor, so the same saw with a coarse 12-inch blade can leave a worse edge than a well-fed 10-inch with a high-tooth-count crosscut blade. If your work is furniture and cabinetry rather than deck framing or crown-heavy trim carpentry, the 10-inch class is the better mechanical match.
Also check the miter capacity in both directions rather than the headline number. Saws that miter deeply left but shallowly right force you to flip workpieces, which in a tight shop means swinging long boards around in space you do not have.
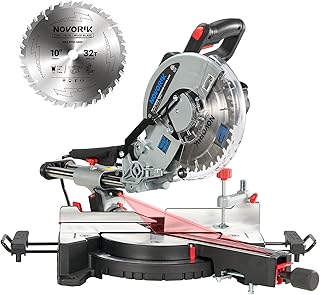
Compact sliding miter saws for tight shops
Start your search here rather than at the top of the range. Filter for 10-inch sliders and read the depth specification, not the marketing copy. Compare the shipping dimensions and the stated rear clearance requirement across listings, then measure your bench before you commit. A well-built 10-inch slider you can place properly will outperform a 12-inch saw that has to be dragged out and re-squared for every cut.
Fence, base flatness and detents: the criteria we weight most
Fence quality separates saws that hold a joint-ready 90 degrees from saws you fight. Look for a tall two-piece fence, machined rather than stamped, with sliding or removable upper sections for bevel clearance. Set a straightedge across both fence halves at the store or on delivery; any daylight in the middle means every wide crosscut will end up slightly out of square, and no amount of careful technique fixes it.
Base flatness matters just as much and gets checked far less. A cast base that rocks on a flat bench will telegraph into the cut, especially on thin stock. Check the table with a straightedge in two directions and confirm the turntable sits flush with the wings through the full miter range rather than only at zero.
Detents should engage crisply and repeat. The common failure mode is a soft detent plate that lets the head settle a fraction off the mark, plus a miter lock that pulls the table slightly as it clamps. Test this by locking at 45 degrees, unlocking, swinging away, and returning. If the cut line moves, you will be shimming that saw forever.
Finally, look at the blade guides and rail play. Extend the head fully, then lift and push sideways at the handle. Some play is normal on linear bearings; noticeable slop shows up as a tapered kerf on wide boards. Rails should feel damped and consistent through the full stroke, not tight at the start and loose at the end.
Dust capture is a small-shop safety criterion, not a convenience
In a large shop, poor dust capture is a nuisance you sweep up. In a small enclosed shop, it is an air quality problem you breathe for hours. Miter saws are the worst offenders of any stationary tool because the blade throws a wide arc of fine dust and the shroud can only intercept part of it.
Judge the port on three points: its diameter and whether it accepts a standard hose without an adapter stack, how closely the shroud follows the blade through the cut, and whether the port stays aligned with the throw direction as the head bevels. Many saws capture reasonably at zero degrees and almost nothing at a 45-degree bevel, which is exactly when you are cutting trim.
Assume you will build a shroud or hood behind the saw regardless of brand. A simple plywood box lining the back of the bench, paired with a shop vac on the port, gets closer to acceptable than any factory bag. Pair it with a fine-filter bag or cyclone separator so the vacuum does not simply redistribute the fine fraction back into the room.
Dust collection setup for a miter saw station
Budget for this at the same time as the saw, not later. A vacuum with a fine filter, the right hose diameter for your port, and an automatic tool-triggered outlet will do more for a small shop than upgrading to the next saw model. Check hose diameter against your saw’s port before ordering to avoid an adapter chain that chokes airflow.
Power source, vibration and mounting in a small shop
Cordless sliders from the established platforms have matured enough to be credible primary saws. DeWalt XR, Milwaukee FUEL and Makita LXT all offer brushless sliders that cut hardwood without complaint, and in a small shop the absence of a cord snaking across the floor is a genuine safety gain. The trade-off is head weight and price, plus the need to keep charged batteries on hand for long sessions. If you already own a battery platform, staying inside it usually costs less than a comparable corded saw plus a new dust setup.
Corded saws remain the value choice and never fade mid-session, which suits shops with a nearby outlet and a permanent station. Whichever you pick, check the soft-start behavior and the brake. A saw that lurches on startup will walk a lightly built bench, and a slow brake means the head keeps spinning while you are already reaching for the next board.
Vibration is the criterion small-shop owners notice last and complain about most. Light stands amplify it. Bolt the saw to a solid bench or a torsion-box top rather than leaving it on rubber feet, keep the fence and outfeed supports coplanar with the table, and use a sharp blade suited to the material. Most complaints about a saw being rough disappear once the saw is properly mounted and refitted with a decent crosscut blade.
- ✔ Articulating-arm designs let the saw sit flush to a wall
- ✔ 10-inch sliders cover almost all furniture and cabinet crosscuts
- ✔ Cordless platforms remove cord hazards in tight floor space
- ✔ Tall two-piece fences hold square on wide stock
- ✘ Rear-rail sliders demand a deep bench most small shops cannot spare
- ✘ Factory dust bags capture a fraction of the fine dust
- ✘ Bevel cuts often defeat the dust port geometry entirely
- ✘ 12-inch blades cost more and can deflect more than 10-inch
FAQ
Is a 10-inch or 12-inch slider better for a small shop? For furniture, cabinetry and general DIY, the 10-inch class is the better match. It costs less, uses cheaper blades, deflects less, and packages into a smaller head. Choose 12-inch only if you regularly cut tall crown against the fence or thick timber.
Can I skip the slide and use a compound miter saw instead? Yes, if your crosscuts stay narrow. A non-sliding compound saw is lighter, cheaper, sits flush to the wall and vibrates less. The limit is crosscut width, typically around 6 inches on a 10-inch saw, so wide shelving and stair treads become a table saw job.
How much bench depth should I plan for? Measure the saw’s own stated rear clearance and add a few inches for hoses and a dust hood. Rear-rail sliders commonly need roughly 30 inches or more from the wall, while articulating-arm designs can sit close to flush. Confirm the number in the listing specifications before you build the station.
Verdict
Our position is consistent: in a small shop, buy for footprint and dust first and capacity second. An articulating-arm or compact 10-inch slider mounted permanently on a solid bench, with a tall machined fence, repeatable detents and a properly ducted hood behind it, will produce better joinery than a larger saw wheeled out and re-squared each session. Verify fence and base flatness with a straightedge on arrival, replace the factory blade with a high-tooth-count crosscut blade, and treat dust collection as part of the purchase rather than an upgrade. Do those three things and the saw stops being the bottleneck in the shop.
Check prices on Amazon →