Best Clamps For Woodworking
Key takeaways
- An editorial guide to choosing the best clamps for woodworking, judged on jaw parallelism, rack resistance, throat depth and real shop economics.
What's inside
As an Amazon Associate I earn from qualifying purchases. This post may contain affiliate links at no extra cost to you.
Ask a room full of furniture makers what slowed down their last glue-up and almost none of them will say the glue. They will say they ran out of clamps, or that the two they grabbed racked the panel out of square, or that a jaw left a dent they had to sand out of a finished face. Choosing the best clamps for woodworking is less about brand loyalty than about matching a clamp family to the job, then buying enough of them that you are not robbing one assembly to finish another.
This guide treats clamps the way we treat any other machine on the shop floor: as mechanical objects with measurable qualities. Are the jaws flat and parallel under load, or do they cup and toe in? Does the bar flex enough to bow a panel? Is the throat deep enough to reach the middle of a wide glue-up? Can the handle be turned with a gloved hand without a cheater bar? Those questions sort the useful from the merely cheap far better than a spec sheet ever will.
As an Amazon Associate we earn from qualifying purchases at no extra cost to you. Product prices and availability are accurate as of the date shown and are subject to change.




The clamp families and what each one is actually for
Most shops end up with four or five distinct types, because no single design does everything. The table below is our working summary of where each family earns its keep.
| Clamp type | Best at | Watch out for | Typical shop count |
|---|---|---|---|
| Parallel jaw (K-body style) | Flat panels, casework, square assemblies | Weight, price per clamp, storage space | 6 to 12 |
| F-style bar clamp | General purpose, edge banding, jigs, fixtures | Jaw rack under high pressure, small pad area | 8 to 16 |
| Pipe clamp | Long glue-ups, wide tabletops, cheap capacity | Pipe deflection, no parallel jaws, marring | 4 to 8 pairs |
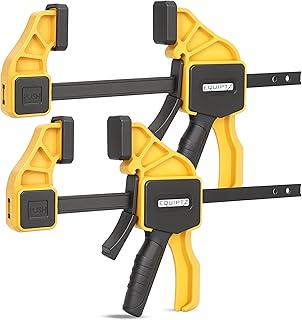
| Quick-action one-handed clamp | Holding, positioning, jigs, dry fits | Low clamping force, not for structural glue-ups | 6 or more |
| Band or strap clamp | Mitered frames, boxes, chairs, odd angles | Corner blocks slip, uneven tension | 1 or 2 kits |
| Spring and small C-clamps | Repairs, small parts, holding stops | Very limited reach and force | A drawer full |
The mistake we see most often is a shop full of one type. A dozen quick-action clamps will not close a panel joint properly, and a dozen parallel jaw clamps is an expensive way to hold a stop block. Spread the budget across families in proportion to the work you actually do.
Parallel jaw clamps: the casework standard
Parallel jaw clamps are the reason modern panel glue-ups look easier than they used to. The jaws are tall, machined flat, and designed to stay perpendicular to the bar under pressure. That geometry does two things at once: it pushes the joint closed without kicking the boards out of plane, and it gives you a reference surface you can register a panel against, which keeps assemblies square with far less fussing.
Judge them on jaw face flatness first. Set two clamps jaw-to-jaw and look for light between the faces. Then check how the sliding head tracks along the bar. Good ones move with a firm, consistent drag and lock without slop; poor ones rattle, then cock over as soon as you crank the screw. The clutch or trigger mechanism is the second wear point. It should hold indefinitely at full pressure and release cleanly without you fighting it, because a clamp that will not let go on a wet glue-up is a genuine problem.
The honest downside is cost and mass. A 50-inch parallel clamp is heavy, takes up real rack space, and costs several times what a pipe clamp fitting does. Most makers we know build up to a set of six over time, then add pairs as project sizes grow.
Parallel jaw clamp sets for casework and panels
If you build cabinets, doors, or anything that must come out of the clamps square, this is the family to invest in first. Buy in pairs and in matched lengths, since mixing bar profiles makes storage awkward. Two 24-inch and two 40-inch clamps cover a surprising amount of furniture work before you need anything longer.
F-style, pipe and specialty clamps: capacity without the premium
F-style bar clamps are the everyday workhorse. They are lighter than parallel clamps, cheaper per unit, and the deep throats on the better models reach further from an edge than you might expect. Look at the bar cross-section, because that is where cheap models save money and where flex comes from. A thin, unribbed bar will visibly bow when you lean on the handle. Also look at the pad: swiveling pads with a decent surface area spread the load and reduce denting, and a pad that pops off is a small annoyance you will feel every glue-up.
The known weakness of the F-style design is rack. Because the sliding arm sits on one side of the bar, high pressure tries to twist the jaw. Good ones limit this with a longer sliding shoe and a stiffer bar. If a panel keeps stepping at the joint line, alternating clamps above and below the panel cancels much of the twisting force.
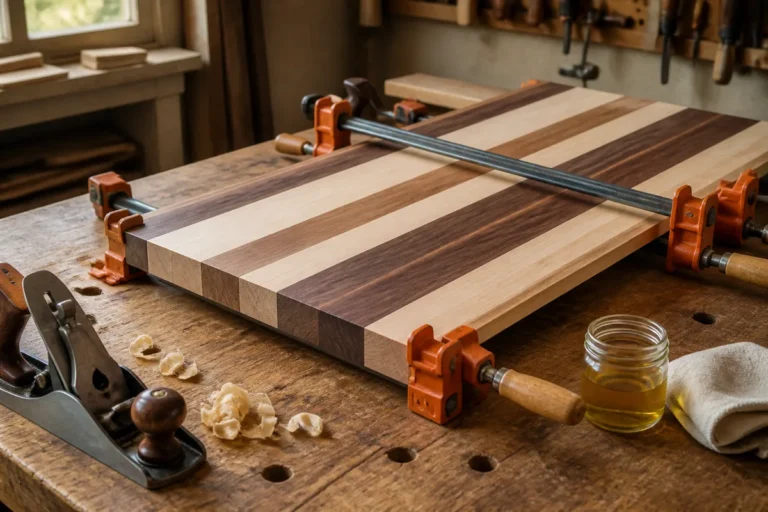
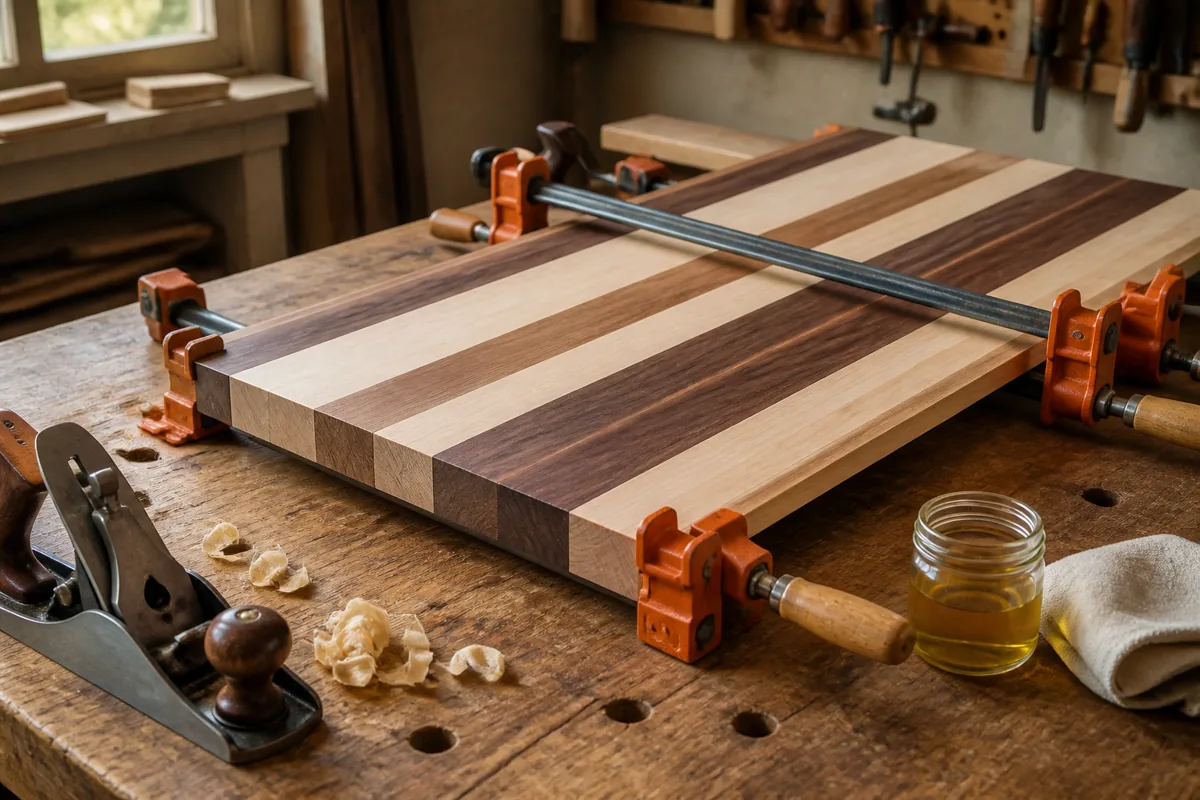
Pipe clamps remain the cheapest route to long capacity, which is why so many trestle tables and workbench tops were glued up in them. You buy the cast fittings and supply your own black pipe, cut to whatever length the project needs. The tradeoffs are real: the jaws are small and not parallel, iron fittings can react with glue squeeze-out and stain light woods, and long pipes deflect. Cauls and scrap pads solve most of that. Threaded pipe couplers let you extend a run temporarily, which no bar clamp can do.
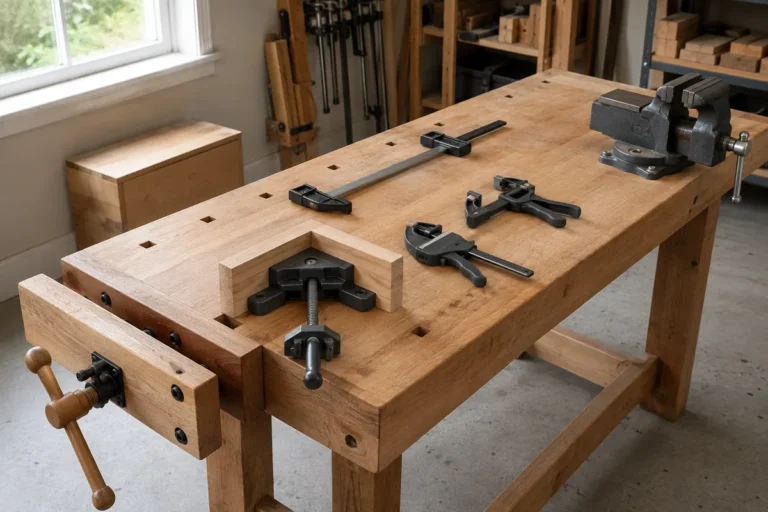
Band clamps and specialty corner clamps fill the gaps. A strap clamp is the sane way to pull four miters tight at once, and a pair of right-angle blocks makes a two-hand assembly into a one-hand job. Neither generates much force, so treat them as alignment tools that also apply pressure rather than as your primary clamping pressure.
- ✔ Mixed clamp arsenal handles panels, frames, miters and repairs without improvising
- ✔ Pipe clamps deliver long capacity at a fraction of the cost per inch
- ✔ Parallel jaws keep casework square and reduce squaring blocks and cauls
- ✔ Quick-action clamps speed dry fits and jig setups dramatically
- ✘ A useful collection is a multi-year purchase, not a single order
- ✘ Long parallel clamps are heavy and demand dedicated wall or cart storage
- ✘ Bare metal jaws mark softwoods unless you use pads or cauls
- ✘ Bargain clamps often flex or rack enough to undo careful joinery
How many clamps, and how to spend the budget
The old rule is that you need twice as many clamps as you think. A more useful version: count the joints in your typical assembly, then plan on a clamp roughly every 6 to 10 inches along a glue line, plus two or three spares for cauls and squaring blocks. A single cabinet carcass can eat eight clamps quickly once you add a clamp across the front to pull the face frame tight.
On sequencing, we suggest a mid-tier F-style set first because it is the most flexible per dollar, then pipe clamp fittings for anything over 4 feet, then parallel clamps as the casework work justifies them. Quick-action clamps are cheap enough to add opportunistically. Avoid the temptation to buy one very expensive clamp; one clamp of any quality cannot close a panel.
Storage matters more than people expect. Clamps that live in a pile get used less, get dropped on the concrete, and their screws stiffen with dried glue. A simple French cleat rack or a rolling clamp cart pays for itself in reduced setup time. Wipe the threads occasionally, keep glue off the bars with wax or a rag, and a decent set will outlast several table saws.
F-style bar clamps and pipe clamp fittings
The pragmatic core of most shops. Buy F-style clamps in a couple of lengths, favor models with a ribbed bar and a large swiveling pad, and pair them with a few sets of pipe clamp fittings for long stock. Keep a stack of hardwood scrap nearby to use as pads and cauls, since that single habit prevents most clamp marks.
Best Clamps for Woodworking: Our Verdict
For most shops, the answer is a layered kit rather than a single winner. Parallel jaw clamps earn their premium in casework and panel work, where flat jaws and reliable squareness translate directly into less time spent correcting mistakes. F-style clamps deliver the widest usefulness per dollar and should be the first purchase in a new shop. Pipe clamps solve the long-capacity problem cheaply as long as you accept cauls and pads as part of the process. Band clamps and quick-action clamps are cheap insurance for the awkward assemblies that otherwise require a third hand.
Judge any candidate on the mechanical basics: flat and parallel jaw faces, a stiff bar that resists bowing, a sliding head that locks without slop, a screw that turns smoothly under load, and a release that works when your hands are covered in glue. Clamps that pass those tests will still be in service decades from now, which is why buying slightly better and slightly fewer at a time is usually the right call.
Frequently Asked Questions
How many clamps do I really need to start? Six is a workable minimum for small furniture: four medium F-style clamps and two longer ones. Plan on a clamp every 6 to 10 inches along a glue line, then add pairs as your projects grow. Buying in pairs matters because clamping pressure should be balanced across an assembly.
Are parallel jaw clamps worth the extra money? For casework, doors, and panels, yes. The flat jaws hold parts in plane and give you a square reference, which reduces fixing work later. For general holding, jigs, and repairs, an F-style or quick-action clamp does the job for far less.
How do I stop clamps from staining or denting my work? Use scrap hardwood pads between the jaw and the workpiece, and keep squeeze-out off bare iron fittings, since the glue and metal reaction can leave dark marks on light woods like maple and ash. Wax paper or packing tape on the pads keeps them from gluing themselves to the project.
When you are ready to build out a set, compare current listings across clamp families rather than buying one large kit sight unseen.
Check prices on Amazon →