Pipe Clamp Buying Guide
Key takeaways
- A criteria-led pipe clamp buying guide that judges fixture castings, pipe choice, clutch plates and pad options rather than chasing the lowest sticker price.
What's inside
As an Amazon Associate I earn from qualifying purchases. This post may contain affiliate links at no extra cost to you.
Pipe clamps are the cheapest way to get real clamping length in a small shop, and that is exactly why they get bought badly. Most people grab whatever fixture set is on the shelf, screw it onto whichever pipe the hardware store cut for them, and then wonder why panels come out of the clamps with a bow in them. This pipe clamp buying guide is built around the parts that actually determine whether a glue-up goes flat: the casting quality of the fixture, the pipe you thread into it, the clutch mechanism that holds position, and the pads that keep cast iron off your workpiece.
The distinction worth internalizing up front is that a pipe clamp is a system you assemble, not a finished tool. A parallel clamp arrives complete and its performance is fixed at purchase. With pipe clamps you are choosing two independent things, the fixture and the pipe, and a good fixture on undersized pipe is a bad clamp. That is the trade you accept in exchange for buying clamping capacity by the foot instead of by the clamp.
As an Amazon Associate we earn from qualifying purchases at no extra cost to you. Product prices and availability are accurate as of the date shown and are subject to change.


| Clamp type | Typical cost per foot of reach | Best use | Main weakness |
|---|---|---|---|
| Pipe clamp (3/4 in) | Lowest | Long panels, casework, carcass pulls | Pipe flex, no inherent parallelism |
| Pipe clamp (1/2 in) | Very low | Short work, light frames | Noticeable deflection over 3 ft |
| Parallel jaw clamp | Highest | Panel glue-ups needing square | Cost, weight, limited lengths |
| Aluminum bar clamp | Moderate | Quick assembly work | Lower clamping force |
| F-style clamp | Moderate | Edge work, fixturing | Short reach, jaw racking |
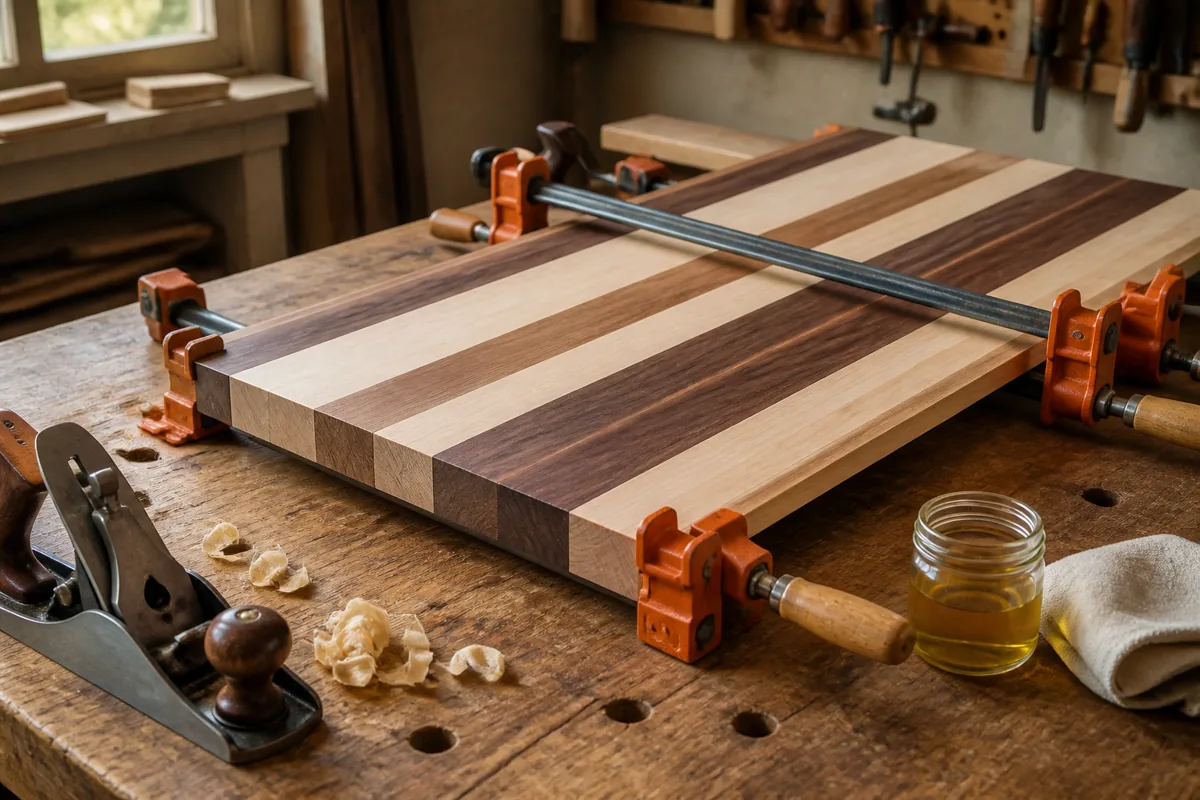
What This Pipe Clamp Buying Guide Judges
We evaluate pipe clamp fixtures on mechanical criteria you can inspect at the store or on arrival, without needing a load cell. First, the casting. Look at the tail stop and the screw body for crisp, clean edges and no visible porosity in the cast iron. Cheap castings show pitted surfaces and sloppy flash around the parting line, and those are the ones that crack when a heavy panel goes sideways. Malleable iron is the standard material and it should feel dense rather than brittle.
Second, thread engagement. Screw the fixture onto a scrap of pipe and count how many turns it takes to seat, then check whether the fixture wobbles on the thread. A tapped hole with only two or three threads of usable engagement will strip or cross-thread within a year of regular use. This matters more than people expect, because when the head fixture loosens on the pipe, your clamping pressure starts wandering off axis and the panel walks.
Third, the clutch plates on the sliding tail stop. That mechanism is two or three steel plates that cant slightly under load and bite the pipe. Good ones release cleanly when you tip them and grab within a fraction of an inch of travel. Bad ones either slip under pressure, which you discover mid glue-up, or seize so hard you need to hammer them loose. Squeeze the tail stop onto pipe, lean on it, and watch whether it creeps.
Fourth, the swivel foot on the screw. A fixed pad transmits any misalignment straight into the workpiece. A ball-and-socket or otherwise articulating foot lets the pressure stay perpendicular to a slightly out-of-square edge. This is a small feature with an outsized effect on whether the joint closes evenly.
Fifth, the handle. Cast iron cross handles are traditional and fine. What you want to avoid is a handle so short that you cannot generate torque, or so long that it collides with the pipe of the adjacent clamp when you set up an alternating over-under pattern.
3/4 in Pipe Clamp Fixtures (Multi-Pack)
Buying fixtures in packs of four, six or eight is the sensible move because pipe clamps are useless in ones and twos. Prioritize sets that specify malleable iron and show a clear photo of the clutch plate stack. Multi-packs from the established clamp brands cost more per fixture than no-name bundles, and the difference shows up in thread quality and casting cleanliness rather than in anything you can see from the listing photo.
Pipe Choice: Diameter, Material and Length
Fixtures come in 1/2 inch and 3/4 inch. For general woodworking, buy 3/4 inch and stop thinking about it. The stiffness difference is not marginal. Half-inch pipe visibly deflects when you apply serious pressure across a wide panel, and that deflection is what puts a curve in your tabletop. Half-inch fixtures earn their place only for short, light work where you want less mass in hand.
On material, black pipe is the default recommendation for one specific reason: galvanized pipe can transfer zinc coating onto damp wood and the residue is unpredictable around glue and finish. Black pipe leaves its own marks too, and it will rust in a humid shop, but the marks are easier to manage and a wipe of paste wax handles both problems. Some woodworkers deliberately wax their pipes to keep the clutch plates from biting into fresh metal and to reduce glue squeeze-out sticking. Do not overdo it, since a slick pipe gives the clutch less to grab.
Length strategy matters more than most buyers plan for. The instinct is to buy long pipe for maximum capacity, but a 6 foot pipe clamp is heavy, awkward, and prone to flex. A better approach is a range: a set of short pipes around 2 to 3 feet for face frames and small carcasses, a set around 4 feet for typical cabinet and panel work, and only a couple of longer ones for the occasional bench top or bookcase. Threaded couplers let you join two pipes into one long one, which covers the outliers without dedicating money and rack space to full-length pipe. Couplers do introduce a step in the pipe surface, so keep the joint away from where the tail stop needs to sit.
If you buy pipe cut to length at a hardware store, insist that both ends are threaded or at least that the cut end is deburred. A ragged cut end chews up the tail stop clutch plates and makes threading a coupler on later impossible.
- ✔ Lowest cost per inch of clamping capacity of any clamp type
- ✔ Pipe length is user-selectable and replaceable
- ✔ Very high clamping force from a simple screw
- ✔ Couplers extend reach without buying new clamps
- ✔ Fixtures outlast most other clamp hardware
- ✘ No inherent parallelism, so panels can bow if pressure is not balanced
- ✘ Bare cast iron and steel can stain wood, especially with water-based glue
- ✘ Pipes rust and need occasional cleaning and waxing
- ✘ Heavy and awkward at longer lengths
- ✘ Round pipe will not sit flat on a bench without a stand or cradle
Accessories That Change How the Clamps Perform
Three add-ons do real mechanical work. Plastic or nylon pads that snap over the jaws are the first, and they solve the iron-on-wood staining problem more reliably than remembering to slip a cutoff under each jaw. They also spread pressure slightly, which reduces denting on softwoods. Check that pads are sold for your fixture’s jaw profile, since they are not universal.
Second, feet or stands. A round pipe wants to roll, so unsupported pipe clamps tip and dump your assembly. Molded feet that clip onto the pipe raise the assembly off the bench, keep the clamp upright, and give squeeze-out somewhere to go besides your benchtop. Shop-built cradles cut from scrap plywood with a V or a notch do the same job for free and can be sized to hold three or four clamps in a row for panel glue-ups.
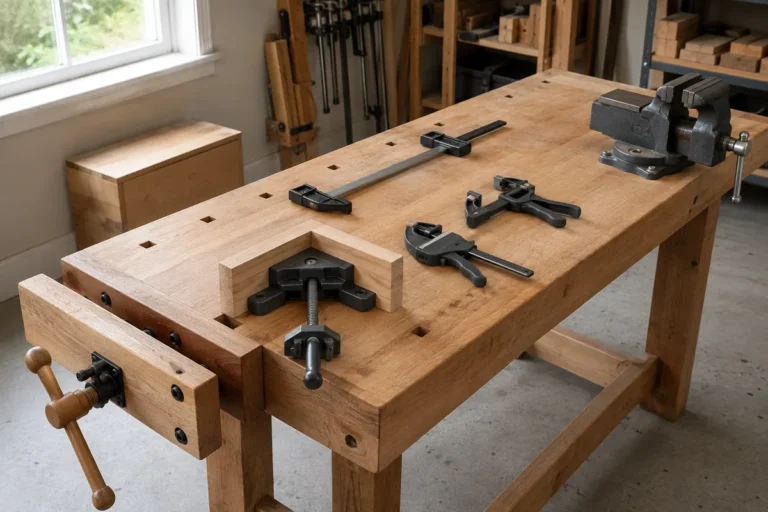
Third, pipe clamp accessories that convert the fixture into something else: 90 degree corner blocks for case assembly, and shop-made cauls that ride between clamp and workpiece to distribute pressure across a wide edge. Cauls are the honest answer to the parallelism problem. A pair of slightly crowned hardwood cauls clamped across a panel does more for flatness than upgrading your fixtures ever will.
Pipe Clamp Pads and Pipe Stands
Order pads and feet in the same cart as the fixtures rather than as a later upgrade, because the habits you form in the first month are the ones you keep. Pads prevent the iron staining that shows up as gray-black marks under finish, and feet stop the rolling that causes most dropped glue-ups. Both are inexpensive relative to the fixtures, and both are jaw-profile specific, so match them to the fixture line you chose.
How Many to Buy, and Where Pipe Clamps Stop Making Sense
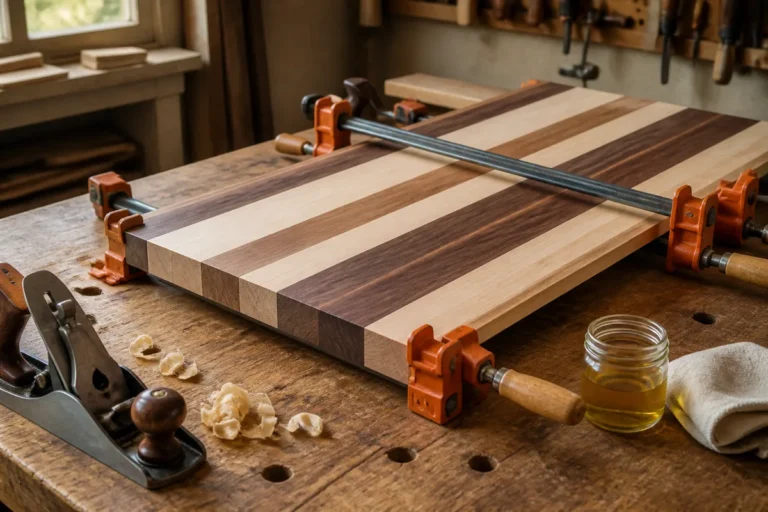
The working rule for panel glue-ups is one clamp every 6 to 10 inches along the joint, alternating above and below the panel to balance the clamping force and keep the panel from cupping. Do that math for a 36 inch wide tabletop and you arrive at five or six clamps for a single glue-up, which is why fixtures are sold in multi-packs and why buying two at a time is a false economy. Start with six 3/4 inch fixtures. Add more when you find yourself planning glue-ups around clamp availability.
Pipe clamps stop being the right answer in two situations. When you need guaranteed square and parallel faces without cauls, parallel jaw clamps earn their higher price, particularly for frameless cabinet boxes where a racked case is difficult to fix later. And when you need to clamp light assemblies quickly and repeatedly, the mass of a pipe clamp works against you and an F-style or aluminum bar clamp is faster. Most shops end up with pipe clamps for length and force, and a smaller set of parallel clamps for the work that must come out dead square.
Verdict
Pipe clamps remain the best value in shop clamping, on one condition: buy the fixture on casting and clutch quality rather than sticker price, and pair it with 3/4 inch black pipe in a range of practical lengths. Spending a little more per fixture for clean threads, a swivel foot, and clutch plates that bite without seizing buys you a tool that will outlast the shop it sits in. Add pads and feet immediately, learn to use cauls, and accept that parallelism is your job rather than the clamp’s. Do that and a rack of pipe clamps handles the overwhelming majority of glue-ups a furniture or cabinet shop will ever see.
Frequently Asked Questions
Should I use black pipe or galvanized pipe for pipe clamps? Black pipe is the usual choice. Galvanized pipe’s zinc coating can transfer to damp wood and interact unpredictably with glue and finish, and the coating is also slicker, which gives the clutch plates less to grip. Black pipe will rust in a humid shop, so wipe it down and apply a light coat of paste wax occasionally. That also keeps glue squeeze-out from bonding to the pipe.
Can I mix fixtures from different brands on the same pipe? Mechanically yes, since standard 3/4 inch pipe thread is standard. In practice, mixing brands means mixing jaw heights and jaw profiles, so your pads will not interchange and the clamping pressure will sit at slightly different heights on the workpiece. It is workable but not ideal. Sticking to one fixture line keeps accessories compatible and keeps setups predictable.
Why do my panels come out bowed when I use pipe clamps? Almost always because all the clamping force is on one face of the panel. Pipe clamps apply pressure along the pipe axis, which sits below or above the panel’s centerline, and that offset creates a bending moment. Alternate clamps above and below the panel, keep the spacing even, and add a pair of cauls across the width. Excessive pressure makes it worse, so tighten until the joint line closes and squeeze-out appears, then stop.
Check prices on Amazon →