How to Use a Drill Press for Doweling Furniture Joints
What's inside
As an Amazon Associate I earn from qualifying purchases. This post may contain affiliate links at no extra cost to you.
Contents
Why use a drill press for dowel joints
A drill press can make clean, repeatable holes for dowel joints, especially when parts are small enough to position safely on the table. Its main advantage over a handheld drill is control: the bit travels at a fixed angle, and a depth stop helps keep holes consistent. It does not automatically align mating holes, though. That depends on careful layout, a jig, or dowel centers.
For a basic joint, use fluted, spiral-grooved dowels rather than smooth rods. The grooves give glue somewhere to escape and help prevent hydraulic pressure from holding the joint apart. Common furniture dowels are 1/4, 3/8, and 1/2 inch in diameter. Choose a size that leaves enough wood around the hole; a 3/8-inch dowel is a practical choice for many rails and frames made from stock around 3/4 inch thick.
Tools and setup
Use a sharp brad-point bit sized to the dowel diameter. Its center spur helps locate the hole, while the outer spurs score the wood fibers for a cleaner edge. A twist bit can work, but it is more likely to wander or leave a ragged entry. For repeatable results, a brad-point bit set is a useful purchase; a single correct-size bit is enough if you only make one kind of joint.
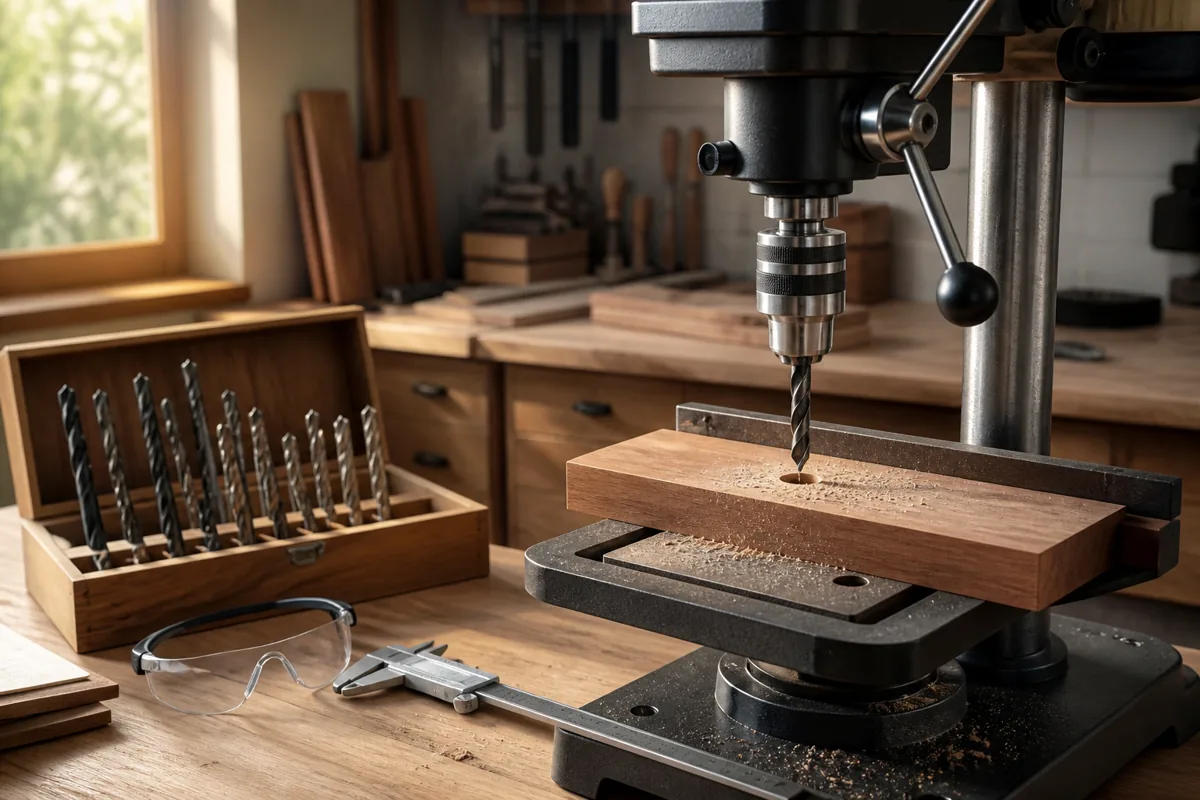
Clamp the workpiece to the drill-press table. Never hold small parts by hand: a bit can grab and spin the stock, causing injury or ruining the work. A fence or stop block helps place repeated holes at the same distance from an edge. If the table is too small or awkward for a long rail, support the far end with a roller stand or a level auxiliary table.
Set the table square to the bit with a machinist’s square or a reliable drill-press setup tool. Check the quill for excessive play and the chuck for obvious runout; a visibly wobbling bit can make oversized holes. Wear eye protection, keep loose sleeves and hair clear, and unplug the machine before changing bits or making adjustments.
Choose an alignment method
| Method | Best for | Trade-off |
|---|---|---|
| Layout marks and a fence | A few joints with accessible faces | Low cost, but errors in marking transfer directly to the joint |
| Dowel centers | Matching holes in simple butt joints | Quick and inexpensive, but centers can shift if parts move |
| Dowel jig | Repeated holes or work without a drill press | Costs more and still needs careful setup |
A drill press controls angle and depth, but it cannot locate the second hole from the first by itself. For a small number of straightforward joints, dowel centers are often sufficient. For repeated furniture work, a dowel jig can make alignment easier. A basic jig is fine for occasional work; a metal jig with replaceable bushings is more durable if you drill many holes or need consistent spacing.
Drill and align the holes
First, mark the dowel positions on the mating faces. Keep holes far enough from edges to avoid splitting; for a 3/8-inch dowel, a centerline at least 3/8 inch from an edge is a reasonable starting point, with more margin in brittle or narrow stock. Use two dowels where possible to prevent the parts twisting during assembly. Space them several dowel diameters apart and keep their positions clear of knots, checks, and end grain defects.
Set the fence so the bit meets the centerline, then drill a scrap test piece of the same thickness. Check that the hole is centered and that the dowel fits snugly without hammering. If the fit is loose, confirm the bit size and runout before changing your layout. A hole that is too tight can split the work or trap glue; one that is too loose weakens the joint and makes alignment harder.
Use the drill press depth stop to make holes deep enough for the dowel and glue. For a 1-inch dowel, a useful starting point is about 1/2 inch into each piece, adjusted for the joint and the dowel’s actual length. The hole should be slightly deeper than the inserted half of the dowel—often about 1/16 inch extra—to leave room for glue. Use a depth collar or stop block if the press’s built-in stop is difficult to set accurately. Drill a shallow pilot in scrap first, then measure the depth with a dowel or depth gauge.
Drill at a moderate speed, feed steadily, and withdraw the bit periodically to clear chips, especially in deep holes or dense hardwood. For a blind hole, a piece of tape on the bit can serve as a visual depth marker, but it is less reliable than a positive stop. Stop if the bit squeals, burns the wood, or packs with chips; continuing can overheat the bit and produce an oversized, rough hole.
Test, glue, and assemble
To transfer mating-hole locations with dowel centers, drill the first part, insert the centers with their points facing out, and press the second part against them in its final position. The marks show where to drill the matching holes. Keep both faces registered against a fence or square edge. If the work shifts during pressing, the marks can be offset, so make a dry test fit before applying glue.
Cut dowels so they do not bottom out in both holes at once. For a 1-inch dowel, holes about 1/2 inch deep in each part plus a small clearance at the bottom are a sensible starting arrangement. Dry-fit the joint: the faces should close fully with firm hand pressure or light taps, not heavy hammering. If they do not, check hole depth, alignment, and whether glue or chips are blocking the bottoms.
Apply a thin, even coat of wood glue inside each hole and on the mating faces. Avoid flooding blind holes; excess glue can create hydraulic pressure and keep the joint from closing. Insert the dowels, bring the parts together, and clamp with enough pressure to close the seam without bowing the work. Wipe away squeeze-out, check the assembly for square, and leave it clamped for the glue maker’s stated time before removing clamps or stressing the joint.

