How to Joint Multiple Boards for a Cabinet Glue-Up
What's inside
As an Amazon Associate I earn from qualifying purchases. This post may contain affiliate links at no extra cost to you.
A cabinet panel glue-up lives or dies on the edge joint. If your edges are not straight, square, and free of machine marks that prevent glue contact, you will get starved joints, visible glue lines, and panels that warp after you cut them free from the clamps. You do not need a shop full of hand tools to get this right. With a jointer, a planer, and a table saw set up correctly, you can mill multiple boards to glue up flat and stay flat.
Contents
The Correct Milling Sequence
Do not start by cutting boards to final width. Start with rough lumber that is at least 1 inch longer and 1/2 inch wider than your final part size. The sequence that prevents twist and cupping from coming back is: face joint one side, plane the opposite face parallel, then edge joint one edge, then rip the second edge parallel on the table saw. If you skip face jointing and go straight to the planer, the planer will press a twisted board flat with its rollers, cut it, and the board will spring back to a twist when it exits.
For cabinet work, mill all boards for one panel in the same session and sticker them overnight before glue-up if you can. Wood moves as internal stress is released. A pile of boards milled at 8% moisture that sits for a week in a dry shop will not be the same boards you jointed.
Face Jointing and Planing to Thickness
Set your jointer to take 1/32 to 1/16 inch per pass for face jointing. Any deeper and you risk chatter and scalloping on wide boards. Use a push block over the cutterhead, not your hands, and keep pressure on the outfeed table after the cut starts. Check for flat with a reliable straightedge across the face, along the length, and diagonally. You are looking for no light under the straightedge and less than 0.005 inch of deviation.
Once one face is flat, plane the opposite face with a benchtop planer until the board is at your target thickness. For most frameless cabinets, 3/4 inch (19mm) finished is standard. Take light passes of 1/32 inch after you are within 1/16 inch of target to reduce snipe. If your planer leaves 0.010 to 0.015 inch deep snipe on the first and last 3 inches, run the board with a sacrificial leader and trailer board of the same thickness, or lift slightly on entry and exit. Do not sand out snipe at this stage; you will create a thin spot that shows as a dip in the glued panel.
Edge Jointing for a Glue-Ready Edge
The jointer is the right machine for this job if your boards fit its width and length. A 6-inch jointer handles most 4/4 cabinet stock, but you will be limited to boards under 6 inches wide for face jointing. That is why many cabinet shops move to an 8-inch jointer with a 55 to 72 inch bed; the longer bed lets you straighten a 48-inch board without the ends tipping off the tables. A 6-inch benchtop jointer with 30 to 45 inch beds can still do excellent work up to about 36 inches, but you will fight it on longer door panels.
To edge joint, set the fence to 90 degrees and verify with a square against the outfeed table, not just the fence scale. Joint one edge until you have a continuous cut the full length of the board with no missing spots. Then check for square. If the jointed edge rocks against the square even slightly, you will get a V-shaped glue line or a panel that needs excessive clamp pressure to close.
For boards wider than your jointer or for glue-ups with more than 4 boards, joint one edge of each board and then rip the second edge on the table saw. After jointing, place the jointed edge against the table saw fence and rip to final width plus about 1/32 inch for a cleanup pass on the jointer if needed. A well-tuned table saw with a sharp 40-tooth ATB blade can produce a glue-ready edge by itself, but the jointer gives you a more forgiving surface with tiny scallops that help glue retention.
| Method | Best For | Edge Quality | Limitations |
|---|---|---|---|
| 6-Inch Jointer | Boards up to 5.5 in wide, 36 in long | Excellent; square and straight in one setup | Too short for long panels; narrow for wide stock |
| 8-Inch Jointer | Cabinet panels 30-48 in long | Excellent; longer bed reduces taper | Costs more, needs 230V on many models, takes floor space |
| Table Saw with Glue-Line Rip Blade | Straight stock already flat | Good if fence is parallel within 0.003 in | Will not straighten a crooked edge; copies any bow |
| Planer with Jointing Sled | Face flattening without a jointer | N/A for edges | Slow, sled setup matters; not ideal for edges |
If you do not own a jointer yet, a table saw jointing jig or a straight-line rip sled can substitute for edge straightening. It works, but it is slower and depends entirely on your sled being straight. For face flattening without a jointer, a planer sled with shims and a flat MDF base will get you one flat face. These are workable compromises for occasional glue-ups. If you build cabinets regularly, the jointer pays for itself in time and in wood saved from failed panels.
Dry Fit, Glue, and Clamping Strategy
After milling, lay out all boards for color and grain match. Flip every other board to alternate growth-ring direction if you want more stability, though this is less critical than getting the panel flat. Mark the faces with a cabinetmaker’s triangle so you do not flip a board accidentally.
Dry clamp the panel without glue. The boards should meet with light hand pressure and show no gaps against a straightedge across the joints. A gap you can slip a 0.003 inch feeler gauge into will likely not close without excessive pressure. If you need more than moderate force on the clamp handles to close a gap, re-joint the edge. Forcing a bowed joint closed stores stress that will open later or warp the panel after you crosscut it.
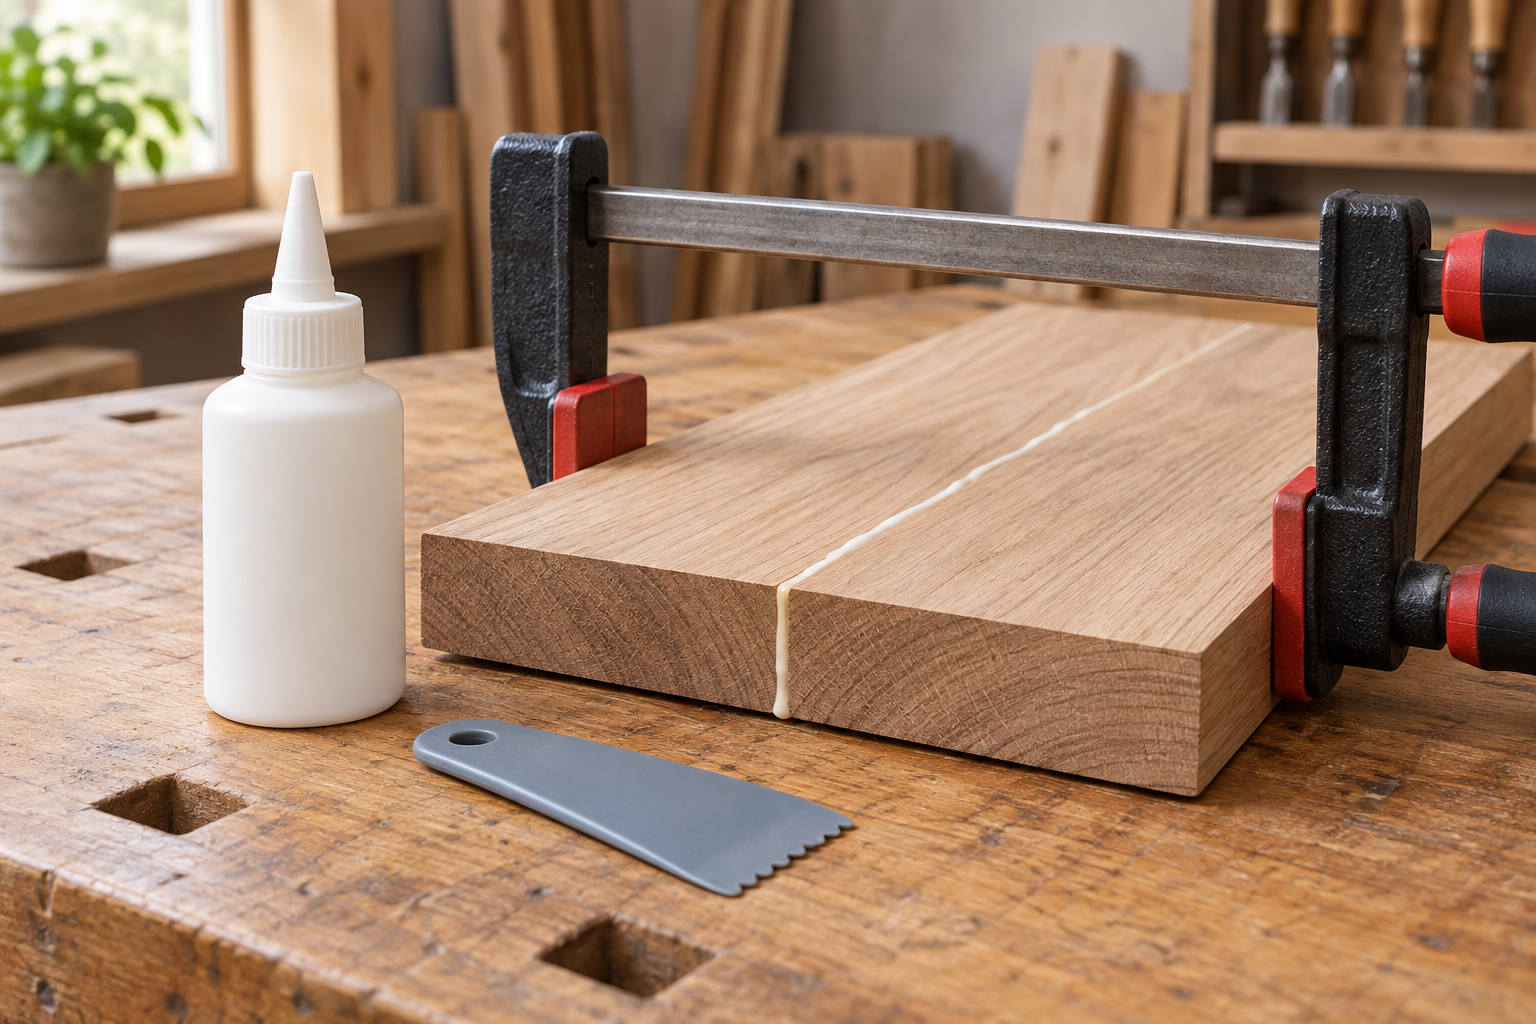
For glue, standard PVA (Titebond I/II) is correct for interior cabinets. Apply a thin, even bead to one edge of each joint and spread so both surfaces are wet but not dripping. Open time is about 5 minutes at 70F; colder shops give you more time. Too much glue does not make a stronger joint – it creates hydraulic pressure that prevents closure and causes excessive squeeze-out that seals the wood against stain.
Use parallel clamps spaced every 8 to 12 inches, with alternating clamps above and below the panel to prevent bowing. Snug the clamps until you get a continuous line of small beads along the joint, then stop. Add two cauls across the panel faces at the ends and one in the middle to keep the boards flush. These can be straight pieces of 3/4 inch plywood or aluminum bars with packing tape so glue does not stick. Do not over-tighten the cauls; they are for alignment, not pressure.
Leave the panel in clamps for 45 to 60 minutes, then remove and scrape soft glue squeeze-out with a card scraper. Do not move or plane the panel for 24 hours. Full strength takes that long, and early machining can creep the joints.
Failure Modes and How to Avoid Them
Bowed panel after glue-up usually means you clamped with uneven pressure or without cauls, or your edge was not square. Check your jointer fence square often; vibration loosens it. Cupping after a day often means the boards were not at equilibrium moisture content. Buy a pin meter and do not glue boards that read more than 2% different from each other or from your shop.
Glue line visible after finishing is often caused by a planer scallop or burnish from a dull jointer knife. Jointer knives should be sharp enough to shave end grain. If you see shiny, burnished edges or hear the motor bogging, you are crushing fibers instead of cutting them, and glue will not penetrate. Hone or replace the knives. On a helical head, rotate or replace inserts when you see lines or hear a tick.
If a joint springs open when you release clamps, the classic fix is a spring joint – jointing edges with a deliberate 0.010 inch hollow in the middle so the ends pull tight. This can work for long table tops, but for cabinet panels under 36 inches it creates unnecessary stress. A flat, straight edge is more predictable. Re-joint dead straight and try again rather than chasing a spring joint.
After the glue cures, flatten the panel with a light pass through a wide drum sander if you have one, or with a hand-held belt sander followed by a random orbit sander starting at 120 grit. If you plane a glued panel, take 1/64 inch passes to avoid tearing glue lines. Scrape any remaining glue before sanding; glue spots will not absorb stain and will show as pale blotches under clear finish.

