How to Set Up a Drill Press Fence for a Row of Shelf-Pin Holes
What's inside
As an Amazon Associate I earn from qualifying purchases. This post may contain affiliate links at no extra cost to you.
Contents
Why use a fence for shelf-pin holes?
A drill press fence keeps a row of holes the same distance from the cabinet’s front or back edge. It also makes the work repeatable: once the fence and stop are set, you can drill both sides of a cabinet without measuring every hole individually.
The setup is straightforward, but small errors add up. A fence that shifts, a board that sits crooked, or a depth stop that is set by eye can leave shelf pins misaligned or holes drilled through the panel. Test the setup on scrap from the same material and thickness before drilling a cabinet side.
Choose a fence that suits the job
For occasional cabinet work, a straight, square scrap of hardwood clamped to the drill-press table may be all you need. It costs little and works well if it stays put. A purpose-built drill-press fence is more convenient for frequent work, especially if it has adjustable stops and a fence face tall enough to support the panel.
Consider how you will locate the row, not just how you will hold the board. A fence controls the distance from an edge; it does not automatically set the spacing between holes. You need a stop, a jig, or careful marks for that. A shelf-pin drilling jig can be a better buy if you make cabinet sides often and want a consistent hole pattern without laying out every center.
| Setup | Best for | Trade-off |
|---|---|---|
| Clamped scrap fence | Occasional drilling and simple rows | Cheap and flexible, but needs careful alignment and can move if clamping is poor |
| Adjustable drill-press fence | Repeated work with different panel widths | Faster to adjust, but adds cost and still needs a stop for hole spacing |
| Shelf-pin jig | Matching rows across multiple cabinet sides | Improves repeatability, but may limit hole locations or require a specific layout |
Set up the drill press
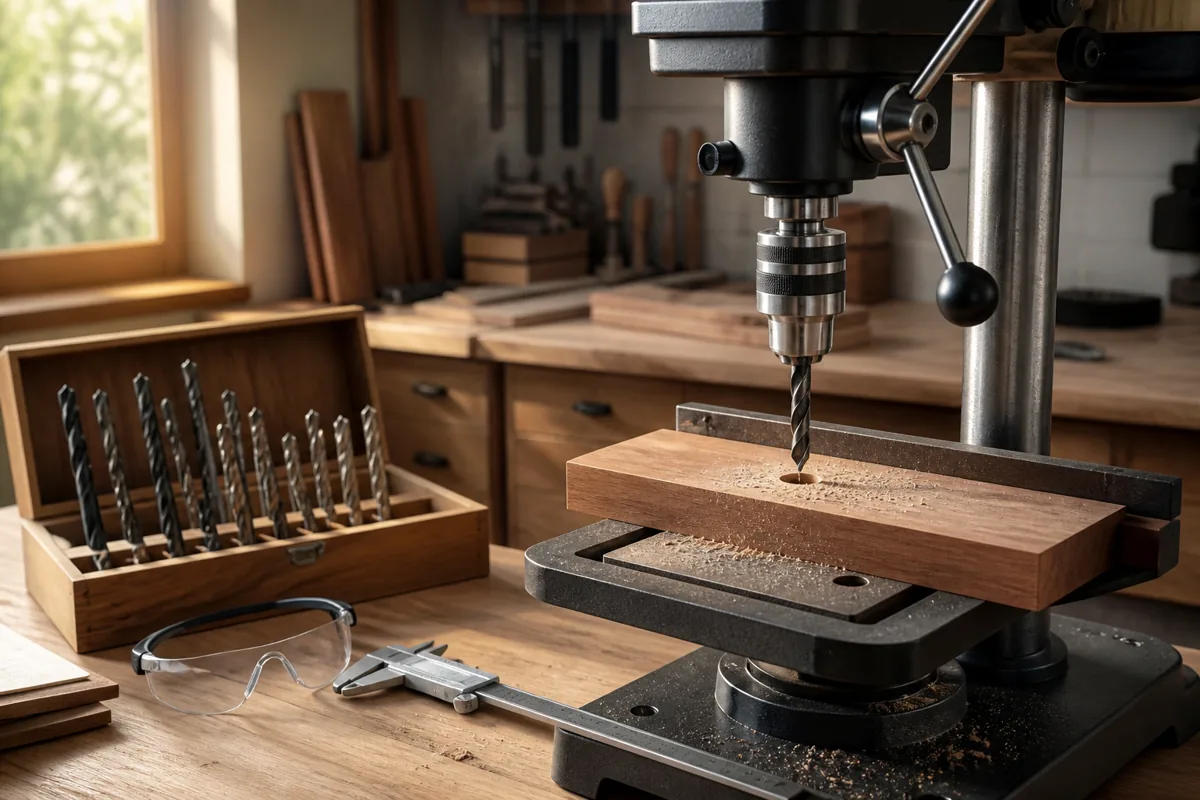
Unplug the drill press while fitting the bit or adjusting the table. Install a brad-point bit suited to the pin holes; 5 mm and 1/4 inch are common sizes, but use the diameter required by your shelf pins. A brad-point bit starts more accurately than a general-purpose twist bit in wood. Check the pin packaging or measure a pin rather than assuming the sizes are interchangeable.
Set the press table square to the spindle using a machinist’s square or a reliable combination square. Check it again after changing table height or tilt. If the table is tilted, a bit can enter at an angle and make the pins lean. Set the drill speed for the bit and material, and clamp the work so it cannot spin or lift. Do not hold a small workpiece by hand near a rotating bit.
Position and secure the fence
Choose the setback from the cabinet edge. A common layout puts the hole centers about 37 mm (roughly 1-7/16 inches) from the front edge, but cabinet designs vary; match the measurement to your hardware and shelf depth. Measure from the same reference edge on every panel.
Place the panel flat on the table, with that reference edge against the fence. Position the fence so the spindle center lands on your chosen setback. Use a rule or a setup block to check the distance from the fence face to the bit’s center, not to the bit’s outside edge. Tighten the fence clamps, then push firmly against the fence and check that it has not shifted. If the fence is a homemade board, check it for straightness and square before relying on it.
Set hole spacing and depth
For a row of holes, decide the first and last hole locations before drilling. Typical shelf-pin spacing is 32 mm, but spacing varies by system. Use the same spacing for both cabinet sides. A stop block at the table edge can register the panel for each position; mark the first few centers and verify the distance with a ruler before committing to the full row. A commercial jig or indexed drilling guide is more dependable for long rows or repeated batches.
Set the depth stop to leave enough material at the bottom of each hole. For a 3/4-inch panel, a hole around 3/8 to 1/2 inch deep is often adequate for common pins, but check the pin length and panel thickness. A depth stop is safer than judging depth while drilling. If the press has no dependable stop, use a collar on the bit or wrap a clear tape flag around it as a visual backup; a collar is more consistent.
Drill one test hole in scrap of the same thickness. Fit a shelf pin and check that it seats properly without bottoming out. If the bit breaks through, stop and reset the depth before drilling the cabinet. On thin stock, a backer board under the panel helps limit tear-out at the exit side, though a properly set depth stop should prevent breakthrough.
Drill the row without losing alignment
Keep the reference edge pressed against the fence throughout each cut. Lower the bit steadily; forcing it can pull the panel away from the fence or cause the bit to wander. Clear chips from deeper holes by lifting the bit briefly while it is still turning, then finish to the depth stop. Avoid dragging the workpiece across a rotating bit.
For a repeated indexed row, move the panel against the stop for each hole and keep the same face and edge orientation. If you flip a panel end-for-end, the row may no longer match the first side. Label the inside face and front edge before drilling. After the first two holes, test them with a shelf and two pins or a short straightedge; catching a spacing or setback error early is cheaper than discovering it after the entire row is drilled.
Common problems and fixes
If holes wander toward the panel edge, the fence may be slipping, the board may not be held against it, or the bit may be dull. Recheck the fence measurement and clamping, and replace a damaged bit. If matching sides do not line up, check that both were referenced from the same edge and that the stop positions were identical. If pins sit crooked, square the table to the spindle and confirm the panel lies flat.
For a single cabinet, a clamped scrap fence and a measured stop are usually sufficient. Spend the time on a test cut and careful registration rather than buying a complex accessory. If you routinely drill rows across many panels, a jig or adjustable fence can save setup time and reduce layout mistakes—but only if it matches the hole diameter and spacing your cabinets use.