How to Install a Table Saw Extension Wing and Check Alignment
What's inside
As an Amazon Associate I earn from qualifying purchases. This post may contain affiliate links at no extra cost to you.
A table saw extension wing adds support beside the tabletop, but a poorly fitted wing can create a ledge that catches stock or pull the saw out of alignment. Check the saw manual first: some wings are drilled for a specific model, and cabinet, cast-iron, and stamped-steel wings attach differently. Allow about an hour for a straightforward installation, longer if holes need adjustment or the saw must be moved.
Contents
Choose the right wing and hardware
Match the wing to the saw’s make, model, mounting-hole pattern, and tabletop material. A heavy cast-iron wing is rigid and durable, but its weight makes installation awkward; get a helper. Steel wings are lighter and often cheaper, though they may flex more under a heavy workpiece. A router-table insert or other accessory wing needs compatible mounting and enough clearance for the saw’s rails and fence.
If you’re buying, compare table saw extension wings by dimensions, hole pattern, and material—not just brand name. A universal wing may require drilling, and it is not a bargain if that means weakening the tabletop or leaving too little support around the fasteners.
| Wing type | Advantages | Trade-offs |
|---|---|---|
| Cast iron | Rigid, durable, helps damp vibration | Heavy; needs careful handling and often a helper |
| Stamped steel | Lighter and usually less expensive | Can flex or dent; flatness and stiffness vary |
| Shop-made plywood | Low cost and easy to size for a custom setup | Can sag or swell; needs a solid frame and sealed edges |
Tools and preparation
Unplug the saw. Remove the blade guard, fence, and any rails that block access, following the manual. Do not rely on the switch being off. Clean the mating edges and check the wing for burrs, paint buildup, or shipping damage. Have the correct wrenches, a straightedge at least 24 inches long, feeler gauges or thin shims, and a stable support ready. A second person should hold a cast-iron wing while you start the bolts.
Check the fasteners before starting. Use the specified bolts and washers; bolts that are too long can interfere with internal parts, while bolts that are too short may not engage enough threads. If the saw uses through-bolts and nuts, keep the blade and wiring clear as you work. Never drill a cast-iron tabletop or alter a safety-critical mounting point without the manufacturer’s instructions.
Mount the extension wing
Position the wing beside the tabletop and line up the holes. Start every bolt by hand, but leave them loose enough for adjustment. On many saws, the top surfaces are brought level by shifting the wing and tapping it gently with a rubber mallet or wood block. Do not use the bolts to force a badly mismatched wing into position; that can damage threads or bow the tabletop.
Lay the straightedge across the main table and wing in several directions: front to back, across the joint, and diagonally. Look for a step, a gap, or a high corner. A small mismatch can usually be corrected by loosening the bolts and nudging the wing. If the wing sits low and the mounting design allows it, thin metal shims between the mounting surfaces can help. Avoid soft cardboard or wood shims that compress or change with moisture.
Tighten the bolts gradually, alternating between them so the wing does not twist. Recheck with the straightedge after each pass. Follow the manual’s torque guidance if provided; otherwise, tighten securely without leaning heavily on a long wrench. Over-tightening can distort thin steel or strip threads.
Check alignment after installation
First check that the wing is flush with the saw table. A gap or step of even a few thousandths of an inch can catch thin sheet goods; for general shop work, aim for a smooth transition with no detectable snag when you slide a straightedge across it. A feeler gauge can help measure a gap, but the important test is whether stock moves freely over the joint.
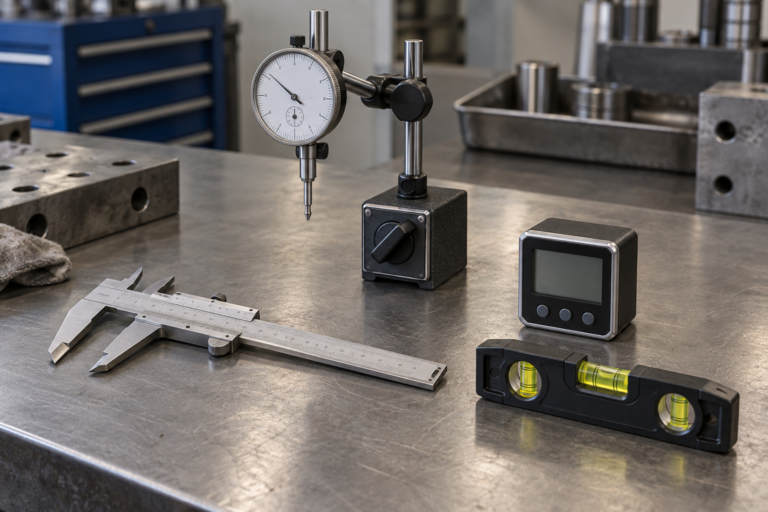
Next, verify the blade-to-miter-slot relationship. The wing itself does not normally change this setting, but shifting or moving the saw during installation can expose an existing alignment problem. Raise the blade, unplugged, and use a dial indicator or a marked tooth and combination square to compare the same blade tooth at the front and rear of a miter slot. Rotate the blade to bring that tooth around rather than comparing different teeth. Check the saw manual for its tolerance; if the readings differ, adjust the trunnions according to the manufacturer’s procedure. Do not “correct” blade alignment by moving the extension wing.
Reinstall the fence and rails, then check that the fence locks parallel to the miter slot and clears the wing. Slide it through its full range. Confirm the blade guard and riving knife fit and operate as intended. With the saw still unplugged, rotate the blade by hand to make sure it clears the throat plate and nearby parts.
Common problems and when to stop
A wing that drops after tightening often has a burr, uneven mounting surface, or loose-fitting holes. Remove it and inspect rather than tightening harder. If a cast-iron wing rocks on the bench, check whether the surface is actually warped before installation; a straightedge across several points will reveal high or low spots. A visibly bowed wing can make accurate leveling difficult and is a reason to return it.
For a temporary or budget shop, a well-braced plywood wing can be adequate if it stays flat and supports the stock without sagging. It is less suitable for a heavy cabinet saw setup, frequent use, or a surface that must remain precisely coplanar over time. If the saw’s tabletop is cracked, the mounting holes do not align, or the wing requires risky drilling, stop and contact the manufacturer or a qualified repair shop. A stable, aligned table is more important than adding width quickly.