How to Cut Box Joints with a Stationary Table Saw
What's inside
As an Amazon Associate I earn from qualifying purchases. This post may contain affiliate links at no extra cost to you.
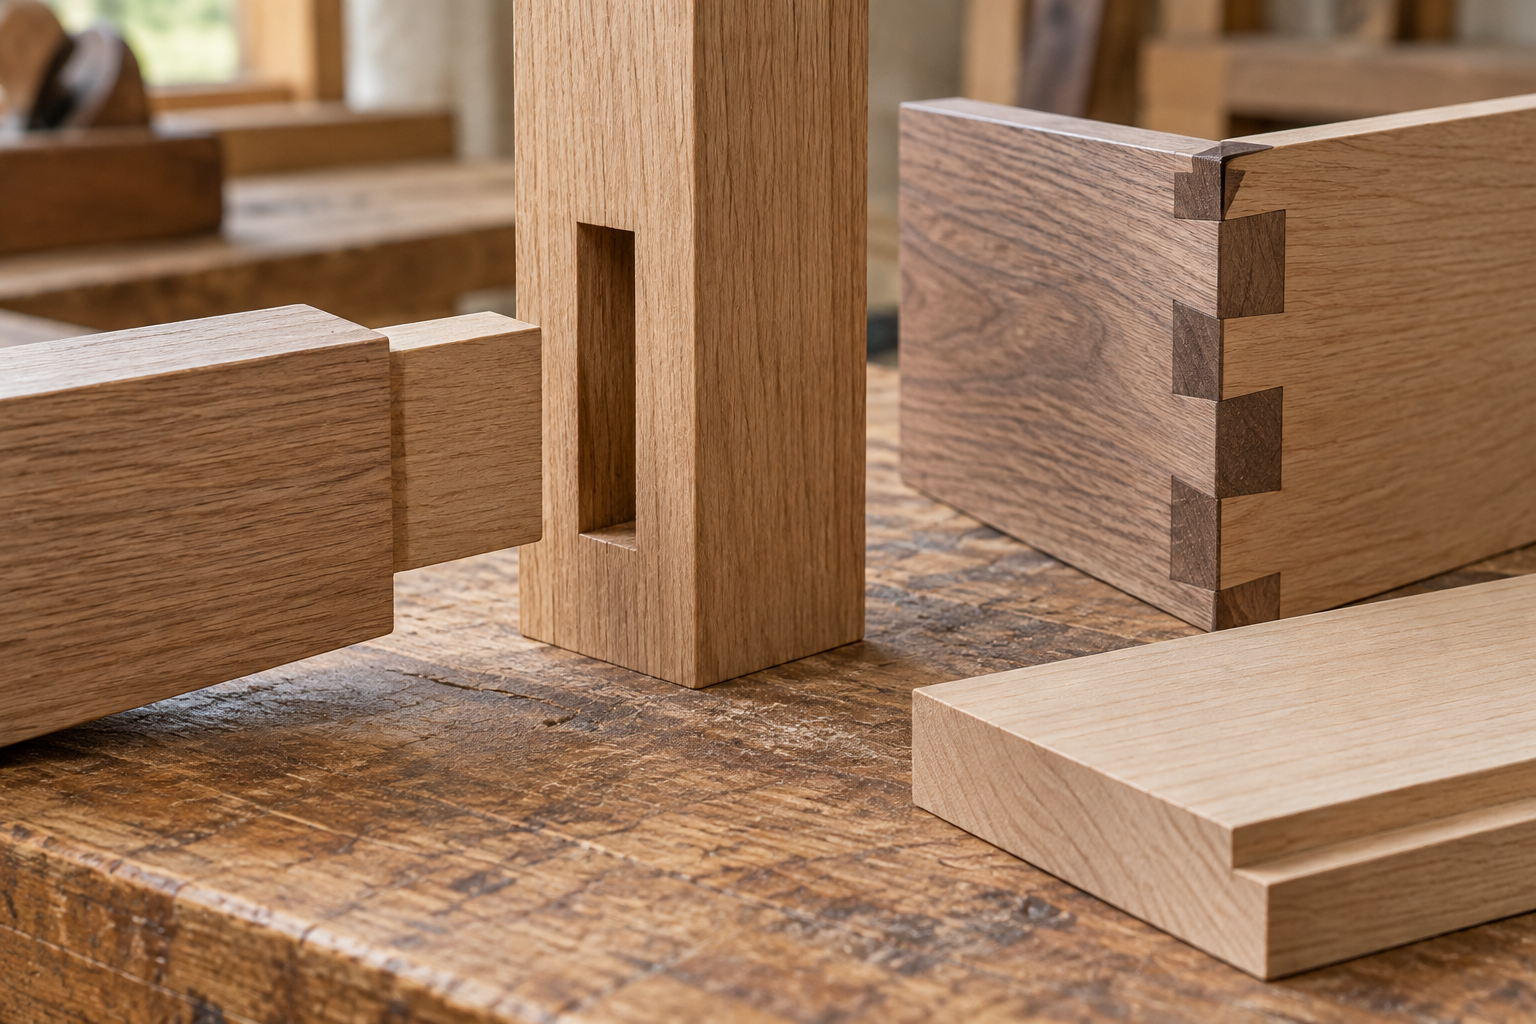
A box joint, also called a finger joint, is a row of square fingers cut into the ends of two boards. The fingers interlock and provide plenty of long-grain glue surface. A stationary table saw is well suited to the job because its arbor, fence, and table give you a stable reference for making repeated cuts.
The critical part is not the saw itself. It is the indexing jig and the accuracy of the blade setup. A difference of even 0.005 inch between the blade width and the indexing pin can make a joint either too tight to assemble or loose enough to show gaps.
Contents
Choose the Cutting Method
The fastest method uses a dado stack. Set the stack to the desired finger width, then use a simple sled with an indexing pin. A standard blade can also cut box joints, but it requires multiple passes or a narrow indexing setup. This works well for small boxes, though it is slower and more sensitive to error.
| Method | Best use | Advantages | Limitations |
|---|---|---|---|
| Dado stack | Frequent box joints and wider fingers | One pass per notch; efficient | Costs more; not allowed on some saws |
| Standard blade | Occasional small projects | Uses equipment you already own | More passes; harder to keep spacing consistent |
| Router table | Very clean, repeatable production work | Easy bit-width changes | Outside the table-saw setup; dust and bit cost |
Check your saw’s manual before installing a dado stack. Some compact or jobsite saws do not accept one, and some manufacturers prohibit dado use. For a saw that supports it, a table saw dado blade set is the convenient choice. If you only make one or two boxes a year, a sharp standard combination blade is usually the cheaper option.
Materials and Tools
You need a stationary table saw with a stable rip fence, a crosscut sled or box-joint sled, a sharp blade, and a square piece of hardwood or plywood for the jig. Use straight, consistently thick stock. Boards that vary by more than about 0.005 inch in thickness will not align cleanly, even if your cuts are accurate.
For the indexing pin, use a piece of steel rod, brass rod, or a closely fitting hardwood dowel. The pin should match the actual kerf or dado width. A precision steel rod assortment gives you useful sizes for testing. Do not rely on the nominal width printed on a blade set; stacked blades often cut slightly wider or narrower than their marked setting.
A dial caliper is helpful but not essential. A good combination square, a sharp pencil, clamps, and scrap from the project stock are enough for a basic setup.
Build the Indexing Jig
Make a sled that rides in the saw’s miter slots. Its front fence should be square to the blade path. Attach a straight hardwood fence across the sled, then install the indexing pin at a measured distance from the blade cut.
Start by cutting one kerf into the sled or fence with the blade set to the intended finger width. Turn off the saw and unplug it. Position the pin so its near edge, or its center depending on your jig design, references the edge of that kerf. The goal is simple: after one cut, the workpiece moves sideways by exactly one finger width.
Use screws or bolts initially so you can adjust the pin. Glue it permanently only after testing. The pin must be parallel to the table and firmly supported. A loose pin will gradually change the spacing and produce a joint that starts accurately but drifts by the last finger.
Set Up the Saw
Install the blade or dado stack with the saw unplugged. Set the cutting height just slightly higher than the board thickness—about 1/32 inch is enough for through cuts. Excessive blade height increases tear-out and exposure without improving the joint.
Set the blade width to the desired finger width. Common box-joint sizes are 1/4 inch, 3/8 inch, and 1/2 inch. Smaller fingers look good on thin boxes but are easier to damage. A 3/8-inch finger is a practical starting point for stock between 1/2 and 3/4 inch thick.
Make a test cut in two pieces of the actual project material. Keep the same face against the sled and mark the inside and outside faces. Consistent orientation matters; flipping one board incorrectly can reverse the joint pattern.
Cut the Joints
Place the first board against the sled fence, with its end firmly against the table and its reference face against the fence. Use a clamp or a hold-down when practical, keeping your hands well away from the blade. Make the first cut, then move the board so the fresh notch fits over the indexing pin. Continue until the entire end is cut.
For the mating board, place its reference face in the same orientation but start by seating the first notch over the pin. This offsets the pattern by one finger. If you start both boards at the same position, the fingers will collide instead of interlocking.
Cut all matching parts with the same setup. Changing the blade width, sled position, or board orientation halfway through the set is a common cause of mismatched corners. Label the inside faces with an arrow before cutting.
Test-Fit and Correct Errors
A correct box joint should slide together with firm hand pressure. It should not require a mallet, and it should not fall apart when lifted carefully. Test-fit before applying glue. If the fit is too tight across every finger, the blade width is too small or the wood has swelled. If every gap is loose, the blade is too wide or the indexing pin is undersized.
If the error repeats consistently, adjust the pin or blade setting and recut a test piece. If the joint is tight in one area and loose in another, suspect inconsistent stock thickness, a shifting fence, or a pin that is not parallel to the blade. Sanding individual fingers can rescue a small error, but it is not a substitute for fixing the jig.
Reduce Tear-Out and Improve Fit
Use a sharp blade and a zero-clearance sled opening. Back up the exit side with scrap to reduce splintering, especially in plywood and brittle hardwoods. Feed at a steady rate; forcing the stock can widen the cut, while stopping in the blade can leave burn marks.
After the dry fit, lightly break the outside edges with 180- or 220-grit sandpaper. Apply glue to the finger faces with a small brush, assemble the box, and check it for square by measuring both diagonals. Small differences can often be corrected with clamps, but a badly misaligned joint usually traces back to the jig rather than the glue-up.
If you make box joints regularly, a table saw crosscut sled with a replaceable fence is worth building or buying. For occasional work, a simple plywood sled and a carefully fitted pin do the same job at much lower cost.



