How to Cut Narrow Strips Safely on a Table Saw
What's inside
As an Amazon Associate I earn from qualifying purchases. This post may contain affiliate links at no extra cost to you.
Cutting a narrow strip means ripping a board so the offcut is only a small distance from the blade. The risk is that the strip can wedge between the blade and fence, lift, or get pulled into the saw. A safe setup depends on which side of the blade the strip comes from. For most shop cuts, keep the main workpiece between the blade and fence and take the narrow strip from the outside of the blade. For very thin strips, a purpose-built jig can be safer and more consistent.
Contents
Choose the method before setting the fence
For a one-off strip wider than about 1/2 inch, a standard rip cut may be practical if the stock is straight, the fence is parallel to the blade, and you can keep your hands well away from the teeth. Use a push stick or push block for the final part of the cut. If the strip is thinner, repeated, or must be a precise thickness, use a thin-strip jig or a dedicated jig that holds the stock against the fence while setting the blade-to-fence distance.
Never trap a narrow offcut between the blade and the fence without a method designed for that operation. A piece only a few millimeters wide can twist into the blade or become a fast-moving projectile. Do not improvise by placing a loose spacer between the fence and stock; it can shift during the cut.
Set up the saw and stock
Use a sharp, appropriate rip blade, and check that the blade is aligned with the miter slots and fence. A misaligned fence can pinch the work or offcut. Disconnect power before making adjustments. Set the blade height so the gullets are just above the stock; for typical 3/4-inch material, that is often roughly 7/8 to 1 inch above the table. Follow the saw and blade manufacturers’ instructions if they specify otherwise.
Use straight, flat stock with no loose knots, checks, or twist. A bowed board may rock against the table or fence, changing the cut width and increasing the chance of binding. Support long stock at the infeed and outfeed ends so it stays level, but do not use a support that pushes it sideways into the blade. Keep the riving knife installed and use the blade guard when the cut allows it. Wear eye and hearing protection; avoid gloves around rotating machinery.
For a standard rip cut
Set the fence so the main board is the required width, with the narrow strip on the blade’s outside—the side away from the fence. Confirm the measurement at the front and rear of the blade. Stand slightly to the side of the blade’s path, not directly behind it. Start the saw and let it reach full speed before feeding stock.
Keep the board against the fence and table, feeding steadily without forcing it. Use a push stick or push block as your hands approach the blade; a practical rule is to switch to a push tool when your hand would otherwise come within about 6 inches of the blade. Keep pressure forward and toward the fence, not down on the narrow offcut. Do not reach over or behind the blade to retrieve a strip while the saw is running. Wait for the blade to stop, then clear the table.
If the cut begins to bind, the stock moves away from the fence, or you hear the motor bog down, stop feeding. Turn off the saw and wait for the blade to stop before investigating. Do not pull a pinched board backward through a spinning blade.
For very thin or repeated strips
A thin-strip jig provides a stop or locator that sets the strip width while the stock stays against the fence. Some designs place the locator on the fence side of the blade and keep the main board between the fence and blade; others use a captured or offset setup. Follow the jig’s instructions exactly. The key is that the work must not be trapped between the blade and fence in a way that allows the offcut to bind.
A simple shop-made jig can work if it is rigid, square, and securely attached. A commercial table-saw thin-strip jig or push block is worth considering when you make narrow strips often. For occasional work, a carefully made wooden jig may be enough, but inspect it for looseness and wear before each use. Do not use a miter gauge and fence together in a way that traps the stock between them; that can cause kickback.
Compare the common approaches
| Approach | Best for | Main trade-off |
|---|---|---|
| Standard rip with push stick | Occasional strips around 1/2 inch or wider | Simple setup, but small strips are harder to control |
| Thin-strip jig | Repeated narrow strips of consistent width | More setup; jig must be secure and used as designed |
| Band saw, then plane or sand | Very narrow strips or stock that is awkward to rip | Safer clearance from a table-saw fence, but the cut needs cleanup |
When another machine is the better choice
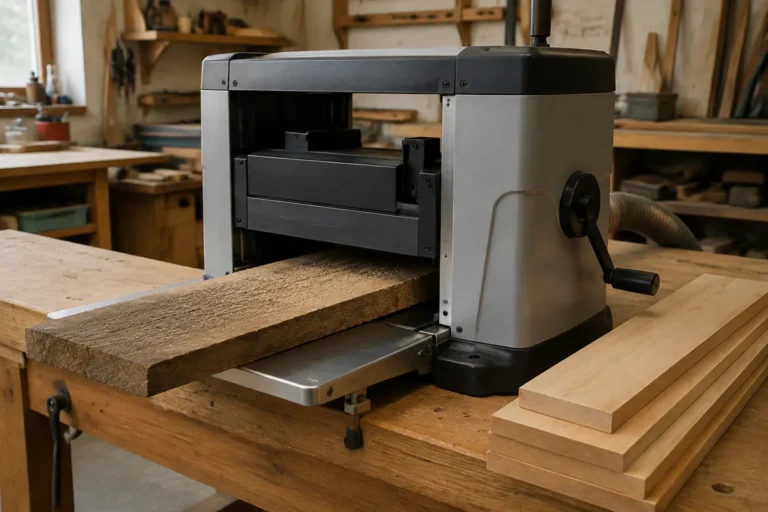
For strips around 1/8 inch wide, a band saw followed by a planer, drum sander, or hand plane may be a better route than a table saw. The band saw leaves a rougher face, so allow extra material for cleanup. A benchtop planer is not suitable for loose, thin strips; they can tip or be pulled into the cutterhead. Use a carrier or another method approved for the machine, and never plane stock below the manufacturer’s minimum thickness or length.
If you do not already own the jig or machine needed for a safe cut, consider buying a push block made for narrow stock rather than relying on a short offcut or your fingertips. A basic push stick is fine for many ordinary rips, but a broad push block gives more control on small work. Neither tool makes a bad fence setup safe.
Check the cut and adjust
Measure the first strip at both ends. If the width varies, check the stock for bow, verify fence alignment, and make sure the work stayed against the fence throughout the cut. Do not compensate for a poor setup by squeezing harder or feeding faster. For a batch, cut a test piece first and adjust the jig or fence only after the saw is off and the blade has stopped.
Store narrow strips flat and label them if they are part of a batch. The most reliable result comes from a stable workpiece, a verified setup, and a method that keeps hands and loose offcuts away from the blade—not from trying to make an unsafe cut work by eye.