How to Set Up a Table Saw for Cutting Miters Across Wide Boards
What's inside
As an Amazon Associate I earn from qualifying purchases. This post may contain affiliate links at no extra cost to you.
Cutting a clean miter across a wide board is not the same job as crosscutting a narrow piece. The board has more leverage against the fence, the cut takes longer, and a small error in support or alignment can turn into a drifting angle, burning, or a board that binds in the blade. A table saw can do the work accurately, but only if the setup controls both the board and the offcut.
Contents
Choose the Right Cutting Method
For most wide boards, use a crosscut sled or a dedicated miter sled rather than the table saw’s small factory miter gauge. A sled gives the workpiece a broad reference surface and keeps the cut square or angled consistently. It also helps keep your hands away from the blade.
| Method | Best use | Main advantage | Main limitation |
|---|---|---|---|
| Factory miter gauge | Narrow boards and occasional cuts | Fast to set up and inexpensive | Limited support; easier to twist a wide board |
| Crosscut sled | Repeated 90-degree and angled cuts | Stable workpiece support and safer hand position | Consumes table space and must be built accurately |
| Panel-cutting jig or large miter sled | Wide cabinet parts and long miters | Supports much more of the board | Bulky and slower to install |
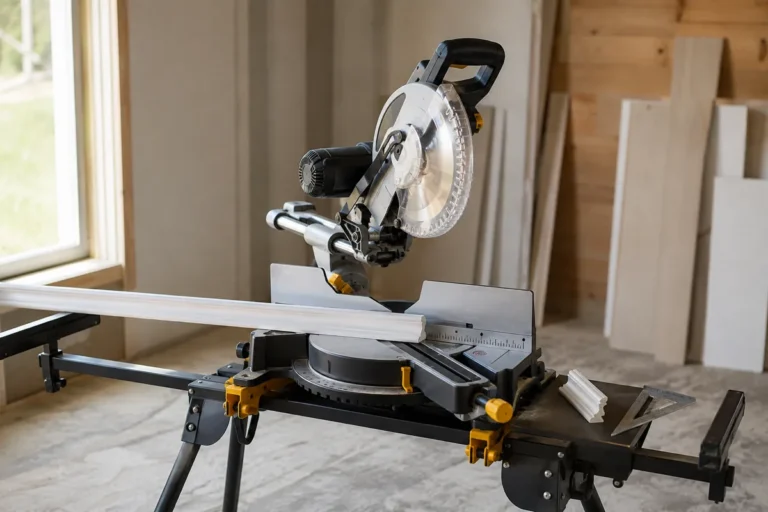
| Compound miter saw | Long trim and framing stock | Designed for crosscuts and miters | May not handle very wide panels without a sliding model |
If you regularly cut trim or wide boards, a table saw crosscut sled is usually a better investment than trying to improve a loose miter gauge. For occasional work, a carefully made plywood sled is enough; it does not need elaborate hardware.
Prepare the Saw Before Setting the Angle
Unplug the saw before making alignment checks or installing a sled. Check that the blade is sharp, fully seated, and appropriate for the material. A combination blade with roughly 40 to 60 teeth is a practical choice for clean cuts in hardwood and plywood. A dull blade makes the board harder to control and can leave a burn mark on the long cut.
Set the blade height so the gullets—the valleys between the teeth—are just above the board surface, generally about 1/8 inch above the top. Raising the blade much higher increases exposed tooth area without improving the cut. Confirm that the riving knife is installed when the cut allows it. A riving knife is normally not used with a crosscut sled if the sled’s rear fence passes behind the blade, but follow the saw and sled manufacturer’s instructions.
Check the table saw’s throat plate. It should sit flush with the table and have no loose edges for the board to catch. Remove the rip fence if it will interfere with the sled. Never trap the board between the blade and a rip fence during a crosscut unless the setup is specifically designed for that operation.
Build or Check the Sled
A simple sled needs a flat plywood base, two runners that fit the miter slots, and a rear fence. For wide miters, make the base large enough to support the board on both sides of the blade. A base 24 to 30 inches wide is useful for many cabinet parts, while very wide panels may need temporary outfeed and side support.
Set the runners so they slide freely without side-to-side play. If they bind, the sled can push the workpiece sideways as you cut. If they are loose, the miter angle will vary from one cut to the next. Wax or a dry lubricant on the runners can help, but it will not correct a poor fit.
Check the sled’s rear fence for square before using it for 90-degree cuts. For a 45-degree miter, use an adjustable stop or a dedicated angled fence. Do not assume the saw’s miter scale is accurate enough. Verify the angle with a reliable digital angle finder or a test cut.
Support the Board on Every Side
The board must stay flat as it reaches the blade and as the offcut separates. If the board is wider than the saw table, add a level side table, roller support, or outfeed table. The support should be close enough that the board cannot sag into the blade, but not so high that it lifts the workpiece off the sled.
For a board 30 inches wide, support the far edge before starting the cut. A helper can hold the board’s weight, but should not pull, push, or stand in line with the blade. A fixed support is more consistent and keeps both operators out of the danger zone. The adjustable roller stand is the cheaper option and is fine for occasional cuts, provided its height is checked carefully.
Mark and Position the Cut
Mark the waste side of the cut clearly. Position the board against the sled fence with the finished face oriented consistently. On a typical table saw, the blade cuts upward into the workpiece, so the top face can show more tear-out than the bottom. Use a sharp blade, painter’s tape over the cut line, or place the better face down when the project allows it.
Use a stop block for repeated parts, but do not let a loose stop trap the offcut between the blade and fence. A stop attached to the sled fence, positioned ahead of the blade, is safer. For a single wide miter, clamp the board to the sled if the clamp will stay clear of the blade and its path.
Make the Cut Without Forcing the Board
Stand slightly to the side of the blade, not directly behind it. Start the saw and let it reach full speed. Hold the board firmly against the sled fence, then move the sled smoothly through the blade at a steady rate. Do not stop with the blade buried in the board unless the saw has a specific reason to do so; stopping can leave a burn mark and encourages the board to shift.
Keep both hands on the sled handle or in clearly marked safe zones. Do not reach over the blade to catch the offcut. Let the offcut fall onto its support or wait until the blade has stopped. If the board begins to bind, lift, or move away from the fence, stop the cut and switch off the saw. Do not pull the board backward through a spinning blade.
Verify the Miter and Correct Errors
Make a test cut in scrap from the same stock before cutting the finished board. For a frame, cut four test pieces and assemble them dry. Two miters that look accurate individually can still leave a gap when their errors accumulate.
If the joint is open on the outside corner, check whether the angle is too shallow or too steep, then adjust the sled fence in small increments. Also check board support and blade deflection. A wide, heavy board can move during the cut even when the sled is correctly aligned. If you only need a few miters, a cheap sled and careful test cuts are sufficient. If you cut wide parts weekly, a larger sled, fixed support table, and accurate angle gauge will save more time than repeatedly correcting bad joints.