How to Store Table Saw Blades in a Small Woodworking Shop
What's inside
As an Amazon Associate I earn from qualifying purchases. This post may contain affiliate links at no extra cost to you.
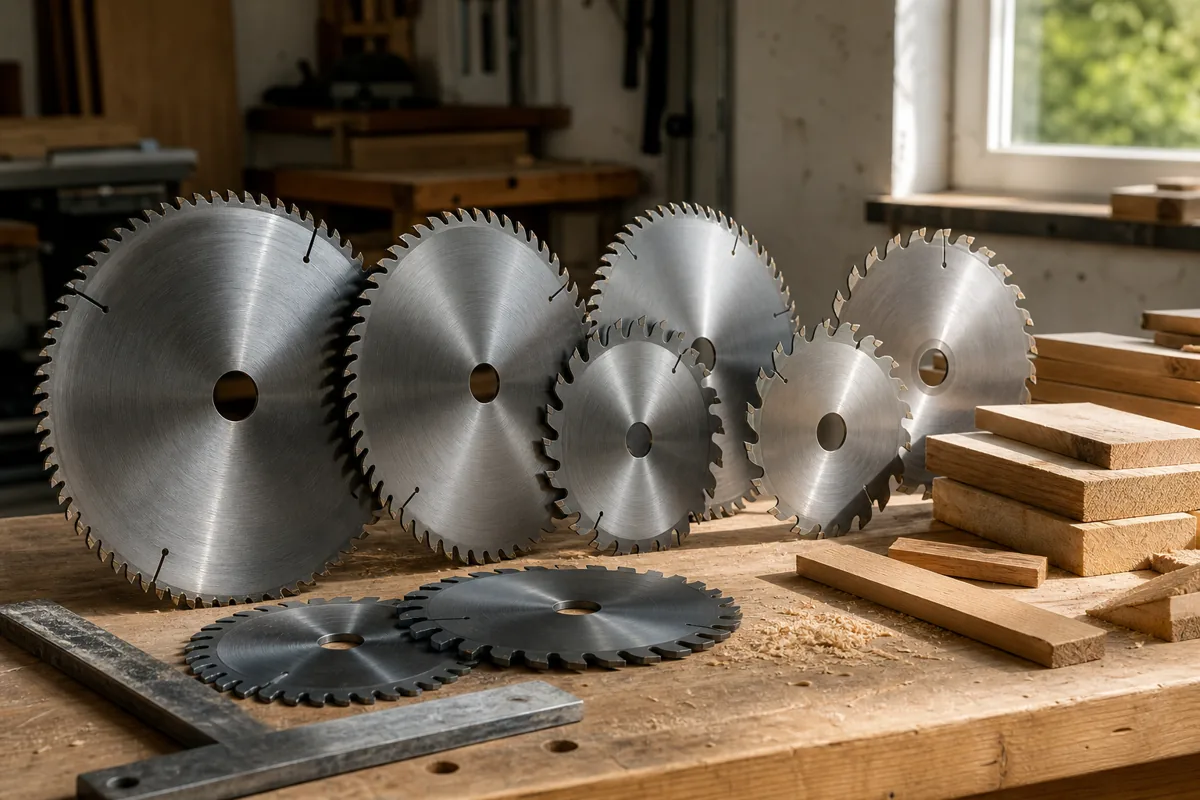
A table saw blade is easy to damage in a crowded shop. Teeth can chip when blades knock together, and a loose blade is a cut hazard even when it looks clean. Good storage does not need to take much room or cost much. The priorities are keeping teeth apart, controlling moisture, and making blades easy to identify without handling the cutting edges.
Contents
Choose a storage method that fits your shop
For one or two blades, individual sleeves in a drawer or cabinet are usually enough. If you swap blades often or keep several types, a wall rack or dedicated blade case makes selection quicker. Avoid tossing bare blades into a toolbox or stacking them loosely on a shelf: vibration and movement can chip carbide teeth or dull the cutting edges.
| Storage method | Space and capacity | Best for | Main drawback |
|---|---|---|---|
| Individual sleeves in a drawer | Compact; a drawer can hold several blades | Small collections and low-cost setups | Blades can be hard to identify if sleeves are not labeled |
| Wall-mounted rack | Uses wall space; capacity depends on the rack | Frequent blade changes and visible organization | Blades are exposed to dust and accidental contact |
| Hard case or enclosed cabinet | Uses shelf or cabinet space | Protecting valuable blades or storing them near a dusty machine | Costs more; cases can become a pile if not labeled |
A simple blade storage sleeve is often the most sensible purchase for a small shop. Check that the stated diameter fits your blades. Most table saw blades are 10 inches, but 8-inch dado sets and smaller blades need different storage. A sleeve that is too tight can press against the teeth; one that is much too large lets the blade slide around.
Use a wall rack safely
A wall rack keeps blades visible and frees drawer space. Choose one with individual pegs, slots, or dividers so the blades do not touch. A rack designed for saw blades is a straightforward option; alternatively, a shop-built rack can work if its supports hold each blade by the center hole or plate rather than by the carbide teeth.
Mount the rack to a stud or use anchors rated for the load. A steel 10-inch blade often weighs around 3 to 5 pounds, and several blades add up quickly. Put the rack above a bench or cabinet, but not where a blade could fall onto a machine table, floor, or walking path. Leave enough clearance to lift a blade straight off without scraping its teeth against another blade or a wall.
Do not use a nail or narrow hook that leaves the blade hanging at an angle. That can concentrate pressure on one part of the center hole and make removal awkward. Keep the teeth facing inward or otherwise out of the way, and avoid mounting blades at shoulder or eye level where a slip brings your hand toward the teeth.
Protect blades from rust and damage
Before storage, brush off sawdust and resin. A blade-cleaning solution can remove pitch, but follow its label and dry the blade completely afterward. Never put away a damp blade. Condensation in an unheated garage or a humid basement can cause rust spots on the plate, particularly if the blade has been stored against a cold exterior wall.
Keep blades in a dry cabinet when humidity is a recurring problem. A small desiccant pack can help in an enclosed case, but it is not a substitute for a dry location; replace or recharge it as directed. A light corrosion-inhibiting film can protect a steel plate during long storage. Apply it sparingly and wipe away excess before using the blade so residue does not transfer to the wood. Avoid oily rags wrapped around teeth, which can snag and leave the blade difficult to handle.
Protect carbide teeth from impact. Carbide is hard, but it can chip if struck against steel, concrete, or another blade. Do not store blades flat in a stack unless each one is separated by a rigid spacer that keeps the teeth clear. Foam or cardboard can cushion a blade for temporary transport, but soft material alone may compress under the weight of other blades.
Label blades and store dado sets
Label each sleeve, rack slot, or case with the blade’s diameter, tooth count, and purpose. For example, note “10-inch, 40-tooth, general purpose” or “10-inch, 80-tooth, fine crosscut.” Add the arbor size if you own blades with different bores. A clear label saves time and reduces the chance of installing the wrong blade for the cut.
Store dado chippers and outer blades together in a compartmented case or on separate, labeled supports. Keep shims and spacers with the set, but do not let them rub against the teeth. A dado blade storage case is useful if the set includes many loose parts. If you have a small set and already own a divided drawer organizer, that cheaper option is fine as long as the parts stay separated and dry.
Make the storage location work
Keep stored blades away from grinding dust, water, and the vibration of a running planer or jointer. Fine metal dust can settle on a blade and encourage corrosion, while vibration can make an unsecured blade shift or fall. Do not attach a rack to a machine stand or cabinet that shakes during operation; use a fixed wall or stationary cabinet instead.
Leave enough room to handle blades by the plate, not the teeth. Wear work gloves if they improve your grip, but do not rely on gloves to make a sharp blade safe. Before taking a blade to the saw, inspect the teeth for chips and the plate for rust, cracks, or warping. Storage prevents avoidable damage, but it cannot make a damaged blade safe to use.
Avoid common storage mistakes
Do not leave a spare blade loose on the saw table, where it can slide into the miter slot or be struck by stock. Do not store blades under heavy tools, and do not assume the factory cardboard packaging will protect them indefinitely once it is torn or oil-soaked. For a modest collection, labeled sleeves in a dry drawer are a practical low-cost setup. Upgrade to a rack or case when blades are difficult to find, frequently handled, or exposed to shop dust and damp air.



