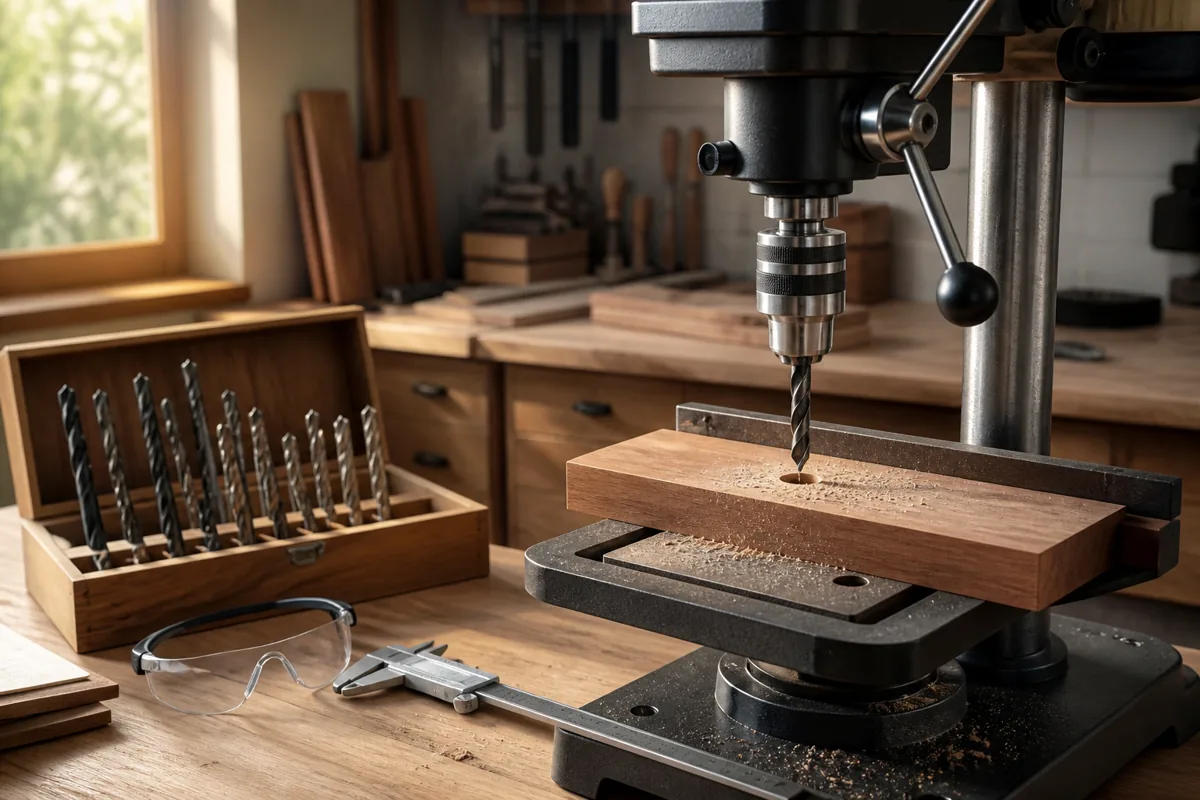
How to Drill Accurate Angled Holes on a Stationary Drill Press
What's inside
As an Amazon Associate I earn from qualifying purchases. This post may contain affiliate links at no extra cost to you.
Drilling an angled hole accurately on a drill press is mostly a setup problem. The bit will usually cut where the quill sends it, but a tilted workpiece can slide, twist, or lift as the cutting edges engage. A reliable setup therefore needs three things: a controlled angle, positive workholding, and a flat surface that supports the work without interfering with the bit.
Contents
Choose the Right Method for the Angle
There are two practical ways to drill an angled hole on a stationary drill press. You can tilt the drill press table, or keep the table level and hold the workpiece in an angled cradle. Tilting the table is quick for occasional holes. An angled cradle or wedge is usually more repeatable, especially when drilling several parts at the same angle.
| Method | Best use | Advantages | Limitations |
|---|---|---|---|
| Tilted drill press table | One-off work and simple through-holes | Fast setup; angle is adjustable | Harder to support irregular parts; table may need realignment afterward |
| Angled wedge or cradle | Repeated holes or small parts | Stable, repeatable, and easy to clamp | Requires making a jig; wedge angle must be accurate |
| Commercial drill guide | Occasional portable work | Useful away from the drill press | Usually less rigid and less accurate than a properly clamped press setup |
For a few holes in a large board, tilting the table is normally the cheaper and faster option. For a batch of parts, make a wedge from plywood or hardwood. A simple wedge can be cut to the required angle, screwed to a flat base, and lined with replaceable scrap wood.
Set the Angle Accurately
First decide how the angle is being measured. A hole described as “15 degrees” may mean 15 degrees away from perpendicular to the face, or 15 degrees away from the edge. Mark the reference face and draw the hole centerline before setting up the machine.
If your drill press table has a built-in bevel scale, use it as a starting point, not as the final measurement. Scales on inexpensive presses can be several degrees off. Verify the table with a bevel gauge, digital angle gauge, or a test block. A digital angle gauge is particularly useful for checking the table relative to the drill bit or machine column, but the table and gauge must be clean and free of sawdust.
After tilting the table, rotate it so the hole is directed along the table’s strongest support. Many tables have slots or a gap around the column. Do not place a narrow workpiece so it bridges only part of the table. Add a sacrificial plywood subtable if necessary, but make sure it is firmly attached and does not obstruct the quill or chuck.
For a jig, calculate or lay out the wedge rather than relying on a rough eyeball cut. A 100 mm long wedge with a 20 mm height difference produces an angle of about 11.3 degrees, not 20 degrees. For small angles, tiny height errors matter. If the exact angle is important, cut the wedge slightly oversize and tune it with a hand plane or sanding block.
Support and Clamp the Work
Never hold the workpiece by hand while drilling an angled hole. The bit can grab as it breaks through, and the angled cutting force can rotate the stock unexpectedly. Clamp the work to the table or jig with a hold-down, toggle clamp, or drill press clamp. Keep the clamp close enough to the hole to prevent lifting, but outside the bit’s path.
Irregular workpieces need a cradle with two or more contact points. A single wedge may let a round or tapered part roll. Screw side fences to the jig, and use thin rubber or cork where it improves grip. Do not depend on friction alone for a small part.
Install a sacrificial backing board under the exit point. It prevents breakout and gives the bit something to enter after it leaves the work. Leave enough material that the bit will not strike the drill press table. A backing board also makes it easier to see when the hole is nearly through.
If you regularly drill angled holes, a drill press clamp or toggle clamp is a worthwhile upgrade. The cheaper option is fine for occasional work: a shop-made plywood jig secured with two clamps works well when it is rigid and properly positioned.
Choose the Bit and Speed
Use a brad-point bit for clean, accurately located holes in solid wood. Its center spur helps prevent wandering when the bit first contacts the surface. For larger holes, a sharp Forstner bit gives a flat-bottomed cut, but it creates more resistance and needs a slower speed. Spade bits are inexpensive, but they are more likely to wander and tear out, particularly when starting at an angle.
| Bit | Typical use | Practical guidance |
|---|---|---|
| Brad-point | Clean holes up to about 1/2 inch | Good default for accurate woodworking holes |
| Forstner | Large or flat-bottomed holes | Reduce speed and clear chips often |
| Spade | Fast rough holes | Acceptable for hidden work, less reliable for clean angled holes |
As a starting point, run a 1/4-inch brad-point bit around 1,500 to 2,500 rpm in softwood and somewhat slower in hardwood. A 1-inch Forstner bit may need roughly 500 to 900 rpm, depending on the wood and bit design. Use the manufacturer’s guidance when available. If the bit squeals, burns, or stops clearing chips, reduce feed pressure, lower the speed, or withdraw the bit to clear the flutes.
Drill the Hole Without Wandering
Before switching on the press, lower the quill with the bit installed and align the center spur with your layout mark. Check that the quill can reach the mark without the chuck, chuck key, or quill stop contacting the work or jig. Remove the chuck key before starting the motor.
Start the hole with light pressure. At an angle, one side of the bit may contact the surface first, which can push the bit sideways. A sharp brad-point bit and a slow, controlled feed reduce this tendency. For a larger bit, drill a pilot hole first only if the bit manufacturer allows it; an oversized pilot can remove the center spur’s support and make a Forstner bit wander.
For a through-hole, feed steadily and slow down as the bit approaches the backing board. If the exit surface matters, stop when the center point just makes a small witness mark, then finish from the opposite side using that mark for alignment. This two-sided method greatly reduces breakout, but it requires accurate reference marks.
For a blind hole, set the depth stop with the machine unplugged. Test the setting on scrap, especially when the workpiece sits on a wedge because the effective height has changed. Leave a small margin rather than risking a breakthrough.
Check Common Failure Modes
A hole that starts correctly but exits in the wrong place usually indicates a moving workpiece, an inaccurate jig, or an angle measured from the wrong face. A wandering entry is commonly caused by a dull bit, excessive feed pressure, or inadequate support at the start point. Tear-out at the exit usually comes from drilling too fast at breakthrough or omitting the backing board.
After the first hole, inspect both faces and measure the angle with a bevel gauge or by inserting a straight dowel. If the result is off, correct the jig or table before drilling the rest. Do not compensate by forcing the workpiece sideways under the bit; that produces inconsistent holes and can damage the bit or chuck.
For repeat work, mark the jig with the angle, hole location, and workpiece orientation. A stable brad-point drill bit set, a scrap backing board, and a dedicated clamp are usually more valuable than a more powerful drill press.


