How to Cut Open Mortises with a Table Saw Setup
What's inside
As an Amazon Associate I earn from qualifying purchases. This post may contain affiliate links at no extra cost to you.
Contents
What an Open Mortise Is
An open mortise is a mortise that breaks through one edge or end of the workpiece. In practical table-saw terms, it is usually a stopped or open-ended slot: the tenon enters from the exposed end, or the mortise opens onto a side that will later be hidden by another part. It is different from a blind mortise, which has material on all four sides and a closed bottom.
A table saw is well suited to cutting open mortises because the blade can remove material in controlled passes. It is especially useful for straight-sided mortises in rails, stiles, legs, and other parts that can lie flat against the table. It is less suitable for a mortise that must stop short of both ends unless you use a separate router, drill press, or chisel operation.
Before setting up, mark the mortise clearly on the face and edge of the workpiece. Note its width, length, and depth. For a common small joint, a 1/4-inch-wide mortise cut 1/2 inch deep may be enough, but the dimensions should match the tenon and the load the joint will carry.
Choose the Cutting Method
| Method | Best use | Advantages | Limitations |
|---|---|---|---|
| Single blade with repeated passes | Narrow mortises and occasional work | Uses the blade already in the saw; low cost | Slower and easier to make uneven |
| Stacked dado set | Repeated, wider mortises | Removes the full width in fewer passes | Requires a compatible saw, proper setup, and storage |
| Drill press plus chisels | Deep mortises and joinery with square corners | Good depth control; cleanable corners | More layout and cleanup; not a table-saw-only process |
For one or two mortises, the existing blade is usually the cheaper and perfectly reasonable choice. Fit a fine-tooth combination or crosscut blade, then make several overlapping passes. If you cut mortises frequently, a stacked dado blade set saves time, but only if your table saw is approved for dado use. Check the saw manual for maximum dado width, arbor length, and guard requirements.
Do not use a dado set on a saw that cannot safely mount it. Some compact saws have short arbors, limited dado capacity, or manufacturer restrictions. A dado stack also leaves a flat-bottomed cut but may produce more tear-out than a sharp single blade, particularly in plywood or brittle hardwood.
Build the Table-Saw Setup
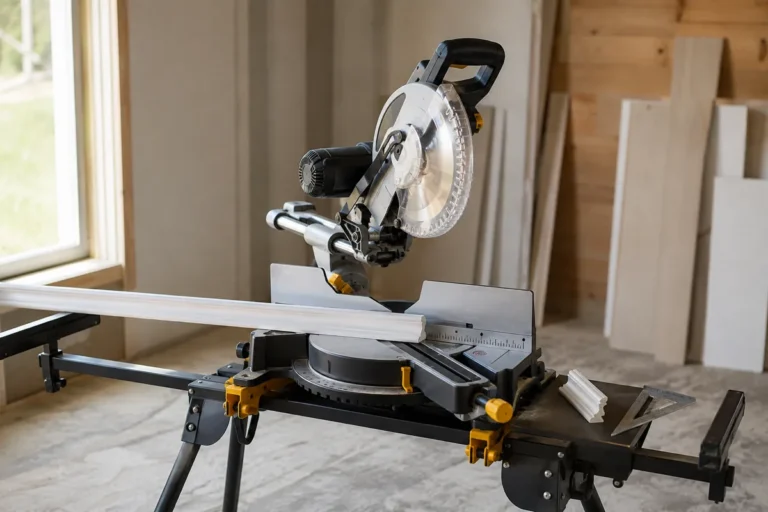
Use a stable crosscut sled, miter gauge, or a purpose-built tenoning jig to hold the workpiece. A rip fence alone is not always enough: a small part can twist as it crosses the blade, widening the mortise or pulling your hand too close to the cutter. The workpiece must have a flat reference face and a square edge.
For an open mortise cut from the end, position the workpiece on edge or flat according to the joint drawing. A tall auxiliary fence is useful when the workpiece stands vertically. Make it from straight 3/4-inch plywood or hardwood and set it high enough to support the part without interfering with the blade guard or push blocks.
Use a sacrificial backer when the blade exits the workpiece. The backer supports the fibers and reduces blowout at the far edge. Clamp or screw it to the sled or auxiliary fence, not to the loose workpiece. Keep all clamps clear of the blade path.
A table saw tenoning jig can improve control on narrow or tall parts. It is not mandatory for a simple open mortise, but it helps keep the cut square and keeps your hands away from the blade.
Set Blade Height and Width
Set the blade height to the required mortise depth plus about 1/32 inch, then test on scrap. For a 1/2-inch-deep mortise, start at 17/32 inch and measure the test cut. The exact setting depends on the saw, blade, and workpiece thickness. Never rely on the height scale alone.
With a dado set, adjust the stack to the mortise width and make a test cut in matching scrap. A tenon should enter with firm hand pressure, not hammering. Leave enough clearance for glue; roughly 1/32 inch of total width is a useful starting point for a dry, unglued fit.
With a single blade, set a stop on the fence or sled so each pass registers in the same direction. Move the workpiece in small increments—1/16 inch is a practical starting point—until the waste is removed. A digital angle gauge can help verify that the blade is square, but a reliable combination square is sufficient for most shops.
Cut the Mortise Safely
Switch off the saw and unplug it while installing or adjusting the blade. After setting up, remove loose tools from the table, confirm that the blade is fully tightened, and make sure the fence or jig cannot contact the blade. Use the blade guard and riving knife when the operation allows them. If the setup requires removing either one, use extra hold-downs and push blocks and keep your hands well outside the marked danger zone.
Start the saw before bringing the workpiece into the blade. Feed steadily without forcing. For repeated passes, stop the saw before changing the setting or removing the part. Never back a workpiece out of a partial cut while the blade is spinning; withdraw it only if the cut is unobstructed and the operation is specifically designed for that movement.
On the first pass, remove only a shallow amount—about 1/8 inch—then inspect the cut. If the piece moves, burns, or chatters, stop and correct the setup. Burning usually means a dull blade, an overly aggressive feed, or a pinched waste section. Tear-out at the exit indicates missing support, a dull blade, or feeding in the wrong direction.
Check the Fit and Fix Errors
Test the mortise with a scrap tenon made to the actual joint dimensions. Measure width at both ends and check depth with a ruler or depth gauge. A mortise that is too tight can often be widened by one controlled pass. A mortise that is too wide is harder to repair and may require a thicker tenon, a glued shim, or a redesigned joint.
Table-saw mortises have square, parallel sides but may have rounded corners if a circular blade was used. Square the corners with a sharp chisel, or round the tenon corners to match. Remove only the waste shown by your layout lines. For a joint that must be stopped internally rather than open-ended, use the table saw to remove the bulk material only when the setup is secure, then finish the ends with a drill press and chisels or a router.