How to Reduce Tearout When Drilling Through Hardwood
What's inside
As an Amazon Associate I earn from qualifying purchases. This post may contain affiliate links at no extra cost to you.
Contents
Why hardwood tears out
Tearout happens when a drill bit pushes wood fibers away faster than it cuts them. The problem is most visible where the bit exits: the remaining fibers have little support, so they split or break off as the bit comes through. Dense hardwoods such as maple, oak, and cherry can make this worse, but grain direction, a dull bit, and aggressive feed matter just as much as species.
A drill press helps you keep the bit square and control the feed, but it will not prevent tearout by itself. The most reliable approach is to support the exit face, use a sharp bit suited to the hole, and ease off before the bit breaks through.
Choose the right bit for the hole
For ordinary holes up to about 1/2 inch, a sharp brad-point bit is a good choice. Its center spur locates the hole, while the outer spurs score the perimeter before the cutting edges remove material. That scoring can leave a cleaner rim than a standard twist bit, especially in figured or cross-grain wood.
For larger holes, use a sharp Forstner bit when a flat-bottomed hole or clean edge matters. These bits cut a defined perimeter, but they generate heat and need a steady feed. A dull Forstner bit can burn hardwood quickly. For rough clearance holes, an auger or spade bit may be adequate, but spade bits tend to leave a rougher exit and can grab as they break through.
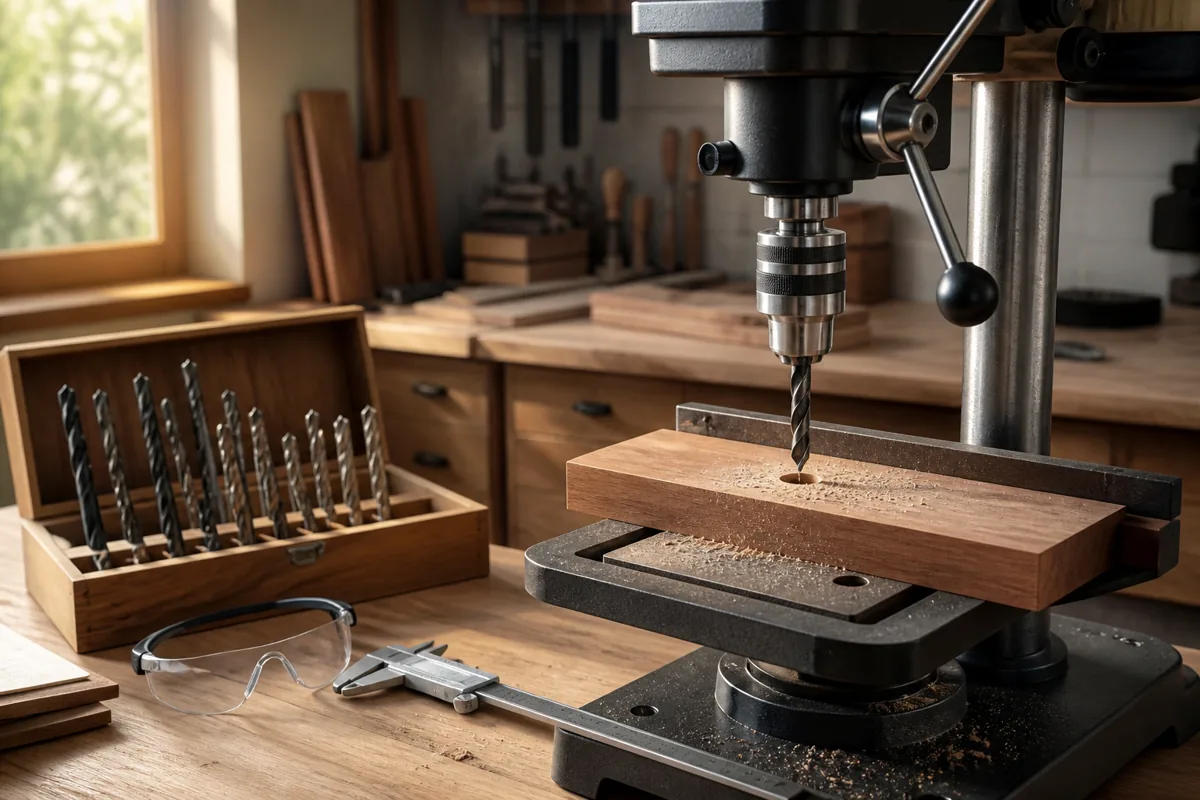
Match the bit to the job rather than buying an elaborate set for occasional work. A few good brad-point bits in common sizes cover many furniture and cabinet tasks; a brad-point bit set for wood is a sensible starting point. Check the cutting edges before use. If they look rounded, chipped, or polished, expect burning and ragged holes.
Support the exit face
The simplest dependable fix is a sacrificial backer: clamp a flat scrap of plywood or hardwood tightly against the exit face, then drill through both pieces. The backing supports the fibers as the bit emerges. It should sit flush with the work; a gap lets the wood flex and can still produce a chipped edge.
Use a piece large enough to cover the hole and clamp it securely. A loose backer can spin or lift, especially with a large bit. Avoid relying on your hand to hold it near the bit. If the workpiece is too large for a clamp at the drilling point, arrange the drill press table and supports so the stock cannot shift, and clamp the backer where practical.
A sacrificial backer is cheap and works with nearly any bit. Its downside is that you need access to the far side of the work, and the scrap may be unsuitable for reuse after drilling. For occasional holes, that is usually a better trade than buying a specialty tool.
Methods compared
| Method | Best use | Trade-off |
|---|---|---|
| Sacrificial backer | Through-holes in stock with an accessible exit face | Requires clamping and a scrap piece |
| Drill partway from each side | Visible faces on both sides; pieces that cannot take a backer | Requires accurate alignment to avoid a stepped hole |
| Backing board plus brad-point bit | Small and medium holes where a clean rim matters | Bit quality and sharpness still matter |
| Standard twist bit | Rough holes or work where the exit edge will be hidden | More likely to wander or leave a ragged exit in wood |
Drill from both sides when needed
If both faces must look clean and you cannot use a backer, mark the hole accurately on both faces. Drill from the first side until the center spur just breaks through, then turn the work over and finish from the opposite side using the small opening as a guide. This keeps each side’s fibers supported by the uncut wood behind them.
The method is less forgiving than a backer. If the marks do not line up, the hole can have a visible step or slight angle. A drill press fence, stop, and careful layout help, but for a small hole through thick stock, a brad-point bit makes it easier to locate the center from the opposite face. Test the setup on scrap of the same thickness before drilling a finished part.
Set up the drill press and control the feed
Clamp the workpiece to the table or to a drill-press vise; never hold small stock by hand. A bit can catch and spin the work, causing injury or damaging the hole. Support long boards so they remain level, and check that the table and fence leave room for the bit to pass through into the backer without hitting metal.
Choose a speed appropriate to the bit and diameter. Large bits generally need a slower speed than small ones. As a practical starting point, a 1/4-inch bit in hardwood may run around 1,500–2,000 rpm, while a 1-inch Forstner bit is often better around 500–800 rpm. Follow the bit maker’s guidance when available; the right setting also depends on the drill press and the wood. If the bit smokes or leaves dark burn marks, stop, clear chips, inspect sharpness, and reduce speed or feed pressure as appropriate.
Feed steadily rather than forcing the quill. With a deep hole, withdraw the bit periodically to clear chips and reduce heat. For a through-hole, slow the feed as the tip approaches the exit, especially if you are not using a backer. Forcing the final breakthrough is a common cause of a cratered exit edge.
A drill press is worth considering if you regularly need straight, repeatable holes. For occasional work, a hand drill and a clamped backer can be enough; the press is not a tearout cure in itself. Compare a benchtop drill press for woodworking with your available space and the largest stock you expect to drill. Check throat depth and spindle travel, not just motor power: either can limit whether a workpiece fits under the bit.
Common failures and quick fixes
If the entry edge tears, the bit may be dull, poorly centered, or cutting against awkward grain. Use a brad-point bit, clamp the stock, and test on scrap. If the exit edge tears despite a backer, check for a gap, a loose clamp, or a backing piece that is too soft or already damaged. If the hole burns, clear chips and inspect the bit before simply pushing harder.
For a clean through-hole in hardwood, the low-cost sequence is usually enough: sharp bit, securely clamped work, tight sacrificial backer, and a controlled final breakthrough. Buy a specialty bit or drill press when the hole shape, repeatability, or volume justifies it—not because either one can replace sound setup.


