How to Drill a Straight Series of Holes in a Long Workpiece
What's inside
As an Amazon Associate I earn from qualifying purchases. This post may contain affiliate links at no extra cost to you.
Contents
Start with the setup
A straight row of holes depends more on a stable reference and repeatable stops than on a fancy drill press. Before drilling, mark the hole spacing, confirm the workpiece is flat enough to sit without rocking, and decide which edge will guide every hole. If the board is bowed, twisted, or too long to support safely, fix that problem first: a moving board can turn a neat layout into a wandering row or a jammed bit.
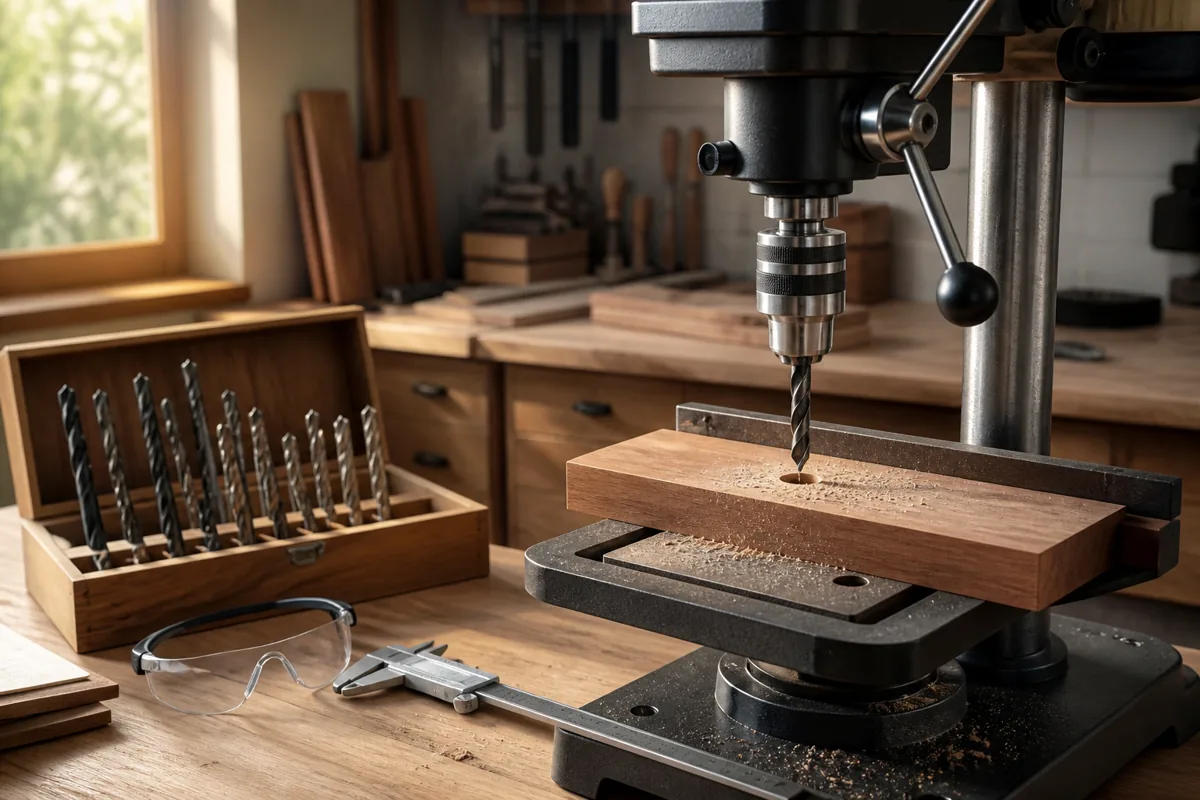
For most woodworking, a drill press is the right stationary machine. Its table supports the work and its quill guides the bit vertically. A long workpiece still needs support beyond the table, and the work must be clamped so it cannot spin or slide. Never rely on your hands alone to hold a small or narrow piece.
Choose a repeatable reference
Pick one straight edge as the fence side. If the edge is rough or irregular, joint it straight first, or clamp a straight auxiliary fence to the work. Keep the same edge against the fence for every hole; flipping the piece between cuts can add the edge’s error to the hole alignment.
Lay out the first and last hole, then mark the intermediate positions with a rule or tape. For equal spacing, a stop block is usually more reliable than measuring each hole from the end. Set the first position, drill it, then advance the board against the stop for each following hole. Check the spacing on a scrap piece before drilling the finished work.
Support the long workpiece
Set the drill-press table at a comfortable height and support the overhanging end at the same height as the table. A roller stand can work, but its roller may let the board drift sideways; a fixed-height support or auxiliary table is often steadier. Position supports so the board can move forward without catching, while remaining level at the drilling point.
For a row longer than the drill-press table, clamp a straight fence to the table and use a stop block to control the feed direction. Keep the fence parallel to the intended row. Do not push a long board by holding its far end while the bit is engaged: the leverage can twist the work around the bit. Stop the machine before repositioning or clearing chips.
Build the fence and stop
A simple setup uses a straight fence clamped to the drill-press table and a stop block clamped to that fence. The fence controls the distance from the reference edge to the hole centers; the stop controls the distance from one hole to the next. Use clamps that do not obstruct the bit, chuck, or board travel. Mark the drill centerline on the fence or table so you can check that the layout lands under the bit.
For repeated batches, a drill-press fence and stop-block setup saves time, but shop-made hardwood or plywood fixtures work well if they are straight and clamped securely. A fence that shifts even slightly will make the row drift. Check it after tightening the clamps and again after the first few holes.
Pick the right method
| Method | Best for | Main trade-off |
|---|---|---|
| Drill-press fence and stop | Accurate, evenly spaced holes in a board that fits the machine’s capacity | Long stock needs careful outboard support and room to advance |
| Indexing jig | Many holes at fixed spacing, especially when repeating the job | More setup; a poorly made jig repeats its own error |
| Handheld drill with guide | Occasional holes when the work cannot fit the press | Harder to keep perpendicular and evenly positioned |
An indexing jig can use a pin that locates in the previous hole, but the pin and hole must fit closely. Any looseness accumulates down the row. A drill-press indexing jig is useful when you make the same pattern often; for a one-off row, a fence and stop are usually simpler.
Drill without tear-out or wander
Use a sharp bit suited to the hole: a brad-point bit helps locate holes in wood, while an ordinary twist bit can wander more easily on the surface. For clean exits, clamp a sacrificial backer beneath the work. The backer should be flat and supported; a gap beneath the board can still allow tear-out. If the hole is deep, withdraw the bit periodically to clear chips, especially in hardwood.
Set the depth stop or use a depth collar if the holes must be blind and equal in depth. Test the depth on scrap, because the point of a brad-point bit may cut deeper than the flutes suggest. Choose a speed suitable for the bit diameter and material, following the drill-press manual. Larger bits generally need slower speeds. A bit that squeals, burns, or leaves a ragged hole may be dull, running too fast, or packed with chips.
Clamp the work to the table or fixture. If drilling through a long board, add a clamp near the drilling area without blocking the next position. Keep hands clear of the bit and never stop a spinning chuck by hand. Switch off and wait for it to stop before measuring, clearing chips, or adjusting the fence.
Check alignment before committing
Drill the first hole in scrap of the same thickness, then advance it through the full setup. Measure the distance from the edge to the hole center and check the spacing across several positions. If the row drifts, look for a loose fence, a stop that is not square to the feed direction, or a board edge that changes shape. Correct the cause before moving to the workpiece.
For a long row, periodically check the work against a straightedge and measure several hole intervals rather than only the last one. This reveals accumulated error early. If the holes are for dowels or hardware, test-fit the actual parts; nominal bit size and real fit can differ with wood species, bit condition, and drilling accuracy. A little time spent checking the fixture is cheaper than trying to disguise a crooked row after assembly.