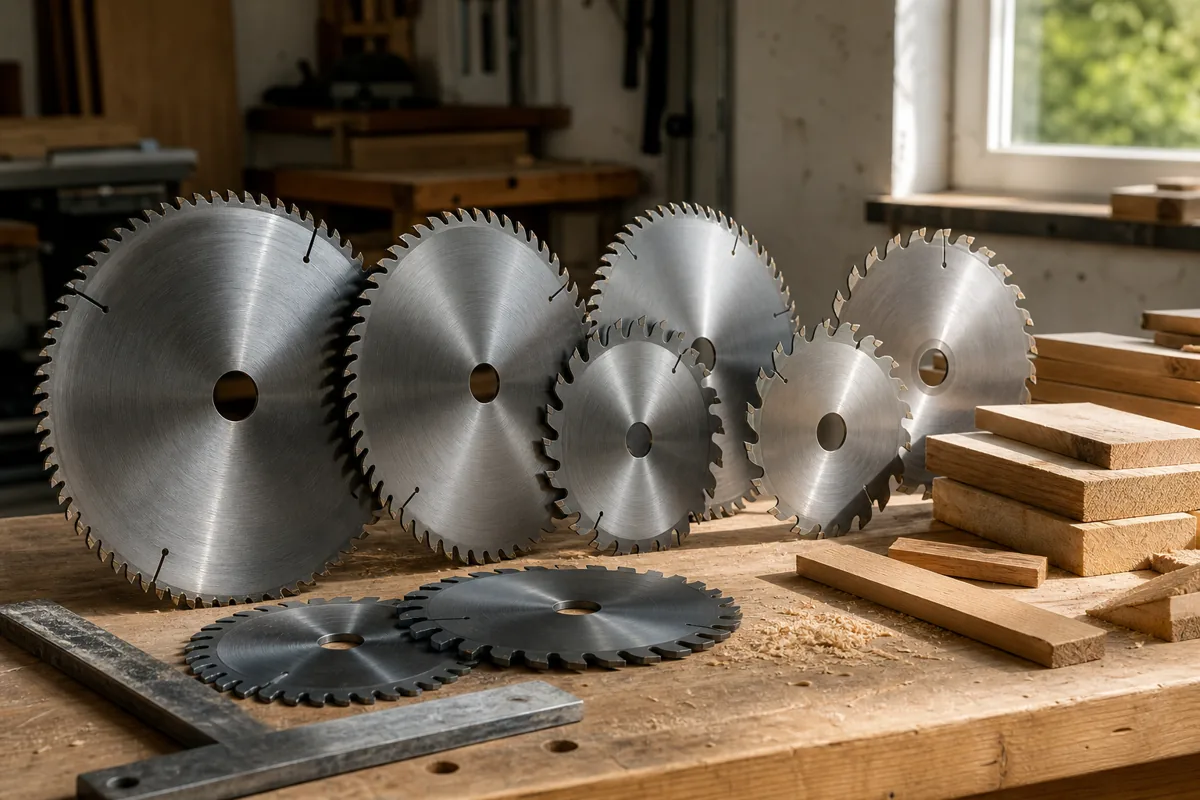
How to Choose a Table Saw Blade for Clean Plywood Crosscuts
What's inside
As an Amazon Associate I earn from qualifying purchases. This post may contain affiliate links at no extra cost to you.
Clean plywood crosscuts depend on more than tooth count. The blade must suit the plywood’s veneer, your saw, and the cut you need to make. A blade that leaves a crisp top face can still tear out the underside, and a fine-tooth blade can burn if it is dull or fed too slowly.
Contents
Start with the saw
Check your saw’s manual before shopping. Most full-size contractor and cabinet saws take a 10-inch blade with a 5/8-inch arbor, but compact and jobsite saws may use a 7¼-inch blade. Match the blade diameter and arbor hole exactly. The blade’s maximum RPM rating must also meet or exceed the saw’s speed.
Confirm the blade is compatible with your saw’s riving knife or splitter. The blade plate—the steel body, not the teeth—needs a kerf compatible with the knife. A typical full-kerf blade cuts about 1/8 inch wide; thin-kerf blades commonly cut around 3/32 inch. Thin-kerf blades take less power, which can help on lower-powered saws, but they may deflect more if pushed hard or if the saw is poorly aligned.
Choose tooth count and grind for the cut
For plywood crosscuts, a 10-inch, 60-tooth or 80-tooth blade with an alternate-top-bevel (ATB) grind is a practical starting point. ATB teeth alternate their bevel direction, scoring the veneer fibers as they cut. More teeth generally make a smoother cut at a steady feed, but they also create more heat and clear chips less readily than a coarse blade.
A 40-tooth combination blade is a reasonable budget choice if plywood crosscuts are occasional and a little edge cleanup is acceptable. A 24-tooth rip blade is designed to clear waste quickly along the grain; its larger gullets and aggressive tooth geometry are more likely to chip plywood veneers across the grain. Don’t assume “more teeth” solves every problem: a dull 80-tooth blade can burn and tear out more than a sharp 40-tooth blade.
| Blade type | Best use | Trade-off |
|---|---|---|
| 24-tooth rip | Fast solid-wood ripping | Rough, chip-prone plywood crosscuts |
| 40-tooth combination | General shop work and occasional plywood cuts | Usually less clean than a dedicated fine-finish blade |
| 60-tooth ATB | Regular plywood crosscuts and general finish work | Slower chip clearance; needs a controlled feed |
| 80-tooth ATB | Visible edges and fragile veneer | Can cut slowly, heat up, or load with glue if dull |
Buy for the work you actually do
If plywood is a regular part of your work, consider a 10-inch, 60-tooth ATB table saw blade. It is a useful balance of finish, feed speed, and versatility for many full-size saws. For cabinet parts or other edges that will remain visible, an 80-tooth ATB plywood blade can produce a cleaner edge when sharp and properly set up.
Check the blade’s stated kerf, plate thickness, and intended material before ordering; tooth count alone doesn’t establish quality or compatibility. Carbide-tipped teeth are preferable for repeated plywood work because they hold an edge longer than basic steel teeth and can be resharpened. But if you make a few cuts a year, an inexpensive, sharp combination blade may be all you need. Paying for a premium finish blade makes little sense if the edge will be hidden or covered with edging.
Set up the cut to limit tear-out
Blade choice is only one part of a clean cut. Set the blade height so the gullets clear the top of the plywood; with a typical 10-inch blade, that often means roughly 1/4 to 3/8 inch of tooth showing above a 3/4-inch panel. Follow your saw’s guidance and keep the guard and riving knife in place. Use a zero-clearance insert when appropriate: its narrow opening supports the bottom veneer close to the teeth and can reduce underside tear-out.
For the top face, orient the plywood so the teeth enter the show face. On most table saws, the teeth rise through the work, so the cleanest face is usually down. If both faces matter, use a sharp blade and zero-clearance support, and test the setup on an offcut from the same sheet. A sacrificial backer or a scoring pass can help with delicate veneers, but scoring requires a controlled, repeatable setup; don’t improvise one that compromises guarding.
Support large sheets on a table extension or suitable outfeed support. Keep the panel flat against the table and fence, and use a push device where needed. A sheet that sags or shifts can pinch the blade, kick back, or leave a wandering edge. Never freehand a crosscut against the rip fence without a proper crosscut sled or a stop arrangement that prevents the offcut from being trapped between the blade and fence.
Read the edge before changing blades
Splintering on the bottom face often points to poor support, a dull blade, or the wrong face-up orientation—not necessarily too few teeth. Chipping on both faces can indicate a worn or damaged blade, a feed rate that is too fast, or plywood with brittle veneer. Burn marks usually mean a dull or dirty blade, misalignment, or a feed that is too slow. Clean pitch and glue from the teeth with a suitable blade cleaner, then inspect for chipped carbide and check alignment before buying a replacement.
Make a test cut and examine both faces and the edge. If the cut is clean enough for the intended finish, a more expensive blade won’t improve the finished project in a meaningful way. If you still see veneer breakout after correcting support and feed, move from a general-purpose blade to a sharp 60- or 80-tooth ATB blade and retest.


