Best Drill Presses for Repetitive Doweling Operations
What's inside
As an Amazon Associate I earn from qualifying purchases. This post may contain affiliate links at no extra cost to you.
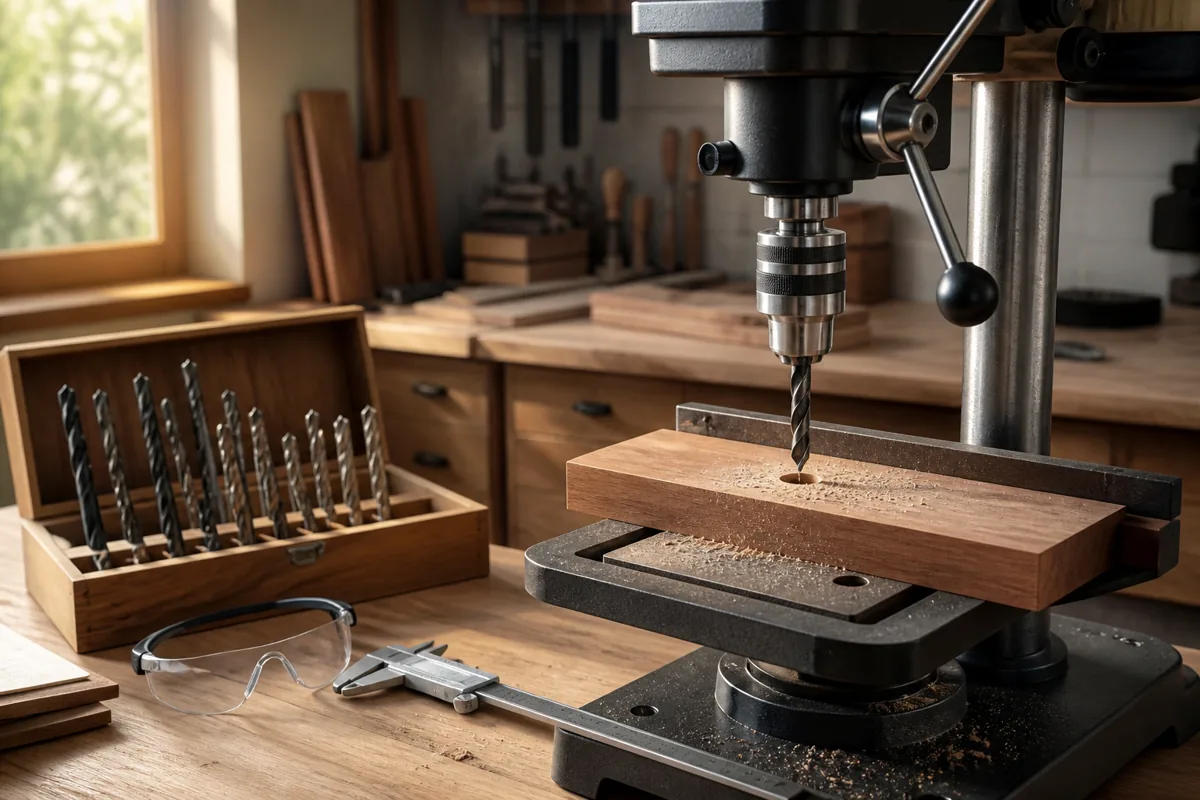
Repetitive doweling is less about raw drilling power than repeatability. A drill press that holds a bit square, accepts a reliable fence, and lets you position each workpiece against the same stops will produce better joints than a larger machine with sloppy setup. For most furniture and cabinet work, a floor-standing or benchtop drill press is a better choice than a handheld drill and doweling jig once you have more than a few holes to make.
As an Amazon Associate we earn from qualifying purchases at no extra cost to you.


Contents
What matters for doweling
Start with the joint layout. A typical 8 mm dowel hole is drilled about 30 to 40 mm deep in each mating part, while a 10 mm dowel may need similar or greater depth depending on the joint. The drill press must have enough quill travel to reach the required depth without repeatedly resetting the table. A depth stop is essential: set it once, then drill every hole to the same depth.
Runout is another critical specification, although manufacturers do not always publish a useful number. Excessive runout makes a bit orbit instead of cutting cleanly. The hole becomes oversized, the dowel fits loosely, and the joint can shift during glue-up. A keyed chuck is often preferable on a budget woodworking drill press because it generally holds larger bits more securely than a low-quality keyless chuck.
For dowel drilling, useful features include:
- A rigid column and head that do not flex when the quill is lowered.
- A table that locks firmly and can accept a fence or auxiliary top.
- A positive depth stop that does not creep during a production run.
- At least 2 1/2 to 3 inches of quill travel for common furniture joints.
- A speed range that includes roughly 500 to 1,500 rpm for larger brad-point or Forstner-style bits.
- A chuck that accepts the bit sizes you actually use, commonly 1/4 to 1/2 inch.
A laser is optional. It may help with the first setup, but it does not make a machine repeatable. A fixed fence, stop block, and a properly marked reference face matter much more.
Best drill press types for the job
| Drill press type | Best use | Advantages | Limitations |
|---|---|---|---|
| Compact benchtop | Occasional doweling and small parts | Low cost, small footprint, adequate accuracy when supported well | Less capacity, more vibration, limited table size |
| Heavy benchtop | Cabinet parts and repeated furniture work | Rigid enough for jigs, easier to fit with auxiliary fences | Uses valuable bench space; height can limit tall work |
| Floor-standing | Frequent production and large panels | Better capacity, larger table, stable base, more comfortable setup | Higher cost and floor-space requirement |
| Radial-arm or sliding-head drill press | Wide parts and unusual layouts | More reach and positioning flexibility | More adjustment points can reduce repeatability if not locked carefully |
For most home shops, a solid heavy-duty benchtop drill press is the sensible middle ground. The cheaper compact machines are fine when you are drilling drawer fronts, small rails, and short cabinet components. They become frustrating when the table flexes, the quill has noticeable play, or the workpiece will not sit flat under the chuck.
The setup that makes repetition work
Do not rely on the drill press table’s bare edge as your only reference. Bolt or clamp a straight auxiliary fence to the table, then add a stop block at the drilling position. A replaceable sacrificial board under the work prevents tear-out and gives you a visible reference for the bit. For narrow parts, use a V-block or a dedicated cradle so the stock cannot roll.
Mark one face and one end of every part. Keep those reference surfaces against the same fence and stop. Many doweling errors come from flipping one board or reversing one end, not from the drill press itself. If the joint has several dowels, make a simple indexed drilling jig with a row of accurately spaced holes or bushings. A jig is especially useful when the workpieces are too short for a comfortable stop-block arrangement.
For a repeated operation, drill a test piece first. Check hole depth with a dowel, confirm that the dowel is centered, and dry-fit the joint. Only then drill the production parts. A 1 mm error repeated across six holes is enough to prevent a panel from closing, particularly when the parts are long or the dowels are tight.
Speed, bits, and chip removal
Use sharp brad-point bits made for wood, or purpose-made dowel drills with a center spur and cutting edges. Standard twist bits tend to wander and can leave a rough, oversized hole. Forstner bits can work, but they remove material more slowly and may generate more heat in deep holes.
As a starting point, run a 6 mm bit around 1,500 to 2,500 rpm, an 8 mm bit around 1,000 to 1,800 rpm, and a 10 mm bit around 700 to 1,400 rpm. These are practical ranges rather than rules; dense hardwood, a dull bit, or a deep hole calls for slower speed. Peck the bit out every few seconds to clear chips. Packed chips increase heat and can push the bit off line.
A drill press with a stepped pulley system is perfectly adequate if you are willing to stop and change belts. Variable-speed machines save time during setup, but they are not automatically more accurate. For repetitive work, the value of variable speed is mainly quick adjustment between bit sizes and materials.
What to buy
Choose a 12-inch floor drill press when you regularly work on long rails, wide panels, or batches of parts. The larger table and extra throat depth make it easier to build a fixed fence and leave a stop in place. You also get a more stable base, though the machine still needs to be bolted down if vibration is noticeable.
Choose a 10-inch benchtop drill press for normal cabinet and furniture work when shop space is limited. Look for a cast-iron table and head, a quill with little side play, and a depth stop that locks positively. A nominal motor rating is less important than rigidity and smooth quill movement.
If your current machine drills square holes, holds its depth, and does not move under pressure, upgrading the chuck or building a better fence may improve results more than buying a new press. Replace the machine only when its quill play, table movement, or limited capacity prevents accurate setup. For high-volume work, a dedicated dowel drilling jig used with a rigid drill press can be more productive than paying for electronic features you will rarely use.
Common failure modes
Loose dowels usually indicate runout, a dull or incorrect bit, or chips left in the hole. Misaligned joints commonly result from inconsistent reference faces or a fence that is not square to the table. Unequal hole depths come from a slipping stop, changing the quill lock position, or failing to clear chips.
Before blaming the drill press, check the complete system: bit sharpness, chuck condition, table lock, fence, stop, and workpiece orientation. Repetitive doweling becomes reliable when each of those parts is fixed and repeatable.

