How to Install a Drill Press Table for Cabinetmaking
What's inside
As an Amazon Associate I earn from qualifying purchases. This post may contain affiliate links at no extra cost to you.
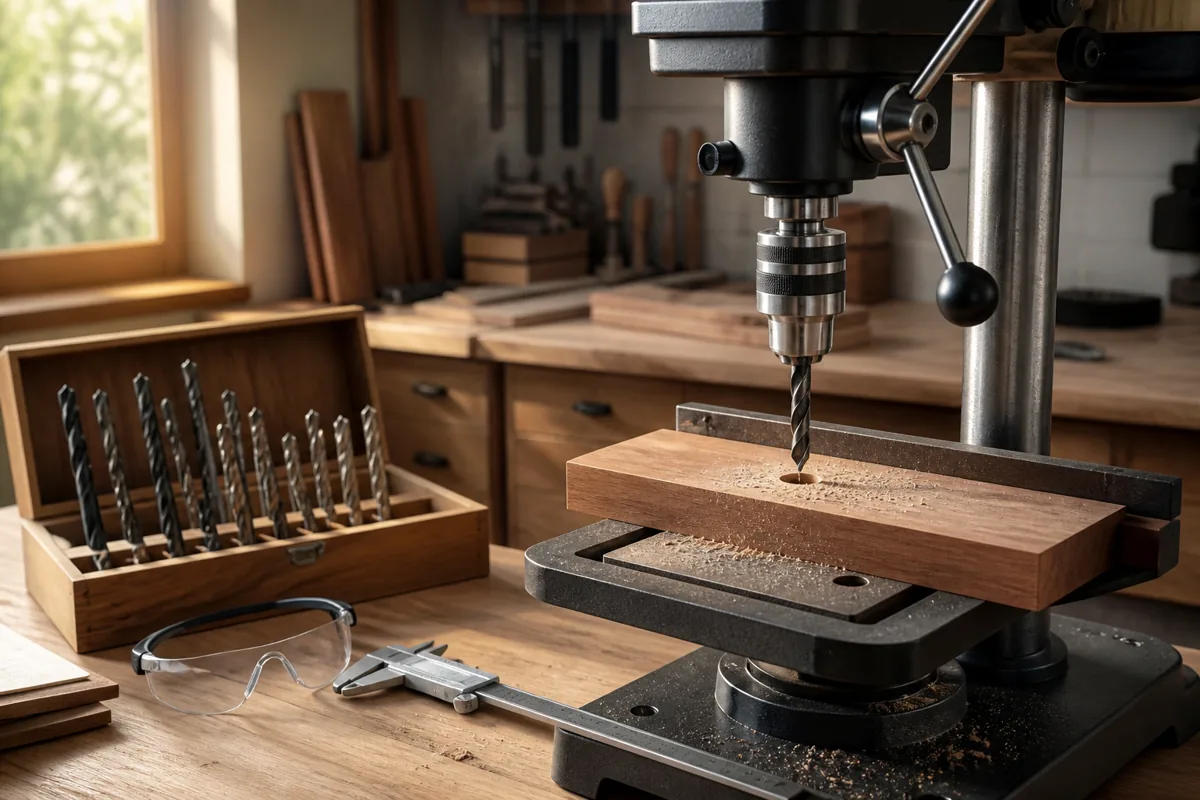
A drill press table makes cabinetmaking safer and more repeatable. The stock cast-iron table is usually too small for cabinet parts, offers little support near the bit, and often has no practical way to clamp a stop or fence. A larger auxiliary table solves those problems, but only if it stays flat, locks securely, and does not interfere with the quill, column, or belt guard.
Contents
Choose the Table Design
For most cabinet shops, a table measuring about 24 inches wide by 16 to 20 inches deep is a useful starting point. It supports drawer sides, hinges, face-frame parts, and shelf components without becoming so large that it catches on the column or dominates the machine.
The simplest version is a 3/4-inch plywood or MDF panel fastened to the original drill press table. MDF is cheap and flat when new, but it swells quickly around spilled glue and coolant. Cabinet-grade plywood is more durable. A laminated plywood top, hardwood edging, and replaceable sacrificial insert make a better long-term table.
| Table type | Best use | Advantages | Limitations |
|---|---|---|---|
| Basic plywood platform | Occasional cabinet work | Inexpensive and quick to build | Can sag or shift unless well supported |
| MDF table with replaceable insert | Clean, controlled drilling | Flat, easy to machine, inexpensive | Edges and screw holes wear faster |
| Shop-built table with fence and tracks | Repeated production work | Accurate stops, clamps, and adjustable support | Costs more and takes longer to align |
| Commercial drill press table | Fast installation and frequent use | Usually includes hardware, fence, and insert | May not fit your press or provide enough surface area |
A drill press table with fence is sensible when you need a ready-made solution or use the machine every day. A shop-built table is often the better value if you already have plywood, a router, and a few hours.
Check the Drill Press Before Building
Unplug the drill press and lower the table through its full travel. Measure the original table, the column diameter, the distance from the column to the quill, and the position of the table-locking handle. Your new table must not hit the column or prevent the factory table from tilting and locking.
Also check the quill travel. With the drill bit fully retracted, a thick auxiliary top can leave too little clearance for a Forstner bit or hinge boring bit. Leave at least 1/2 inch of clearance between the underside of the new table and the lowest moving part of the quill assembly. If the table is unusually thick, you may lose useful drilling depth.
Do not assume the original table is perfectly level. Place a straightedge across it in several directions. If it rocks, clean the mating surfaces and correct the problem before adding a larger top. An auxiliary table follows whatever error is underneath it.
Build the Auxiliary Table
Cut the top oversize first, then trim it after testing the fit. For a common floor-standing press, 24 by 18 inches is a practical size. Round the front corners and ease all edges with sandpaper or a 1/8-inch router round-over bit. Sharp corners become bruises and can catch long workpieces.
Use two layers of 3/4-inch plywood only if the original table and mounting hardware can support the weight. Otherwise, use one layer with hardwood cleats underneath. The cleats should run front to back or side to side without blocking the table-locking mechanism. A sagging table changes hole position and can pinch a bit.
Cut a replaceable insert around the bit location. A 3- to 4-inch square insert is large enough for most cabinetmaking work. Make several inserts from MDF or plywood so you can replace one after a bit cuts into it. A removable insert also makes it easier to use different bit diameters without leaving a large unsupported gap.
For frequent layout work, install aluminum T-track for woodworking across the table. One track can hold a fence; a second can hold stop blocks or hold-down clamps. Set the track at least 2 inches from the table edge so the surrounding material does not split.
Mount and Align It
Center the auxiliary table over the original table and mark the mounting holes from underneath. Use the factory holes when possible. Through-bolts with washers are preferable to wood screws because vibration gradually loosens screws. If the original table has threaded holes, use bolts that engage at least 3/8 inch of thread without bottoming out.
On a cast-iron table, use a thin rubber or cork sheet only if the mating surfaces are uneven. Do not use thick foam; it compresses and allows the table to move. Tighten the fasteners evenly, alternating between sides. The top should not rock when you press firmly near any corner.
Check that the table is square to the quill. Install a straight bit or a piece of straight rod in the chuck, then lower it close to the table. Rotate the chuck by hand and watch the gap between the rod and a known-flat surface. If the gap changes, the rod or chuck may be bent. Test in two directions before correcting the table.
The table itself should be perpendicular to the quill for ordinary drilling. If it is not, adjust the original table or add thin shims between the auxiliary top and its supports. Make small corrections: a 1/32-inch shim can create a noticeable error across an 18-inch table.
Add the Fence and Stops
A fence is useful for repeatable hinge holes, shelf-pin rows, and drilling near an edge. Make it from straight hardwood or two layers of plywood, roughly 3 inches high and long enough to support the largest parts you commonly drill. Keep the fence low enough that it cannot contact the chuck or drill bit.
Use two bolts or T-track fasteners to hold the fence. A single fastener allows the fence to pivot. Verify that the fence is parallel to the intended drilling line, then lock it firmly. For a row of holes, use a separate stop block rather than relying on a pencil mark. Stops improve consistency and prevent parts from creeping during drilling.
For small cabinet parts, add a clamp or hold-down. Never hold a narrow workpiece by hand when a bit can grab it. A spinning Forstner bit can rotate a board violently, especially when the bit breaks through the underside.
Test and Use the Table Safely
Before drilling a cabinet component, test the setup on scrap of the same thickness. Confirm the bit reaches the intended depth, the insert supports the work, and the fence does not shift. Mark the quill stop if you need repeated blind holes, but do not rely on the stop if the workpiece thickness varies.
Keep the insert opening only slightly larger than the bit. A gap of about 1/8 inch around a bit is suitable for general work. Larger gaps allow thin stock to dip and can catch corners. Replace a damaged insert instead of continuing to drill over a ragged opening.
Finally, check the table and fence before each session. Vibration, loose bolts, and accumulated chips are common causes of crooked holes. A cheaper plywood platform is fine for occasional work, but a rigid table with a fence, insert, and positive mounting pays for itself when you need dozens of identical cabinet holes.




