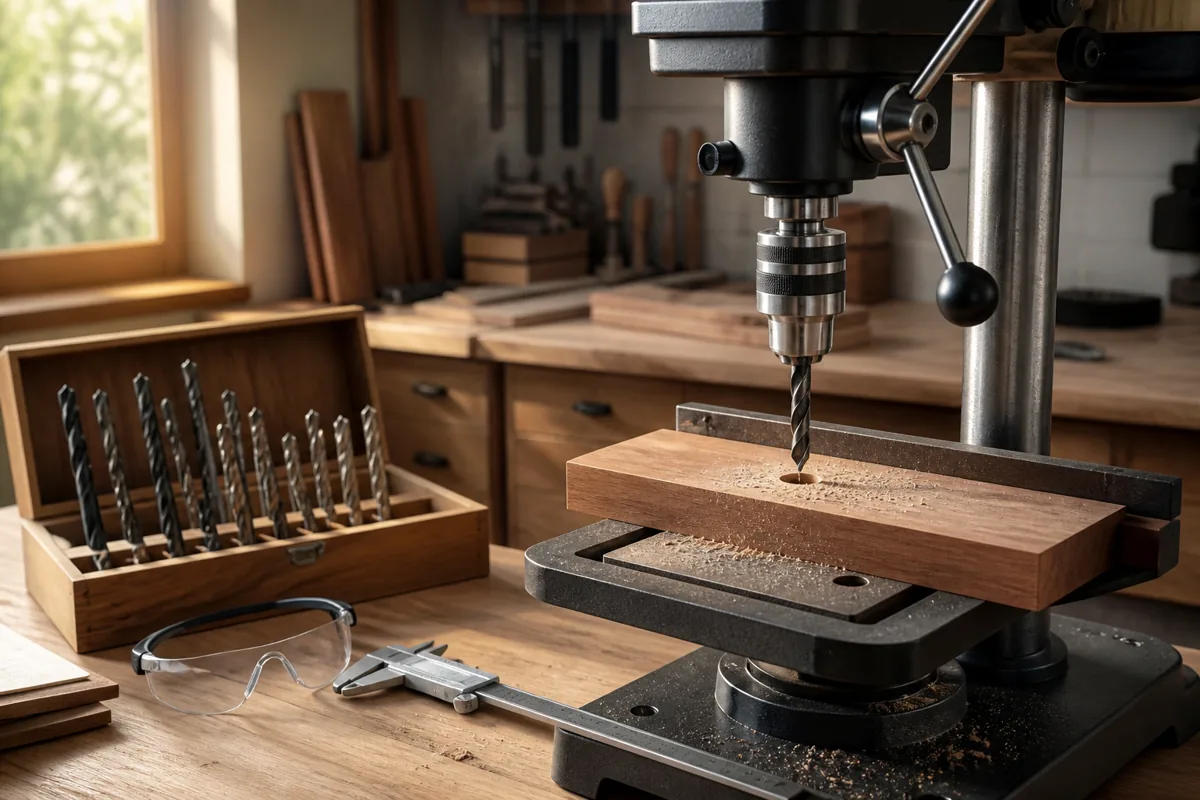
How to Select a Drill Press Chuck for Woodworking
What's inside
As an Amazon Associate I earn from qualifying purchases. This post may contain affiliate links at no extra cost to you.
Contents
Start with the spindle, not the chuck
A drill press chuck has to fit the machine’s spindle, grip the bits you use, and stay within the press’s capacity. Check the drill press manual or the markings on the spindle before buying. The most common spindle connections are a tapered arbor, usually Morse taper (MT), and a threaded mount. These are not interchangeable: a chuck with the wrong connection will not seat securely, even if its jaws accept your bits.
On many benchtop presses, the chuck comes mounted on a separate arbor that fits the spindle. If you need a replacement chuck, determine whether you’re replacing only the chuck or the chuck-and-arbor assembly. The arbor’s chuck-side connection may be a Jacobs taper, such as JT33. Match that taper as well as the spindle-side connection. Don’t identify either by appearance alone; check the parts diagram or measure with the correct taper gauges.
A mismatch can cause the chuck to wobble, slip off, or refuse to seat. A taper that looks close is not close enough. Clean mating surfaces before installation; oil, sawdust, or a burr can prevent the arbor from seating fully.
Match capacity to your bits
Chuck capacity is the largest bit-shank diameter the jaws can hold, not the largest hole the drill press can make. A 1/2-inch chuck accepts shanks up to 1/2 inch; a 5/8-inch chuck accepts larger shanks, but it does not make a small drill press more powerful or increase its rated drilling capacity.
For typical woodworking—twist drills, brad-point bits, and many Forstner bits—a 1/2-inch chuck is a practical choice. Choose a 5/8-inch chuck only if you regularly use bits with shanks over 1/2 inch and the drill press is rated to handle them. Many large Forstner bits have reduced shanks, so check the actual shank diameter rather than assuming the bit’s cutting diameter tells you which chuck you need.
A chuck that barely grips a shank at the end of its range can be more troublesome than useful. Keep the shank clean, insert it far enough to sit securely in the jaws, and avoid clamping on the fluted section. If the bit slips under load, stop and check the shank, jaw condition, and pressure before continuing. Never hold the work by hand to compensate for a slipping bit.
Keyed or keyless: choose for the work
A keyed chuck uses a small wrench to tighten the jaws. It usually gives you a firm, repeatable grip, useful when drilling with larger bits or making a run of deep holes in hardwood. The drawback is practical: the wrench is easy to misplace, and leaving it in the chuck when starting the machine is dangerous. Remove it before turning on the press, every time.
A keyless chuck tightens by hand, which makes bit changes quicker and avoids a separate wrench. It can be convenient for frequent changes between small bits. But hand-tightening may not hold as securely as a properly tightened keyed chuck under heavier loads. If a bit slips during a cut, don’t just tighten harder and continue; inspect the bit and chuck, and reduce feed pressure if the cut is binding.
For a shop where the drill press mostly stays set up for one task, a basic keyed chuck is often a sensible, lower-cost choice. For frequent bit changes and lighter work, a keyless drill-press chuck and matching arbor may save time. Confirm the arbor fit and capacity before ordering.
Runout matters for accurate holes
Runout is how much a bit’s tip wobbles as it rotates. Too much can make a hole oversize, leave a ragged edge, or cause a bit to wander—especially with small brad-point drills. A chuck’s advertised precision is only part of the story: a bent arbor, dirty taper, or damaged spindle can create the same symptoms. Replacing the chuck alone won’t fix every wobble.
For ordinary woodworking, a sound, well-fitting chuck from a reputable tool supplier is usually adequate. If you regularly drill small, accurately located holes or use a drum sander in the press, a precision chuck specified for low runout may be worth the extra cost. Treat a runout figure as a specification, not a guarantee of the accuracy of the whole machine.
To check a new setup, first unplug the press. Seat a straight, clean test rod or drill bit, then rotate the spindle by hand and watch the tip against a fixed reference. If it visibly wobbles, reseat the arbor and test again. Persistent wobble points to a problem somewhere in the spindle, arbor, chuck, or test bit; swap components one at a time if possible.
Compare the main choices
| Choice | Good fit for | Main trade-off |
|---|---|---|
| Keyed chuck | Heavier drilling and regular use of larger bits | Requires the correct wrench; remove it before starting |
| Keyless chuck | Frequent changes for light or moderate drilling | Hand tightening may be less secure under heavier load |
| 1/2-inch capacity | Most common woodworking drill bits | Won’t accept shanks larger than 1/2 inch |
| 5/8-inch capacity | Bits with larger shanks, if the press supports them | May cost more; adds no power or drilling capacity |
Install it carefully and check for trouble
Follow the drill-press manual’s instructions for removing and fitting the chuck or arbor. Unplug the machine, support the chuck so it cannot fall, and use the specified removal tool rather than striking the spindle with a hammer. A direct blow can damage bearings or bend parts. Clean the tapers with a lint-free cloth, keep them dry, and seat the arbor squarely. Don’t use adhesive or oil on a taper unless the manufacturer specifically calls for it.
After fitting, close the jaws evenly and check that they move smoothly through their range. If the jaws stick, a bit runs off-center, or the chuck loosens during use, stop and find the cause rather than continuing to drill. Dust and pitch can affect a chuck’s moving parts; wipe them clean and follow the manufacturer’s maintenance guidance. For an older press with an unknown arbor, an arbor removal wedge matched to the spindle can help with disassembly, but it won’t solve a damaged or incorrectly matched taper.
Before buying, write down the spindle connection, arbor connection, chuck capacity, and whether you want keyed or keyless operation. Those four checks prevent most wrong-part purchases. Spend extra for low runout only when your work benefits from it; for general woodworking, correct fit and sound jaws matter more than a premium label.


