How to Reduce Chipout When Planing Quilted Maple
What's inside
As an Amazon Associate I earn from qualifying purchases. This post may contain affiliate links at no extra cost to you.
Quilted maple can look smooth on one pass and tear out badly on the next. Its rippled grain changes direction over short distances, so a planer knife may lift fibers instead of cutting them cleanly. The practical fixes are to take lighter cuts, support the board, use sharp knives, and choose a cutterhead that handles figured wood well. No planer setting makes severe reversing grain risk-free.
Contents
Why quilted maple chips out
Planer knives cut across the grain. On straight-grained stock, fibers generally stay supported ahead of the cut. In quilted maple, the grain rises and falls, sometimes reversing direction within an inch. A knife moving against those rising fibers can pry them loose, leaving a ragged pocket rather than a shallow scratch.
Wide boards, pronounced figure, dull knives, and deep cuts increase the risk. The end of a board is especially vulnerable: as it exits the cutterhead, the feed rollers and bed provide less support. Long splinters at the trailing edge are often called snipe, but deeper torn patches on the face are grain tearout. They need different remedies.
Prepare the stock and planer
Check the board for twist and bow before planing. A planer makes the two faces parallel; it does not reliably flatten a warped board. Flatten one face with a jointer or a planer sled first, then plane the opposite face. If you feed a rocking board straight into the planer, it may come out thinner without coming out flat.
Joint an edge only if you need it straight for later work. Set the planer knives or inserts to the manufacturer’s specifications, and check that the table and rollers are clean. Resin or dust on the bed adds drag, while dull knives crush and pull fibers instead of shearing them. A sharp set of standard knives is often adequate for mild figure; replacing a damaged or dull set can matter more than buying a new machine.
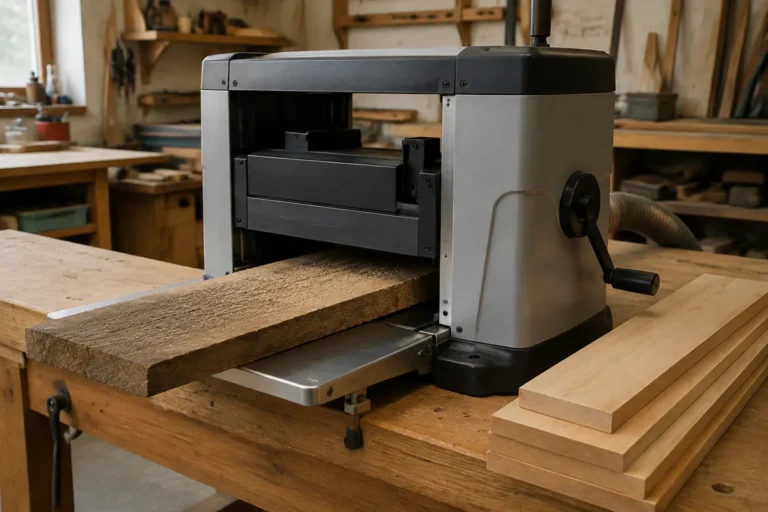
When buying a planer for figured hardwood, compare cutterhead type and the cost of keeping it sharp. A spiral or helical head uses small angled inserts and usually leaves fine, manageable marks. A straight-knife head costs less and can give a very smooth finish on easier grain, but it is less forgiving when the grain reverses. Neither type eliminates tearout.
Use shallow cuts and steady feeding
Start with about 1/32 inch per pass, then inspect the surface and adjust. On strongly figured maple, 1/64 inch may be safer; those numbers refer to total thickness removed, not depth from each face. If the machine bogs down or the surface develops torn pockets, reduce the cut. Taking 1/8 inch off in one pass is a poor gamble on valuable, figured stock.
Keep the board moving at the planer’s normal feed rate. Do not stop it beneath the cutterhead, and do not force a board that binds. Feed with the grain when you can identify a consistent direction, but quilted figure often has no direction that works across the whole face. In that case, shallow passes and a sharp cutter are more dependable than repeatedly reversing the board.
For long or heavy stock, use infeed and outfeed support set level with the planer table. Keep the board flat and let the feed rollers pull it through; pushing down hard can bow it and worsen snipe. Follow the manual’s minimum and maximum stock dimensions, and never reach into the machine to catch a board.
Compare the options
| Setup | Typical result on quilted maple | Trade-off |
|---|---|---|
| Sharp straight knives, shallow passes | Can work well on moderate figure; may still tear where grain reverses | Lowest-cost fix if your current planer is in good condition |
| Spiral or helical insert head | Often leaves smaller, less noticeable defects and is easier to maintain | Higher purchase or conversion cost; inserts still need rotation or replacement |
| Wide-belt or drum sanding after planing | Can remove shallow tearout without changing grain direction | Requires another machine or shop access; deep tearout takes time to sand away |
If you are shopping, compare the price of a helical-head benchtop planer with the cost of a replacement straight-knife set. Confirm compatibility before ordering: cutterheads and knives are not universal. A helical head is worth considering if you regularly plane figured stock; for occasional boards, fresh knives and careful settings are the cheaper, sensible starting point.
Know when to stop planing
Once a face is close to final thickness, do not keep taking passes just to chase isolated tearout. Deep pockets can require removing substantial material, and another pass may create new ones elsewhere. If the board is only slightly oversized, finish with a sharp cabinet scraper, hand plane set for a fine cut, or sanding. A scraper is useful for local defects, but it takes practice to avoid leaving a hollow or polished patch.
For a board that will be glued into a panel, avoid sanding one spot far below the surrounding surface. A wide sanding block or controlled machine sanding helps keep the face flat. If the tearout is deeper than your planned finishing allowance, decide whether to accept the defect, change the layout, or remill the board before reducing thickness further.
Limit snipe and inspect each pass
Support both ends and follow the planer manual’s advice on roller pressure and bed adjustments. Some machines allow the tables to be raised slightly; others call for a different setup. Do not assume that raising a table is safe or correct for every planer. If snipe persists, leave extra length and trim the ends after planing.
Inspect the face after each light pass under raking light, which makes torn fibers easier to spot. Mark high areas in pencil if you are flattening a face, and keep track of remaining thickness with calipers. Stop when the surface is clean enough for the project rather than removing more wood automatically. On quilted maple, a careful final pass—or no further planer pass at all—can preserve more usable material than trying to force a perfect finish from the machine.