How to Bore Clean Counterbores with a Drill Press
What's inside
As an Amazon Associate I earn from qualifying purchases. This post may contain affiliate links at no extra cost to you.
Contents
What a Clean Counterbore Requires
A counterbore is a flat-bottomed recess that gives a screw head or washer room to sit below the surface. It has two critical dimensions: the recess diameter and its depth. The pilot hole through the center is separate. A clean result depends on keeping the cutter square to the work, controlling depth, and preventing the rim from splintering.
A drill press is well suited to the job because its quill travels straight down, but it does not make the workpiece safe or automatically keep a cutter centered. Clamp the stock, use a sharp cutter, and set a depth stop before drilling. On a scrap piece of the same material, test the diameter and depth. A counterbore that is even 1/16 inch too deep can leave too little wood under a screw head.
Choose the Right Cutter
For screw holes, use a counterbore cutter with a pilot sized for the existing clearance hole, or use a Forstner bit to cut the recess after drilling the pilot hole. A piloted counterbore is convenient and helps keep the recess concentric with the hole. A Forstner bit makes a clean, flat-bottomed recess, but it needs careful centering over the pilot and can wander if the work shifts.
Match the cutter diameter to the head or washer, leaving a little clearance rather than making the pocket a tight press fit. For example, a 3/8-inch screw head may need a recess roughly 7/16 inch across; check the actual hardware. A small assortment of piloted counterbore bits for wood is useful if you regularly work with several screw sizes. For occasional jobs, a suitable Forstner bit you already own may be enough.
| Cutter | Best use | Trade-off |
|---|---|---|
| Piloted counterbore | Repeating screw holes with a matching pilot | Fast and centered, but pilot size and cutter diameter must suit the hardware |
| Forstner bit | Flat-bottomed recesses and less common diameters | Clean cutting, but needs accurate positioning and a depth stop |
| Spade bit | Rough, hidden recesses in a pinch | Cheap and available, but more prone to tear-out and a ragged bottom |
Prepare the Drill Press and Work
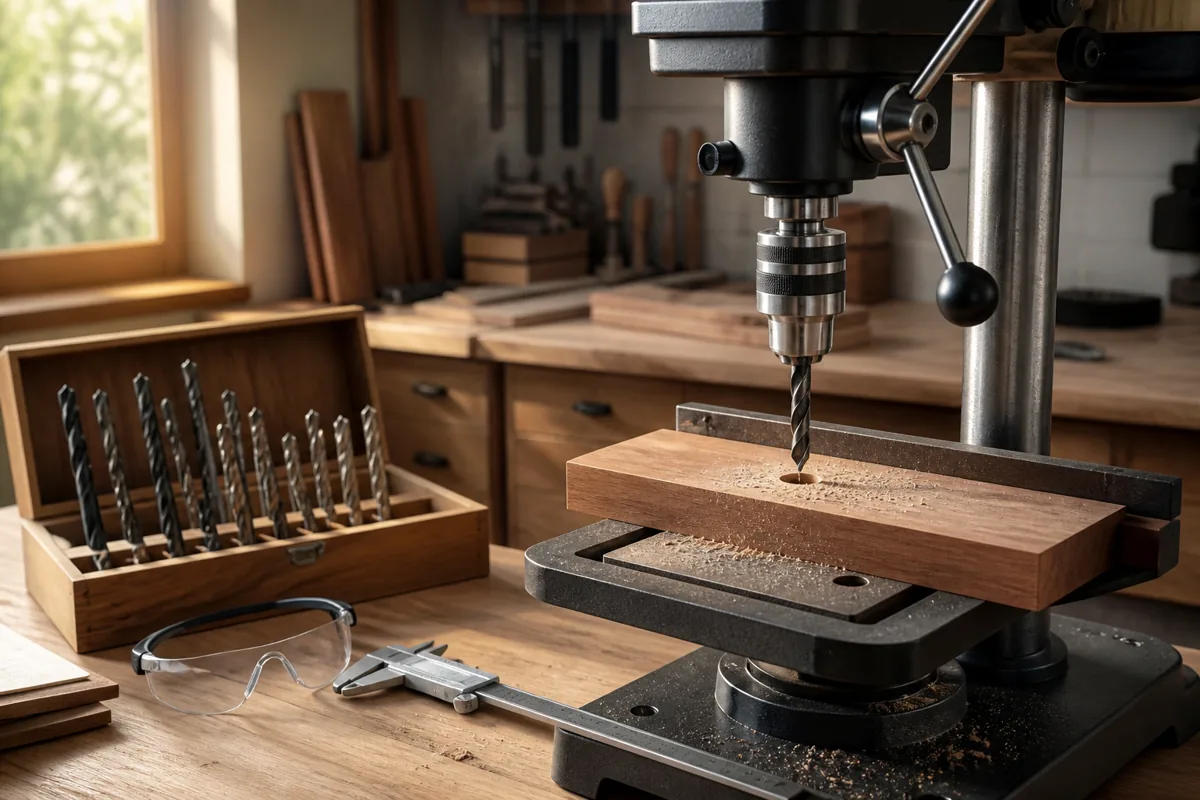
Unplug the drill press while changing bits or adjusting the table. Check that the bit is seated firmly and does not wobble. Lower the bit toward the work with the machine off to confirm that the cutter clears the clamp and reaches the intended location. Set the table height and lock it, then bring the depth stop close to the desired travel.
Support the work on a flat sacrificial board. Clamp both pieces to the table; do not hold a small workpiece by hand, even for a shallow recess. The cutter can grab and spin it. For narrow stock, use a drill-press vise or a clamped hold-down arrangement that keeps hands well away from the bit. If drilling near an edge, make sure the clamp does not tip the work or lift it off the backing board.
Mark the hole center clearly. If a pilot hole is already drilled, seat the counterbore’s pilot in it before starting the motor. For a Forstner bit, align its center point over the mark or pilot, then lower the quill gently to check alignment. A fence or stop block helps keep a series of holes in a consistent position.
Set Speed and Depth
Use a moderate speed suitable for the cutter diameter and wood. Larger bits generally need slower speeds; follow the bit maker’s guidance where available. As a practical starting point, many woodworkers run a 1/2-inch Forstner bit around 1,000–1,500 rpm and reduce speed for larger diameters or dense hardwood. If the bit burns, chatters, or leaves a rough rim, stop and check sharpness, speed, and feed pressure rather than forcing it.
Set the stop using a test cut. Measure the screw head or washer and aim for a pocket just deep enough to seat it flush or slightly below the surface. A depth of about 1/8 to 1/4 inch is common for many woodworking screws, but the hardware and stock thickness determine the right value. Leave enough material beneath the recess to resist splitting and hold the fastener.
Cut the Counterbore
Start the drill press, then lower the cutter steadily. Avoid plunging hard: a sudden bite can tear the rim or pull the work into the cutter. For a deeper recess, feed in short increments and lift the bit occasionally to clear chips. Packed chips increase heat and can scorch the bottom. Stop when the depth stop engages; do not lean on the handle to force extra travel.
For a piloted cutter, keep the pilot engaged in the hole as the cutting edges enter the wood. If the pilot is loose in the hole, the cutter may shift and make an oversized or off-center pocket. For a Forstner bit, the center point can follow a pilot hole, but an oversized pilot may offer too little guidance. Test the combination on scrap if the hole is already drilled.
When working close to the edge, splintering is more likely because less wood supports the fibers. Backing the work with sacrificial stock helps at a through-cut, though most counterbores are blind. A sharp bit and a steady feed matter more than pushing harder. If the rim still chips, reduce the feed pressure or score the perimeter lightly with a marking knife before cutting.
Check and Correct the Result
With the machine off, test-fit the screw or washer. Check that it sits flat, the recess is centered, and the remaining floor is not cracked or burned. A shallow pocket can usually be deepened with the same setup. An oversized or off-center pocket is harder to disguise; use a larger washer only if that is acceptable for the design.
Brush away chips and inspect the cutter before the next hole. Resin buildup and dull edges leave fuzzy rims, especially in softwood and plywood. Clean or sharpen the bit as appropriate, and keep the work clamped for every cut. If you need repeatable depth across many parts, a drill-press depth stop is usually more dependable than judging by eye; an inexpensive drill-press depth stop accessory can help, though the machine’s built-in stop is fine when it locks securely.