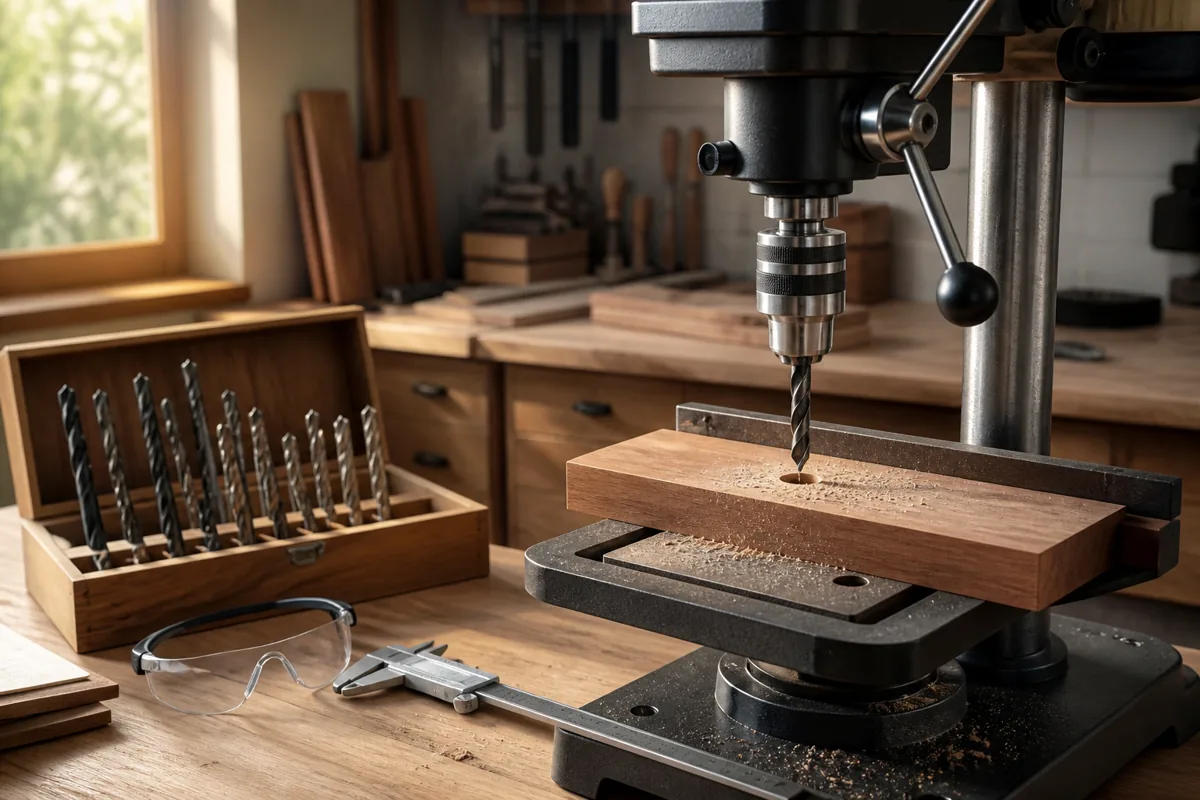
Best Drill Presses for Installing Cabinet Hinges Accurately
What's inside
As an Amazon Associate I earn from qualifying purchases. This post may contain affiliate links at no extra cost to you.
Installing concealed cabinet hinges is mostly a repeatability problem. The 35 mm cup hole must be centered consistently, stopped at the same depth, and kept square to the door. A drill press makes those requirements much easier to meet than a handheld drill, but the best machine is not necessarily the largest or most expensive one.
As an Amazon Associate we earn from qualifying purchases at no extra cost to you.


Contents
What matters for hinge installation
A suitable drill press needs four things: a stable table, a useful depth stop, enough quill travel for the bit, and a way to hold the door securely. Power is rarely the limiting factor. A sharp 35 mm Forstner bit cuts cabinet-door material without demanding a heavy floor-standing machine.
Look for at least 2 inches of quill travel, although 3 inches gives more comfortable working room. A depth stop is essential because a typical concealed-hinge cup hole is only about 12 to 13 mm deep. Going too far can break through the door face, especially in thin MDF, plywood, or doors with a shallow solid-wood frame.
Runout also matters. Excessive spindle wobble makes the cup hole oversized and can leave a rough, uneven bottom. You do not need laboratory-grade accuracy, but the chuck should run smoothly with the bit seated properly. A machine with a 1/2-inch chuck is preferable if you use large Forstner bits regularly.
Benchtop or floor drill press?
| Type | Best for | Advantages | Limitations |
|---|---|---|---|
| Compact benchtop | Occasional cabinet work and small shops | Lower cost, less space, easy to place near the assembly bench | Smaller table, less headroom, often lighter and more prone to vibration |
| Mid-size benchtop | Cabinet doors, face frames, and general woodworking | Better stability, larger table, adequate capacity without floor space | Needs a solid stand or workbench; table travel can be limited |
| Floor-standing | Frequent production work and large doors | More capacity, taller column, heavier construction, often easier height adjustment | Higher price, larger footprint, unnecessary for a few kitchens |
For most cabinetmakers and serious DIY users, a mid-size benchtop drill press for woodworking is the sensible choice. A compact machine can work, but the table may be too small for safely supporting a 24-inch-wide door. In that case, add an auxiliary plywood table and a fence rather than balancing the workpiece on the factory table.
A floor model is worthwhile when you also drill long stock, use large hole saws, or need to process many doors in a batch. It will not automatically make hinge holes more accurate. A rigid setup and a reliable stop matter more than column height.
Features worth paying for
A real depth stop: Prefer a stop that locks firmly and returns to the same position. A loose collar or slipping threaded rod can turn a safe 12 mm hole into a ruined door. Set the stop using a scrap of the same material before drilling the actual doors.
A tilting or adjustable table: The table should lock without shifting. For hinge cups, keep it square to the spindle. A table that moves when tightened can change the hole angle enough to affect hinge fit.
Variable or multiple speeds: For a 35 mm Forstner bit, a practical range is roughly 500 to 1,000 rpm, depending on the bit and material. Start around 700 rpm and adjust based on heat and cutting behavior. Too much speed burns the edge and can make the bit grab. A belt-change machine is fine; electronic variable speed is more convenient but not required.
A large, flat work surface: A factory table around 8 by 8 inches is workable, but a larger auxiliary table is safer. Add a replaceable insert with a clearance hole for the Forstner bit. This supports the door close to the cut and prevents the bit from striking cast iron or steel.
A positive fence: A straight fence lets you register every door from the same edge. For a repeatable hinge layout, clamp a stop block to the fence or use a dedicated jig. Do not rely on a pencil mark alone for a run of doors.
Good options by budget
If you only install hinges on one kitchen, a basic compact drill press with a 35 mm Forstner bit can be enough. The cheaper option is acceptable when the head and table lock solidly, the spindle has little visible wobble, and you build a stable auxiliary table. Expect to spend more time setting up and checking each hole.
A mid-range benchtop machine is the best value for repeated cabinet work. Choose one with a 1/2-inch chuck, at least 2 inches of quill travel, a rigid column, and a table that accepts clamps. This category provides enough accuracy for hinge cups while remaining useful for dowels, shelf-pin jigs, and general shop drilling.
For high-volume work, consider a heavier floor-standing woodworking drill press. The extra mass reduces vibration and makes large doors easier to position, but it is a poor purchase if it mostly sits unused. A floor model still benefits from a hinge jig and a dedicated table insert.
How to drill hinge cups accurately
Mark the hinge centerline according to the hinge manufacturer’s instructions. Common layouts place the cup center approximately 21 to 22 mm from the door edge, but overlay requirements vary. Use a template or jig when possible, particularly if the doors have different overlays.
Install a sharp 35 mm Forstner bit and set the speed conservatively. Clamp a sacrificial backer beneath the door if the hole is near an edge. Position the door face-up, register it against the fence, and use a hold-down clamp. Never try to steady a loose door by hand while lowering a large Forstner bit.
Lower the bit slowly until the center spur touches the mark, then cut with light, steady pressure. Clear chips if the bit begins to heat. Stop when the depth stop contacts the quill. On a test piece, measure the hole with calipers or compare it with the hinge cup before starting production.
Common failure modes
Breakthrough: The bit was set too deep or the door was thinner than expected. Test every material thickness, not just the first door.
Holes that wander: The door moved, the fence shifted, or the bit started on a slick finish. Use a clamp and a sharp spur; masking tape alone is not a substitute for a fixture.
Burn marks: Speed is too high, the bit is dull, or chips are trapped in the cup. Sharpen or replace the bit before changing the machine.
Doors that do not align: The holes may be accurate but positioned inconsistently. Record the fence setting, use a stop block, and drill all matching doors from the same reference edge.
For hinge installation, accuracy comes from the complete setup: drill press, bit, fence, stop, and workholding. Buy the heaviest machine your space and budget justify, but spend equal attention on the jig and depth-control system.

