
What's inside
- What a tension gauge measures
- Choosing a gauge
- Prepare the saw and blade
- Set tension with the gauge
- Recognize too little or too much tension
- When the reading or cut is still wrong
- From Stress Target to Gauge Reading
- Worked Examples in Pounds of Pull
- Common Mistakes With Tension Gauges
- When to Re-check and Reduce Tension
- Frequently Asked Questions
- What a tension gauge measures
- Choosing a gauge
- Prepare the saw and blade
- Set tension with the gauge
- Recognize too little or too much tension
- When the reading or cut is still wrong
- From Stress Target to Gauge Reading
- Worked Examples in Pounds of Pull
- Common Mistakes With Tension Gauges
- When to Re-check and Reduce Tension
- Frequently Asked Questions
As an Amazon Associate I earn from qualifying purchases. This post may contain affiliate links at no extra cost to you.
A tension gauge gives you a repeatable way to set band saw blade tension instead of relying on the scale printed on the machine or a thumb press. That matters most when changing blades, moving between blade widths, or diagnosing cuts that wander. The gauge is useful, but it does not override the blade maker’s limits or compensate for worn tires, dull teeth, poor tracking, or a damaged blade.
Contents
- What a tension gauge measures
- Choosing a gauge
- Prepare the saw and blade
- Set tension with the gauge
- Recognize too little or too much tension
- When the reading or cut is still wrong
- From Stress Target to Gauge Reading
- Worked Examples in Pounds of Pull
- Common Mistakes With Tension Gauges
- When to Re-check and Reduce Tension
- Frequently Asked Questions
What a tension gauge measures
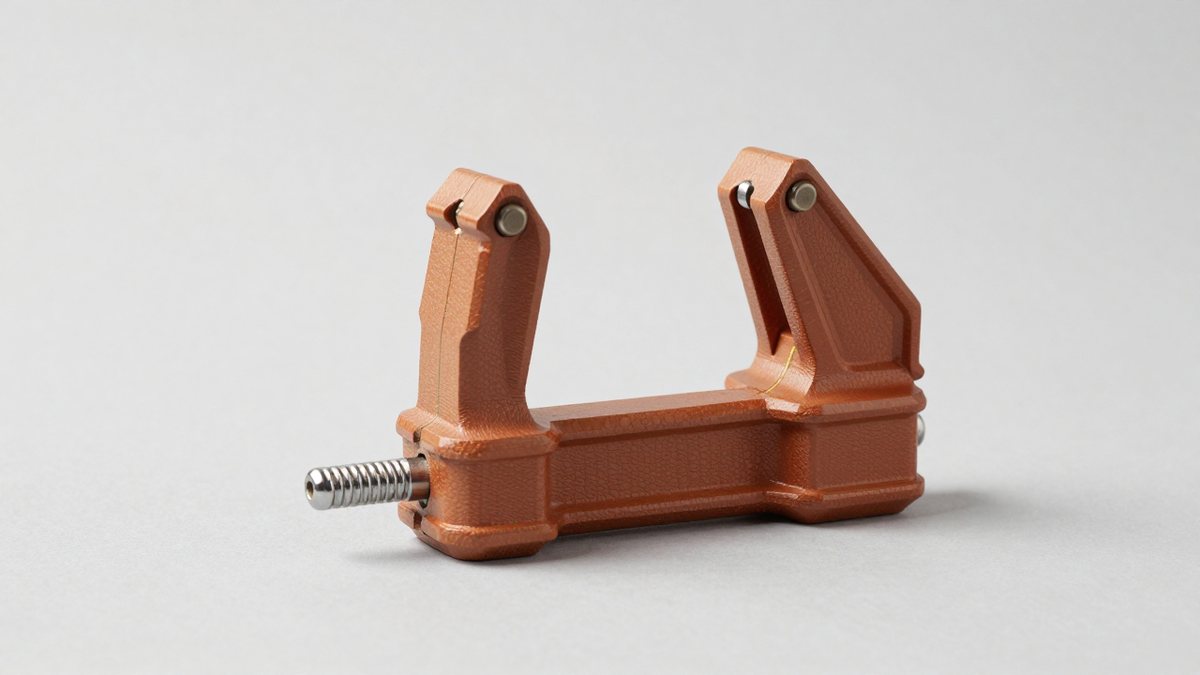
A blade tension gauge measures how much a blade stretches under a known force. Many woodworking gauges clamp to the blade and show its deflection; you compare that reading with the gauge maker’s chart for the blade width. Other gauges indicate tension directly. Follow the instructions supplied with your gauge, because their scales and methods are not interchangeable.
Blade width alone does not determine the correct setting. The blade’s thickness, material, weld, and the saw’s design all matter. A common starting range for carbon-steel woodworking blades is about 15,000–20,000 psi, but this is not a universal target. Some blades and machines call for a different value. Use the blade manufacturer’s recommendation when available, and do not exceed the saw manufacturer’s tension limit.
Choosing a gauge
A dedicated blade tension gauge is the clearest choice if you change blades often or need repeatable settings across several widths. Before buying, check that its instructions cover your blade widths and give a usable reading range. A gauge without a chart or clear setup procedure can create false precision.
A deflection gauge is generally more affordable and can work well when its chart matches your blade and the way you measure. Built-in saw scales cost nothing extra and are convenient, but they are usually rough indicators rather than calibrated measurements. For occasional use on one saw, the scale may be adequate if the saw tracks and cuts well; a gauge is more useful when results are inconsistent or you swap blades frequently.
| Method | Best use | Trade-off |
|---|---|---|
| Dedicated tension gauge | Repeatable setup across different blades | Costs more; must be used with its own instructions |
| Deflection gauge and chart | Budget-conscious users who can match the chart to the blade | Results depend on correct placement and measurement |
| Saw’s built-in scale | Occasional blade changes on a familiar saw | Often approximate; may not account for blade differences |
Search for a band saw blade tension gauge that specifies its measurement method and supported blade range. If you only need to check tension once in a while, first try the saw’s scale and evaluate the cut before spending money.
Prepare the saw and blade
Switch off and unplug the saw before opening the wheel covers or handling the blade. Wear gloves when installing a blade, and keep fingers clear of the teeth. Confirm that the blade is the right length and width for the machine, has no cracks or damaged weld, and is installed with its teeth facing the direction of travel.
Set the guides and thrust bearings back far enough that they do not touch the blade during tension measurement. Center the blade on the wheels according to the saw manual, then close the covers before running the machine. Do not make tension adjustments with the saw running.
Set tension with the gauge
1. Release the blade tension before installation if the saw was left tensioned. Fit the blade, center it on the wheels, and turn the tension knob until the blade is snug enough to stay in place. Do not use this preliminary setting as the final measurement.
2. Attach the gauge at the location and orientation specified in its manual. On a deflection-style gauge, this usually means placing it on a clear section of blade and applying the specified force. Avoid measuring near a guide, weld, or tooth. Record the reading only after the blade and gauge settle.
3. Compare the reading with the gauge chart or the blade maker’s target. Adjust the saw’s tension knob in small increments. Retake the measurement after each adjustment; knob turns are not a dependable substitute for a reading because saw springs, frames, and blade widths differ.
4. Recheck the measurement after rotating the wheels by hand through at least one full blade circuit, with the saw unplugged. A reading that changes noticeably as the blade moves can point to a damaged blade, inconsistent weld, or measurement error. Correct that problem rather than tightening until the readings happen to match.
5. Reposition the guides and thrust bearings according to the saw manual. Close the covers, reconnect power, and make a short test cut in scrap. The blade should track steadily and cut without excessive vibration or drifting. A test cut is a check on the whole setup, not a replacement for measuring tension.
Recognize too little or too much tension
Too little tension can let the blade deflect under cutting pressure. The cut may drift, the blade may flutter, and a narrow blade may twist in the cut. Increasing tension can help, but these symptoms can also come from dull teeth, incorrect guide clearance, poor tracking, or feeding too quickly.
Too much tension puts extra load on the saw frame, wheels, bearings, and blade. It can shorten blade life, stress the weld, and contribute to fatigue cracks or machine damage. A blade that seems to cut straighter at a higher setting does not prove that the setting is safe. Stop at the lower of the blade and saw manufacturers’ stated limits.
Do not judge tension by pressing the blade sideways with a finger. That check varies with hand strength and blade width. It can tell you that a blade is obviously loose, but it cannot provide a reliable target. Likewise, do not leave a blade tensioned between sessions unless the saw manual says that is acceptable; many owners release tension after use to reduce long-term stress on the wheels and frame.
When the reading or cut is still wrong
If the gauge reading seems implausible, check that the gauge is calibrated or assembled as instructed, that you are using the correct chart, and that the blade is free from damage. Confirm the blade width and thickness rather than guessing from appearance. A second reading at the same spot should be close to the first; large differences usually mean inconsistent placement or force.
If tension measures correctly but the cut wanders, inspect blade sharpness, tooth set, wheel tracking, guide alignment, and feed pressure. A tension gauge is a measuring tool, not a cure for every cutting problem. It is most valuable for establishing a safe, repeatable baseline so you can troubleshoot the rest of the saw without guessing.
From Stress Target to Gauge Reading
Blade makers specify tension as stress, meaning pounds per square inch of blade cross-section. A saw’s built-in scale shows spring force instead, so the same scale number represents very different stress on a narrow blade and a wide one. Converting between the two takes a few steps.
- Find the maker’s stress range. Look on the blade packaging or the maker’s data sheet. Commonly cited figures for carbon steel run from about 15,000 to 25,000 psi, and bi-metal blades are often listed higher. At least one maker lists lower numbers for its own blades, so the packaging outranks any general chart.
- Measure the blade. Note the width and thickness in inches.
- Multiply width by thickness. This gives cross-section area in square inches.
- Multiply area by the target psi. The result is the total pull in pounds the blade should carry.
- Set the gauge to the blade’s psi value. A gauge that reads psi directly saves you the arithmetic, while a force-based tool needs the pounds figure.
Worked Examples in Pounds of Pull
The table assumes a thickness of 0.025 inch for the narrower blades and 0.032 inch for the wide resaw blade. Check your own blade, since thickness varies by maker.
| Blade width | Thickness | Area (sq in) | At 15,000 psi | At 20,000 psi |
|---|---|---|---|---|
| 1/4 in | 0.025 in | 0.00625 | about 94 lb | 125 lb |
| 1/2 in | 0.025 in | 0.0125 | about 188 lb | 250 lb |
| 3/4 in | 0.032 in | 0.024 | 360 lb | 480 lb |
The pattern matters more than any single number: doubling blade width at the same thickness doubles the force needed to reach the same stress. This is why one dial setting cannot suit every blade.
Common Mistakes With Tension Gauges
- Treating the built-in scale as stress. It reports spring force, so it ignores blade thickness.
- Using a gauge on the wrong blade material. Some magnetic-style gauges are designed for carbon steel and give unreliable readings on bi-metal bodies.
- Reading before the blade is seated. Take the measurement only after the blade is on the wheels and tracking properly, otherwise the number will shift as it settles.
- Tensioning to the top of the range by habit. Excess tension is linked to early breakage, often at the weld, and to extra strain on the saw.
- Never re-checking. Blades relax and tires settle, so a setting made once drifts over time.
When to Re-check and Reduce Tension
Re-check tension whenever you swap blades, change blade width, or notice the cut beginning to drift. Some saw manuals also advise reducing tension after a session, especially for longer storage, to ease the load on the blade, tires, and frame. Follow your saw’s manual if it says otherwise.
Frequently Asked Questions
Is more tension always better?
No. Too little tension lets the blade deflect and wander, but too much raises the risk of breakage and strain on the saw. Aim for the maker’s stated range rather than the maximum.
Does the right psi change with blade width?
The target stress is usually set by blade material, not width. The force needed does change, because a wider blade has more cross-section area to stretch.
Can I use one gauge for carbon steel and bi-metal blades?
Only if the gauge’s maker says it supports both. Some designs rely on properties of carbon steel and are not suited to bi-metal bodies.
How often should I check tension?
Check it at every blade change and whenever cut quality shifts. For a blade left on the saw, a quick look before each long session is cheap insurance.
Why does the saw’s scale disagree with my gauge?
The scale reads spring force, while a gauge measures blade stress. They only line up for one blade size, so trust the gauge for the specific blade in use.
Related guides
More from Amazon
Programs that pair well with the guide above. Offers and eligibility are set by Amazon and may change.
A free business account with business pricing and bulk-buying tools for work, shop or home office.
Create a business accountFree shipping on eligible items, Prime Video and more. Eligible new members can start with a free trial.
Start a Prime free trialAudiobooks and podcasts to listen to on the go. Eligible new members can start with a free trial.
Try Audible freeAd-free music streaming. Eligible new subscribers can start with a free trial.
Try Music Unlimited freeAs an Amazon Associate we earn from qualifying purchases.

Write Your Review
No reviews yet. Be the first to share your experience!