How to Use a Drill Press Stop Block for Repetitive Woodworking
What's inside
As an Amazon Associate I earn from qualifying purchases. This post may contain affiliate links at no extra cost to you.
Contents
What a drill press stop block does
A drill press stop block is a fixed reference that lets you position each workpiece at the same place under the bit. It is useful when drilling a row of holes at a consistent distance from an edge, making matching parts, or repeating a hole pattern across a batch. A stop block controls where the work sits; it does not control hole depth. For depth, use the drill press depth stop.
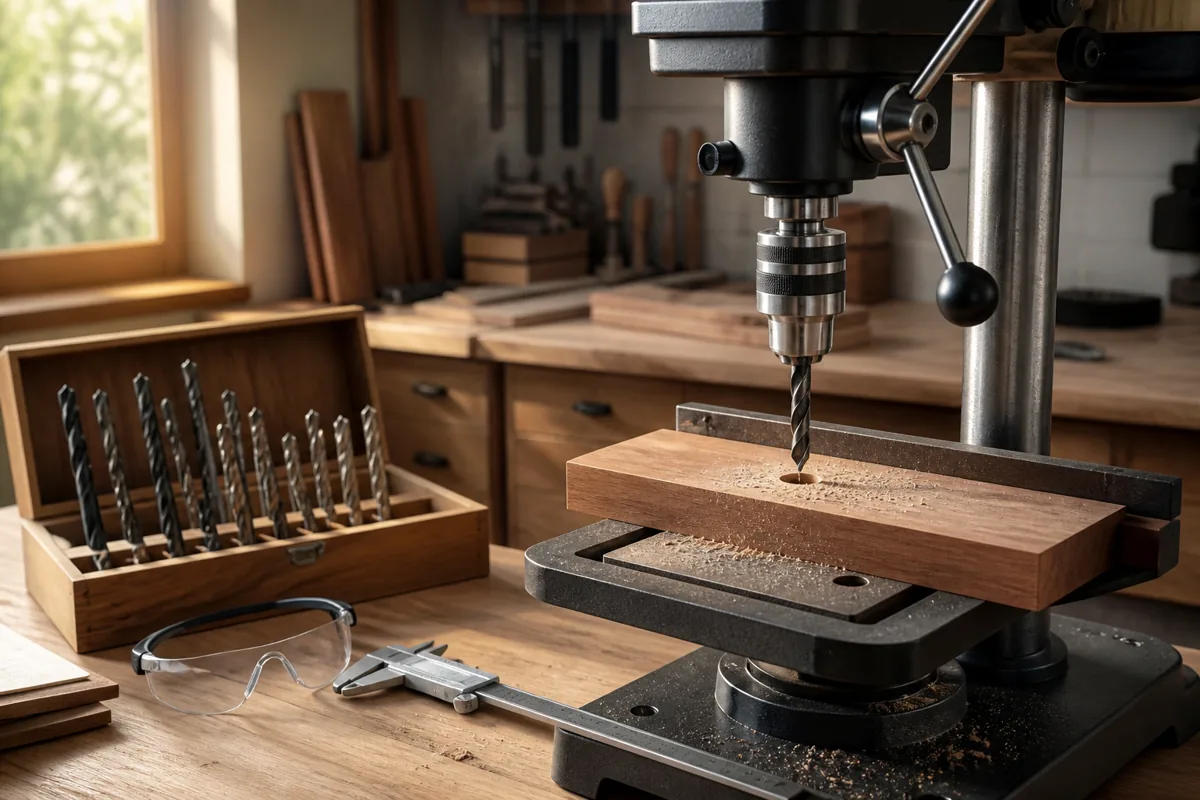
Most setups use a block clamped to the drill press table, with one or two faces touching the workpiece. A fence helps keep the work aligned, while a separate stop sets the distance along the fence. For simple parts, a single block clamped at the end of a fence may be enough.
Choose a setup for the job
The right arrangement depends on the part’s shape and how many holes you need. A scrap-wood stop is often all you need for a short run. If you frequently switch between parts or need fine, repeatable adjustments, a metal fence and movable stop are easier to set and verify.
| Setup | Best for | Trade-off |
|---|---|---|
| Clamped scrap block | Short batches and one fixed position | Cheap and quick, but can shift and takes time to reset |
| Fence with end stop | Rows of holes along a straight edge | Improves alignment; needs a secure, square fence |
| Adjustable drill-press fence and stop | Repeated jobs or changing hole locations | Costs more, but makes adjustments and resets easier |
For occasional work, a drill press fence with an adjustable stop can save setup time, but it is not a requirement. If you buy one, check that it fits your table’s slots or can be clamped securely. A fence that rocks or cannot be locked firmly is less useful than a straight piece of scrap clamped well.
Set up the stop block
Unplug the drill press before positioning the fence or stop near the chuck, and keep the table clear of loose tools. Lower the table to a comfortable working height and lock it. If the workpiece is long, support its far end so it cannot tip or twist.
Clamp a straight fence to the table and check it against the intended travel direction of the workpiece. For a row of holes parallel to an edge, the fence should register against that edge without forcing the part sideways. Clamp a stop block at the required distance from the bit, then slide a sample piece against both fence and stop. The intended hole center should land directly under the drill bit.
Measure from the workpiece edge that contacts the fence to the bit center. Do not measure to the edge of the drill bit; for a 1/2-inch bit, its center is 1/4 inch in from either side. Make a test hole in scrap of the same thickness and width, then measure the result before drilling the full batch.
Make repeated holes safely
Mark or measure the first hole location, then place the workpiece against the fence and stop. Clamp it or hold it with a suitable drill-press clamp before drilling. Never rely on the stop block to keep a loose part from spinning. A rotating workpiece can injure your hands and damage the bit or table.
After drilling, lift the bit clear, move the part away, and bring the next one against the same references. Keep chips from collecting between the workpiece and fence: even a small chip can alter the position of the next hole. For parts with rough or bowed edges, make sure each piece seats consistently; a stop cannot compensate for an edge that changes shape from one part to the next.
For multiple holes at different distances along a part, use a movable stop or a measured indexing jig rather than repeatedly guessing a new position. You can mark the settings on the fence or record distances from a fixed reference. If the setup must be dismantled, take a photo and note the fence position and bit size before removing anything.
Control depth and workholding separately
A stop block sets a workpiece’s position, not how far the bit travels. Set depth using the press’s depth stop, then confirm it with a test hole. For through-holes, place a sacrificial backer beneath the work to reduce tear-out and protect the table. For blind holes, account for the tip of the bit: the point can penetrate deeper than the full-width part of the hole.
Small parts deserve particular care. Hold them in a vise or with a clamp, and keep your hands away from the bit. A drill press hold-down clamp can help secure stock against the table, though the clamp must not obstruct the bit or prevent the part from seating against the stop. For narrow pieces, a simple scrap-wood carrier can provide a safer, larger surface to hold.
Common mistakes and fixes
If holes drift across a batch, first check for a loose clamp or fence, then check for chips under the stock and inconsistent contact with the fence. If every hole is the same distance off, the reference was likely measured incorrectly; reset the stop and verify with another test piece. If the part kicks or turns, stop work and improve the clamping rather than pressing harder.
For a one-off project or a dozen simple parts, a scrap block and two clamps are usually a sensible, low-cost choice. For production-like batches, frequent changeovers, or parts that need close positional consistency, an adjustable fence and stop reduce setup errors. Whichever you choose, make one test hole before committing the whole batch.